This forum is extremely difficult to navigate. Someone used a stock glass Honda windshield and made it into a tip out. I am trying to find that post. Any help is much appreciated.
Thanks.
Thanks.
And all this time I thought I was the only one, it's great to have company! HA! Have you tried the search window in the right upper corner? Some times it works for me.This forum is extremely difficult to navigate. Someone used a stock glass Honda windshield and made it into a tip out. I am trying to find that post. Any help is much appreciated.
Thanks.
Most people usually use google to search forums.I have tried. The search engine they use on here is garbage.
If you found any information out on flipping out glass windshield I’ll be very interesting that if you can call me thanks name is Mark phone number is 1-505-350-1396This forum is extremely difficult to navigate. Someone used a stock glass Honda windshield and made it into a tip out. I am trying to find that post. Any help is much appreciated.
Thanks.
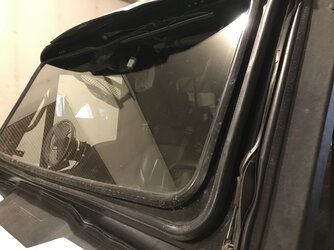
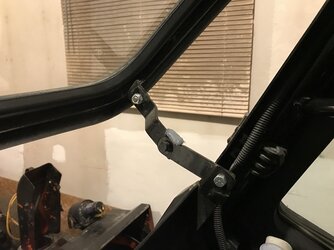
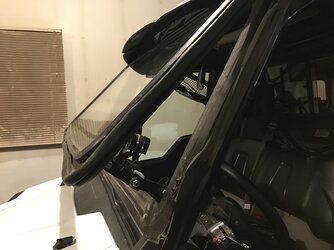
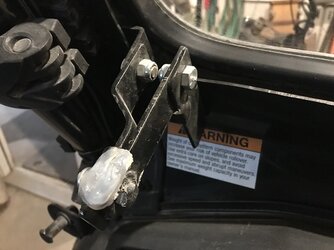
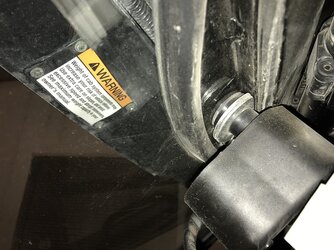
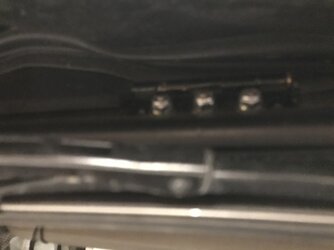
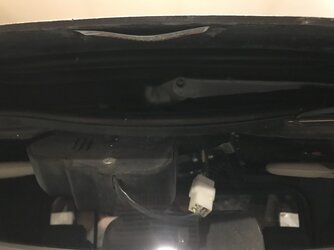
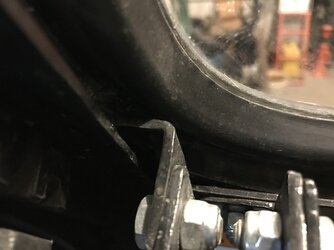
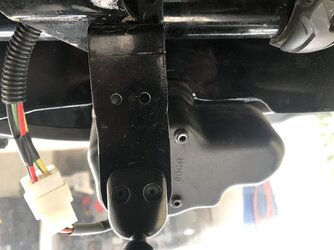
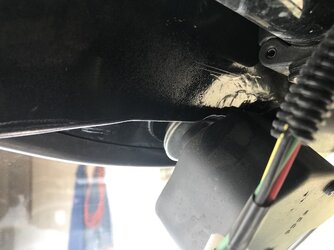
Wow! you actually re-engineered the whole window frame, not using any part of the original frame. Good Job... Little out of my league.I bought a 2016 P3 1000 last summer and did make my window tip out. Lots of work involved to doing it. I basically made another frame out of 1/8" x 2" flat stock.. First I took out the windshield then The frame was made so that it pretty much matched the window opening perfectly, so that I could use the same glass. I had to add a bit of extra metal into each corner to get the radius filled in. The upper part was tough because I had to add more in the frame to allow for the downward curve of the window . The bottom frame was also tough because of how little the lower portion is. It was a lot of work because you have to make sure you can use the old windshield glass etc. The outer part of the frame has to also allow for use of automotive door weather stripping to seal up when closed.I'll have to take some pics as I haven't taken any. It will give you a idea of what it looks like. BTW it works like it's intended. I used a 1/8" x 1/2" flat bar on edge all the way around just inside the area where the rubber for the glass fits. For the opener and closer I made something similar to what older tractors used in there cabs. Here's some pics to give you a idea that it can be done. It's time consuming and pretty tedious work. The bottom of corners of the factory frame were cut out square to allow me to fit in the opener and closer . The oem window frame had to be cut out around the wiper motor as well to allow the outside window frame to close.
View attachment 267017 View attachment 267018 View attachment 267019 View attachment 267020 View attachment 267021 View attachment 267022 View attachment 267023 View attachment 267024 View attachment 271742 View attachment 271743
The oem frame is still there being used ?? The oem frame just had the bottom corners cut out square and the holder open and closeure linkages are in that area now and where the wiper motor fits. The oem frame still mounts onto the machine just like before. What was added in was another frame on the outside of the oem frame.Wow! you actually re-engineered the whole window frame, not using any part of the original frame. Good Job... Little out of my league.
The oem frame is still there being used ?? The oem frame just had the bottom corners cut out square and the holder open and closeure linkages are in that area now and where the wiper motor fits. The oem frame still mounts onto the machine just like before. What was added in was another frame on the outside of the oem frame.
Your right it didn't interfere with the the angle. The frame that the window fits in and the rubber weather striping in on still closes just above the bend. I basically used 2" x 1/8" flat steel and along the bottom edge I had to trim some of the metal away so that the lower piece is more like about 1 3/8 " in the center and angled to the outer edge were its 2". Yes it does workout to close proper. It took a lot of head scratching and shaping etc to get it to work. I'll see if I can get a better pic of the lower edge. I should have taken some pics of the build , just didn't .So guessing the OEM frame with its 30 degree angle, its bottom, didn't interfere with you new frame? How did you accomplish that work-around?
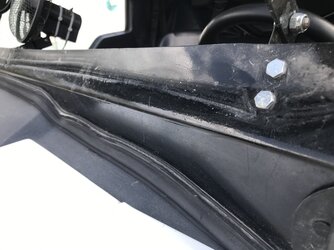
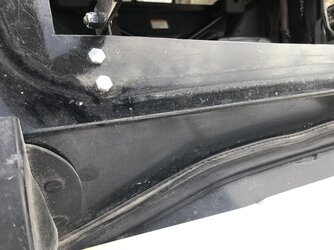
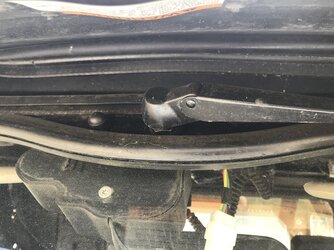
Yes I can see the situation very nicely with these pic's. You done a great job. Unfortunately for me, I do not have facilities, or recourses to master this kind of intense project. So I may have to farm this project out if going this direction.Some pics with the window open and dust showing where the rubber closes against the oem frame.
One other way of doing this less welding would be to have a sheet about 4" bigger then the window opening. You would then remove the glass and rubber ,lay the sheet of steel on top of the oem frame .Then trace out the window opening cut the center away and then you would only have to add in the 1/2 " stiffner and the hinges also what ever you would use for closer openers. Then holes for the wiper motor. Once your that far then it would be to trim off the bottom corners and a bit for where the wiper motor would sit. Easy peasy .
View attachment 272112 View attachment 272113 View attachment 272114

