iowaguy
Well-Known Member
Lifetime Member
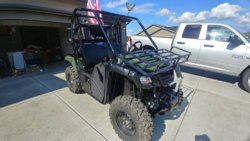
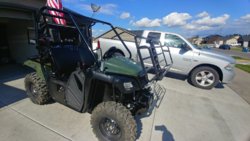
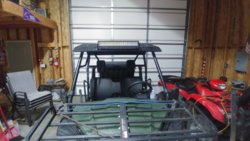
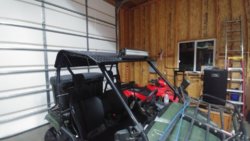
Good job! Did you not have enough material to come down lower in the back. Or is that just where you wanted to stop it?View attachment 10105 View attachment 10103 I used some of the 1/4" plastic I had leftover from the rear seat project,1/4" aluminum channel on the front and back to hold it ridged, and 4 Honda quick clamps,$36.00 for the clamps,$8.00 for the aluminum.it looks like there are ridges in the roof from the front view, it is just the reflection off the ceiling in shop
That's as far as I wanted to come down ,in the process of making a rear panel out of the same plastic and Plexiglas for dust protection to come up and meet it.Good job! Did you not have enough material to come down lower in the back. Or is that just where you wanted to stop it?
Nice. Will you be posting a pic of that as well?That's as far as I wanted to come down ,in the process of making a rear panel out of the same plastic and Plexiglas for dust protection to come up and meet it.
That's as far as I wanted to come down ,in the process of making a rear panel out of the same plastic and Plexiglas for dust protection to come up and meet it.
Only if it turns out decent ,lolNice. Will you be posting a pic of that as well?
Did that UHMW roof come out?Nice iowaguy. I was like wow the ridges in the roof look cool, how'd he do that with out them buckling Hahahaa. For the rear I'm just about finished making, using black 3mm thick UHMW and a piece of Lexan for a rear window. I used clear UHMW for my roof and added an aluminum tube across the top (above your head seated) to tie everything together. I will link some pix when I get finished. Also using flexible synthetic black (transport truck load cover) tarp under the seat that will tie into the rear wall of cab.
jrc
How
Did that UHMW roof come out?
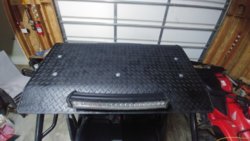
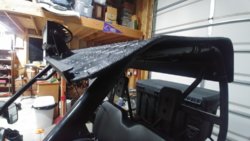
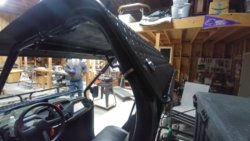
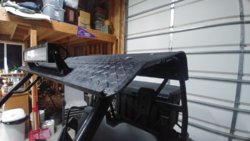
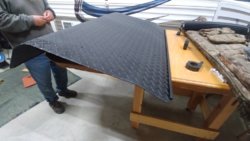
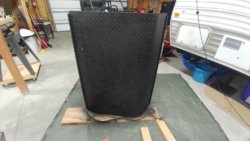
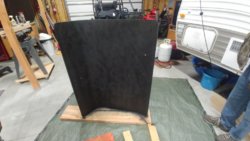
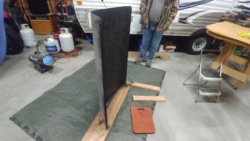
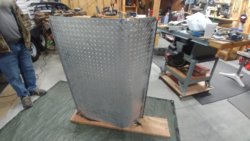
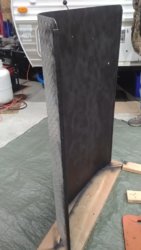
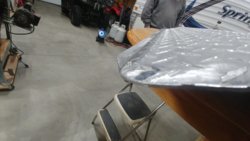
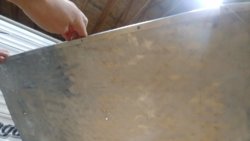
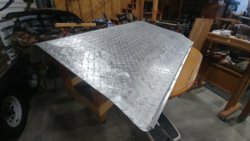
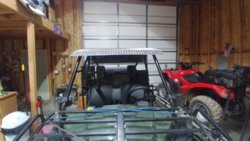
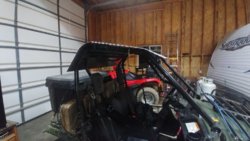
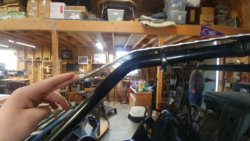
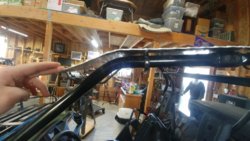
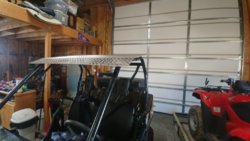
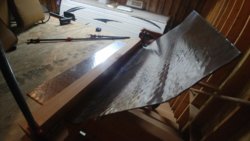
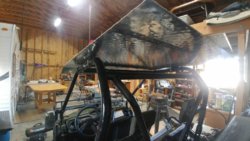
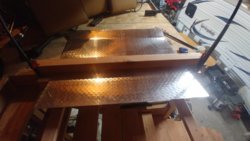
I just finished my roof.
That’s an impressive amount of innovative work!!!I just finished my roof.
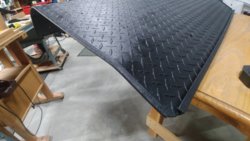
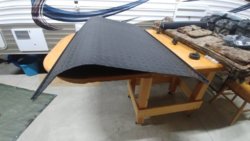
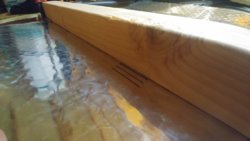
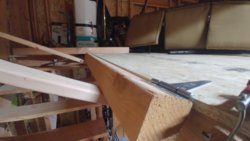
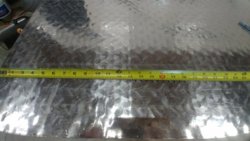
I used 1/8 aluminum diamond plate. I marked bend locations at 1/2" increments and used a makeshift break to bend the sheet. The break was 4x4 posts with heavy hinges mounted to the loft in my shop.
After bending, I mounted it with conduit clamps and drove it for a few trips to get a feel for how much I wanted to remove from the front and rear.
After cutting off the excess, I rounded the corners and riveted on a drip edge the front and rear. The drip edges are 1/2" aluminum channel. I then ruffed the entire surface with a drill and a wire wheel. I also ground down the diamonds near the edges to allow from trim at a later stage.
Instead of paint, I opted for Rustoleum truck bed coating. I've never used it, but I figured it would be more durable than paint. On the edges, I added Trimloc edging.
The final step was mounting the light bar and mounting it to the Pioneer with rubber coated conduit clamps.
View attachment 97241 View attachment 97242 View attachment 97243 View attachment 97244 View attachment 97245 View attachment 97246 View attachment 97247 View attachment 97248 View attachment 97249 View attachment 97250 View attachment 97251 View attachment 97252 View attachment 97253 View attachment 97254 View attachment 97255 View attachment 97256 View attachment 97257 View attachment 97258 View attachment 97259 View attachment 97260 View attachment 97261 View attachment 97262 View attachment 97263 View attachment 97264 View attachment 97265 View attachment 97266 View attachment 97267 View attachment 97268
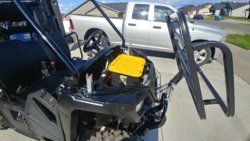
Very nice work. I am intrigued by the front rack/basket and would appreciate any comments on it as well as a picture.
