Snorkel Your ATV Snorkel Install:
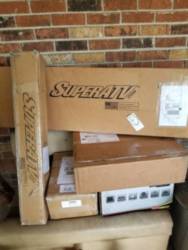
I finally got around to installing my Snorkel. I was not happy with this purchase initially. It reads on their website that this kit is "easily removable for warranty work" while it is easily removable you will have to cut your factory snorkel to install. To me, that will 100% void your warranty if you bring your bike in with a cut intake tube lol!!! This was a big concern for me because i purchased the 4 year extended warranty. Anyways, I found a cheap and easy remedy for this. I ordered a new factory snorkel from cheapcycleparts.com for $17 and some change! I set my factory snorkel to the side, cut the new factory one and installed my new snorkel. Simple as that.
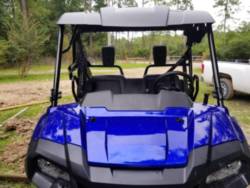
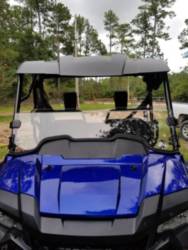
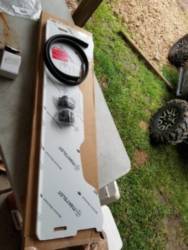
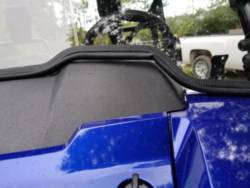
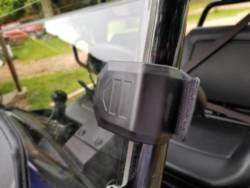
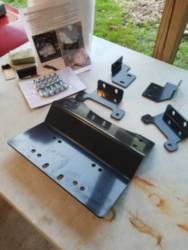
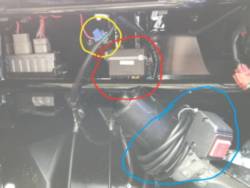
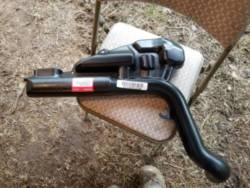
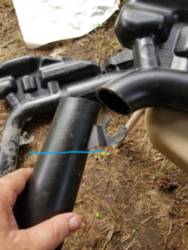
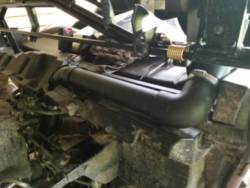
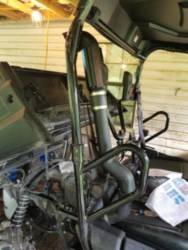
For the install: The directions they send absolutely suck but with a few minutes of thought and some mechanical skills it goes together easy. 1st you have to cut your factory snorkel. You need to cut it right below the "hook" that holds your fuel line. I cut it above the 1st time because I was hoping to reuse it. So make your cut where the blue line is in the included pic. This cut can be made while on the bike but since I changed out the factory snorkel I completely removed it. To do this you will need to remove the latch bar for the dump bed. Most of the kit is pre assembled so really you just piece the puzzle together and connect via the included 2" rubber boots. The location of the snorkel jams up the seat belt some but it's not a deal breaker. Once you install the warrior riser which is the top of the snorkel it simply zip ties to the roll cage. Be sure to use some type of adhesive to glue on the warrior tip. I chose to use a small dab of silicone.
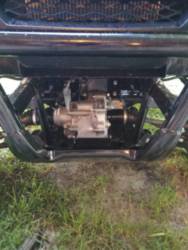
Now for the vent lines. The new snorkel allows you to be able to route 2 clear lines (included in kit) up to the top or tip of the snorkel. Problem is you have 4 lines to vent which are: Front diff, Rear diff, Radiator fan and fuel tank vent. Directions tell you to run rear diff and fuel vent up the snorkel and the other 2 up roll cage. I vented just like it said but bought 2 Tee's and connected the front lines to rear lines. So all 4 now vent up the 2 lines running up to the tip of snorkel. I forgot to take a pic of finished product and vent lines so if you have any questions please ask. I will include those pics later.
In short:
This product does exactly what is supposed to do. I do not ever plan on needing it or going in water deeper than the floor boards but I have it just in case!!! Even though I was let down in the beginning and have since discovered another brand of snorkel that does not require cutting I have to give it an A-.
I was really short on time for this write up/review so I feel like the installation description is short and vague so if you have questions feel free to ask. Hope this helps!
Sent from my SM-G955U using Tapatalk
