J
JTW
Guest
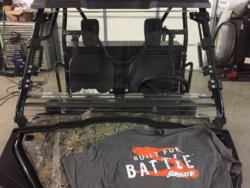
The SuperAtv flip windshield is a great addition to the Pioneer 500..

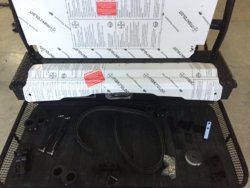
Install was a breeze.
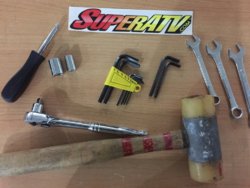
Tools needed..
Ratchet
10mm socket
14mm socket
10mm wrench
12mm wrench
13mm wrench
3/16 Allen wrench
5/32 Allen wrench
Screw driver
Clamp
Mallet- after mounting adjustment
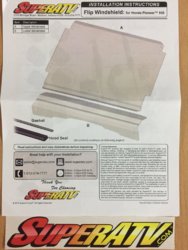
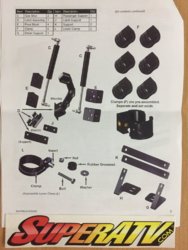
Start by peeling off the protective film on the lower portion of the windshield. Before mounting to the rops place gasket along the bottom edge (for an easier fit.. put the gasket in a pillowcase and toss in the dryer 30-45 minutes, until warm and pliable)
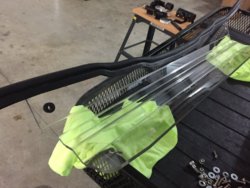
Then install upper bracket for the lower windshield and the windshield catch.
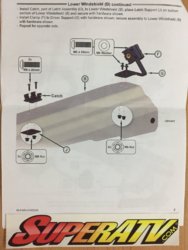
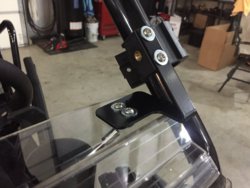
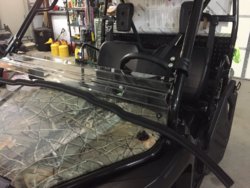
You can now trim the excess gasket ends once you have the lower windshield positioned to you liking, snuggly against the hood.
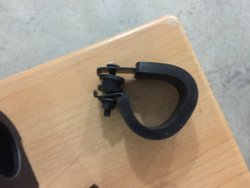
You can now install the lower windshield retainer clamp by inserting the rubber grommet into the windshield hole.
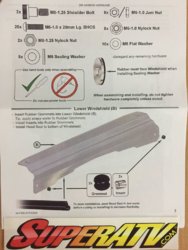
Wrap the retainer clamp around the rops and tighten. I found a vice clamp handy to hold things tight.
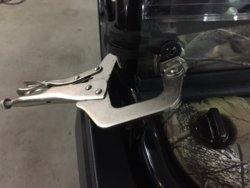
Secure the back of the upper clamp and careful apply windshield gasket foam to the lower half.
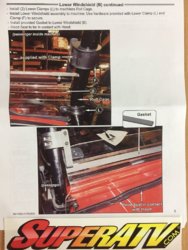
Now it's time to move to the upper half.
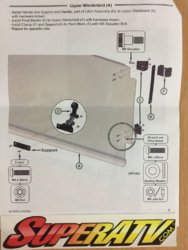
Peel away protective film and mount upper brackets and windshield latch.
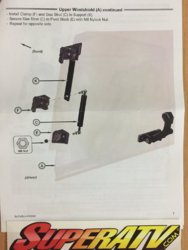
Mount gas shocks to the lower bracket and place upper windshield on the rops.
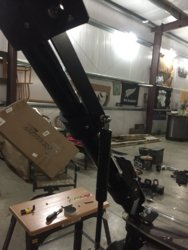
At this point loosely fit the back of the brackets to the rops.
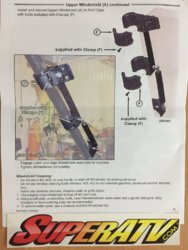
I found it easiest to open the windshield to mount the lower portion of the gas shock. Once mounted and secure, tighten the back of the brackets and use the mallet to adjust as needed by gently taping the brackets up or down.
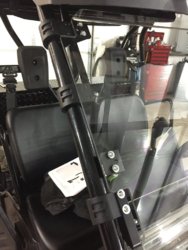
You now have an awesome scratch resistant hard coat windshield and are ready to ride!
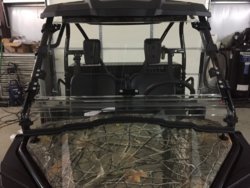

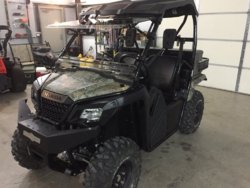
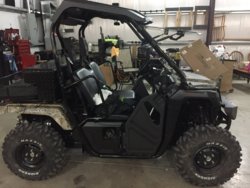
The SuperATV flip out windshield works great and allows ample air flow when in the upright position. With the windshield up and riding the trails, I experienced no issues with it flopping around or excessive vibration. See videos below.
***FYI.. any bracket issues you may have read about do not affect the p500 as it has smaller rops!!!


Install was a breeze.
Tools needed..
Ratchet
10mm socket
14mm socket
10mm wrench
12mm wrench
13mm wrench
3/16 Allen wrench
5/32 Allen wrench
Screw driver
Clamp
Mallet- after mounting adjustment


Start by peeling off the protective film on the lower portion of the windshield. Before mounting to the rops place gasket along the bottom edge (for an easier fit.. put the gasket in a pillowcase and toss in the dryer 30-45 minutes, until warm and pliable)

Then install upper bracket for the lower windshield and the windshield catch.


You can now trim the excess gasket ends once you have the lower windshield positioned to you liking, snuggly against the hood.

You can now install the lower windshield retainer clamp by inserting the rubber grommet into the windshield hole.

Wrap the retainer clamp around the rops and tighten. I found a vice clamp handy to hold things tight.

Secure the back of the upper clamp and careful apply windshield gasket foam to the lower half.

Now it's time to move to the upper half.

Peel away protective film and mount upper brackets and windshield latch.

Mount gas shocks to the lower bracket and place upper windshield on the rops.

At this point loosely fit the back of the brackets to the rops.

I found it easiest to open the windshield to mount the lower portion of the gas shock. Once mounted and secure, tighten the back of the brackets and use the mallet to adjust as needed by gently taping the brackets up or down.

You now have an awesome scratch resistant hard coat windshield and are ready to ride!


The SuperATV flip out windshield works great and allows ample air flow when in the upright position. With the windshield up and riding the trails, I experienced no issues with it flopping around or excessive vibration. See videos below.
***FYI.. any bracket issues you may have read about do not affect the p500 as it has smaller rops!!!

Last edited by a moderator:

