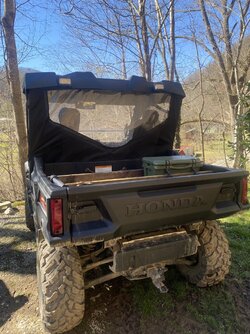
scttwlsn45
Well-Known Member
Supporting Member
Okay new member, first post here goes. Hope it helps someone.
So I’m coming over from an old Polaris ranger I picked up used. Since the Polaris wasn’t wroth a whole lot of time and money I installed accessories the quick and dirty way. I decided I wanted to treat this machine better than the old one and do things as right as possible.
Accessory number one was a 5 panel rearview because I hated the bubble mirror in the old machine
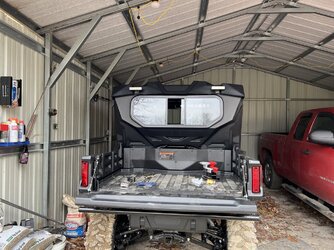
But this post is accessory number 2. Back up lights. So, I wanted the OE hard back panel so I had to go with the Honda roof as well. With both on they match up to one another so well it’s almost like it was made to fit together. The problem is I didn’t have any access to the roll cage from outside the machine, so normal install wasn’t possible.
I got the club store dual back up light kits and this is how I did it with the factory roof and hard back panel.
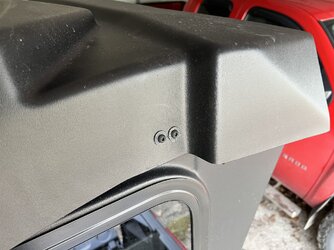
Note the two hex cap bolts. I removed them and the brackets from the kit would fit there but the roof interfered.
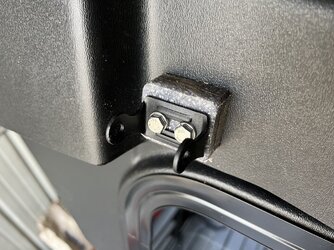
I needed a spacer to go between the roof and the bracket or longer brackets. I figured spacers was the way to go. So, I got a plastic cutting board from the store and cut it into roughly 1” x 1 1/2” rectangles. I marked and drilled slightly oversized holes (5/15” ish) and installed two blocks behind each bracket and bolted them in with some m6x 40 bolts and installed the lights back into the brackets
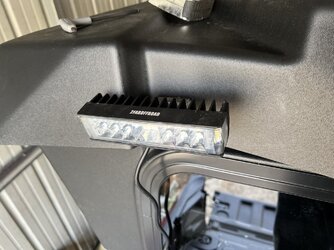
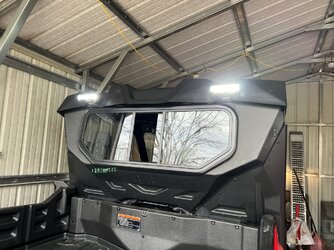
All I had to do was tuck wires and run them down to the plug for the back up alarm
Tools
4mm Allen
10mm socket
8 mm socket and nut driver
Something to cut the cutting board (I used a sliding miter saw)
Drill bit if the appropriate size (I made my holes a little sloppy to aid reinstall)
Plus the normal stuff pliers, screwdriver and etc
Thanks for the great ideas and a great product
So I’m coming over from an old Polaris ranger I picked up used. Since the Polaris wasn’t wroth a whole lot of time and money I installed accessories the quick and dirty way. I decided I wanted to treat this machine better than the old one and do things as right as possible.
Accessory number one was a 5 panel rearview because I hated the bubble mirror in the old machine
But this post is accessory number 2. Back up lights. So, I wanted the OE hard back panel so I had to go with the Honda roof as well. With both on they match up to one another so well it’s almost like it was made to fit together. The problem is I didn’t have any access to the roll cage from outside the machine, so normal install wasn’t possible.
I got the club store dual back up light kits and this is how I did it with the factory roof and hard back panel.

Note the two hex cap bolts. I removed them and the brackets from the kit would fit there but the roof interfered.

I needed a spacer to go between the roof and the bracket or longer brackets. I figured spacers was the way to go. So, I got a plastic cutting board from the store and cut it into roughly 1” x 1 1/2” rectangles. I marked and drilled slightly oversized holes (5/15” ish) and installed two blocks behind each bracket and bolted them in with some m6x 40 bolts and installed the lights back into the brackets


All I had to do was tuck wires and run them down to the plug for the back up alarm

Tools
4mm Allen
10mm socket
8 mm socket and nut driver
Something to cut the cutting board (I used a sliding miter saw)
Drill bit if the appropriate size (I made my holes a little sloppy to aid reinstall)
Plus the normal stuff pliers, screwdriver and etc
Thanks for the great ideas and a great product
Last edited:


