A
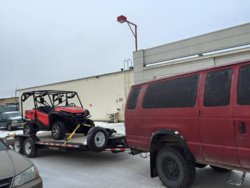
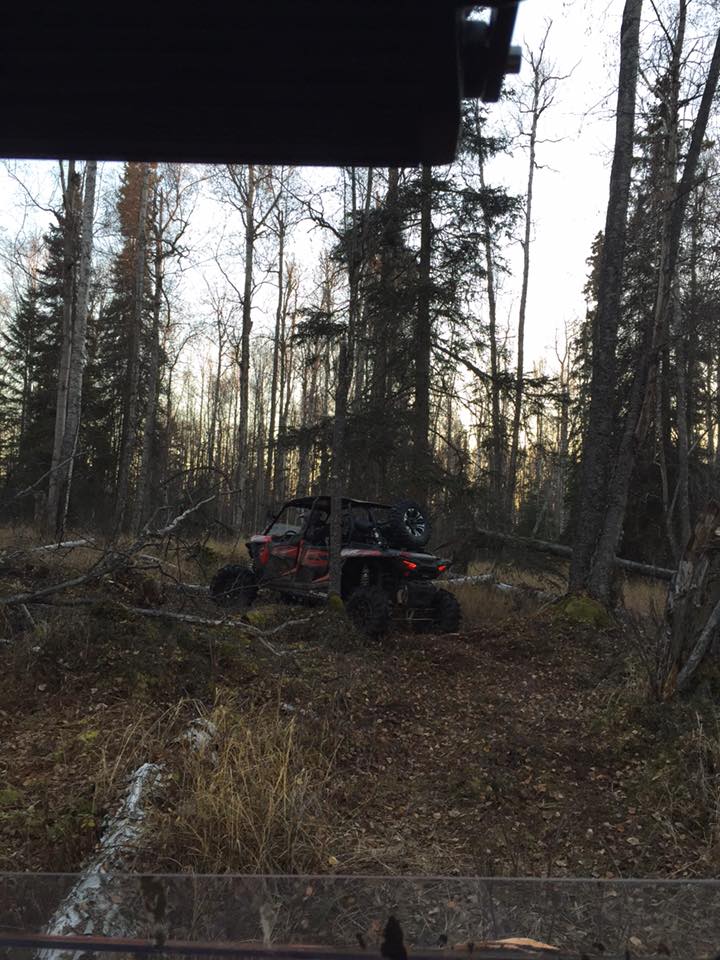
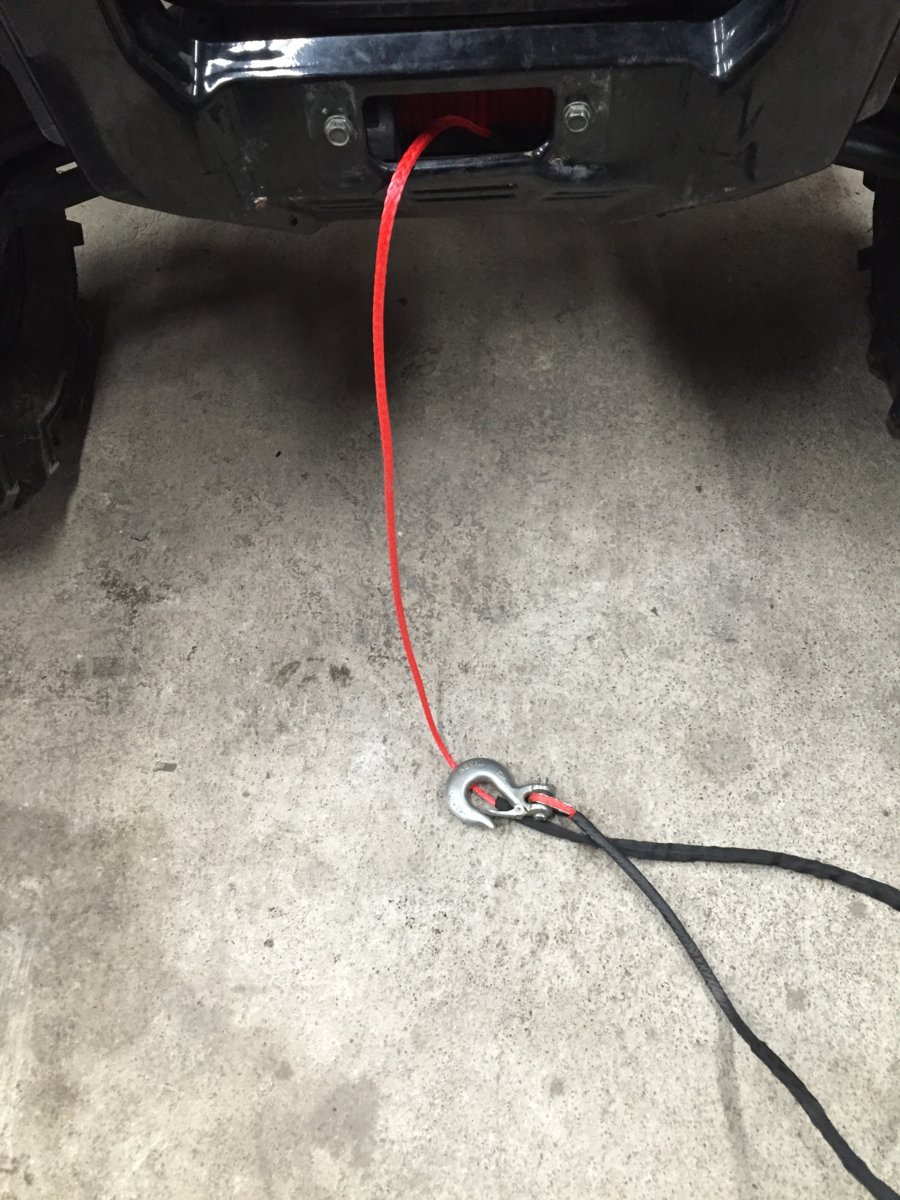
Ended up pulling a Commander 15 miles back to camp. Video doesn't do it justice. I made it to the top of the hill quicker than the camera man expected.
Monument was an easy stroll for the honda, went up there twice. Took the trail north toward the Nelchina also, went back to the river.How far back did you go?
How was monument in the honda?

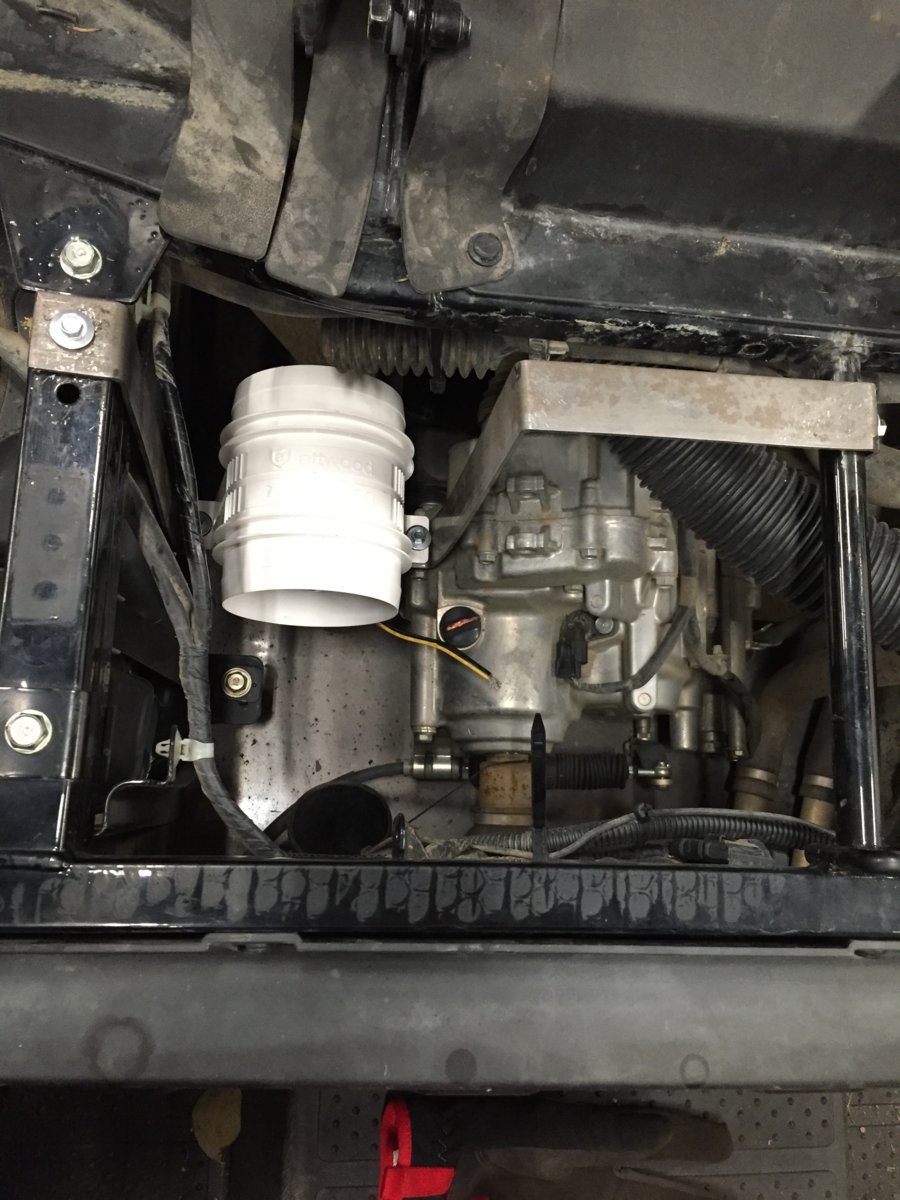
i love how u did the 3" pipe for the rear did that work as well as expected? mine is bone stock and I am installing street rays 2.5" spacers on the front so would I have to measure them and add the same height in the rear? and lastly did it effect your self leveling at all that you know of thanks for our time nice mod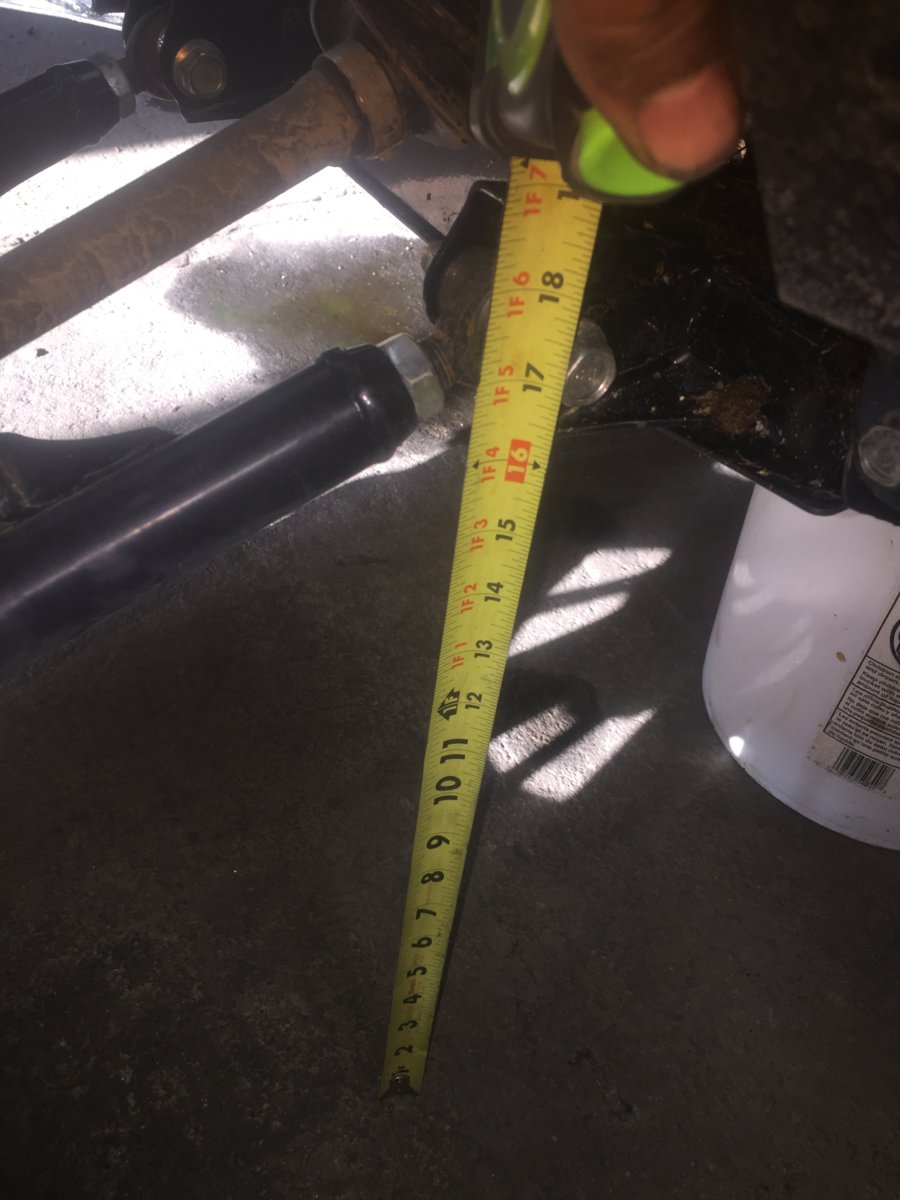
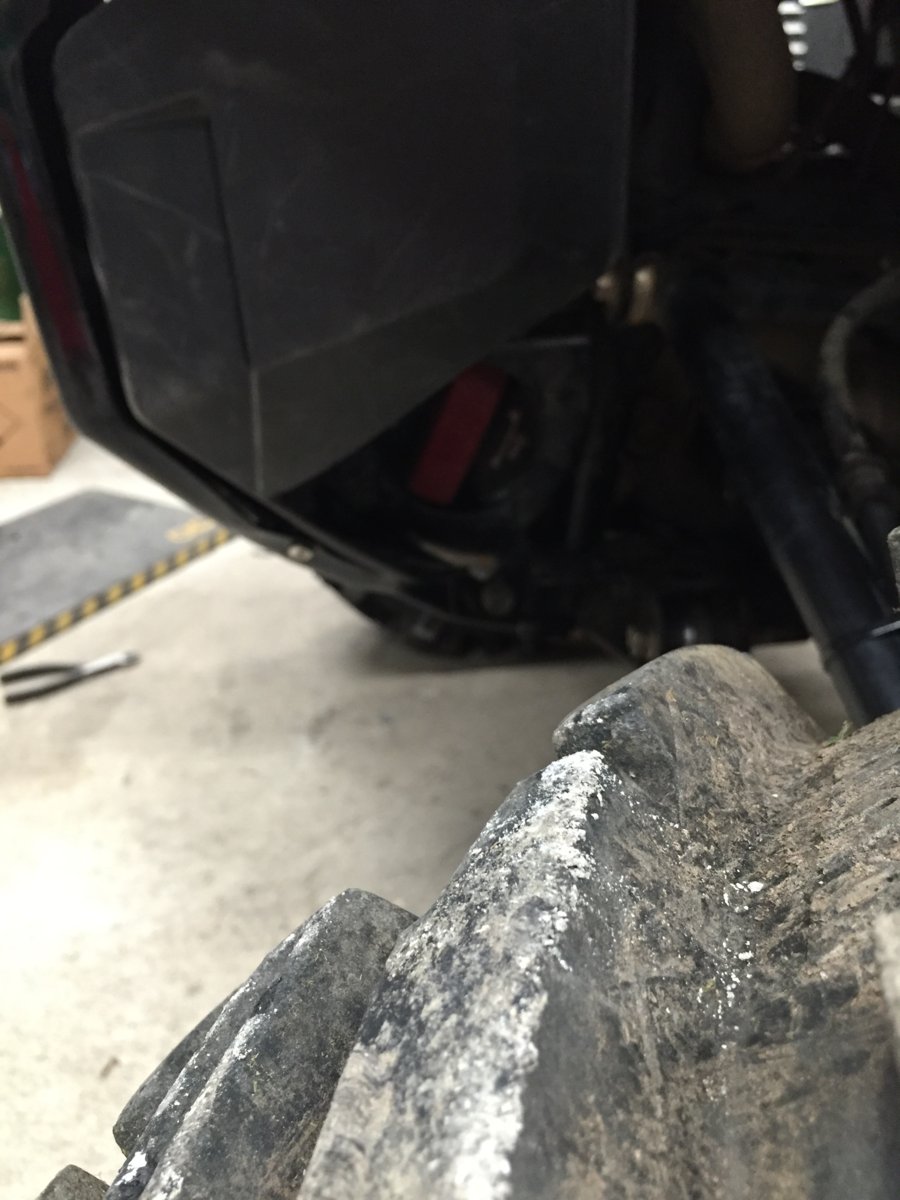
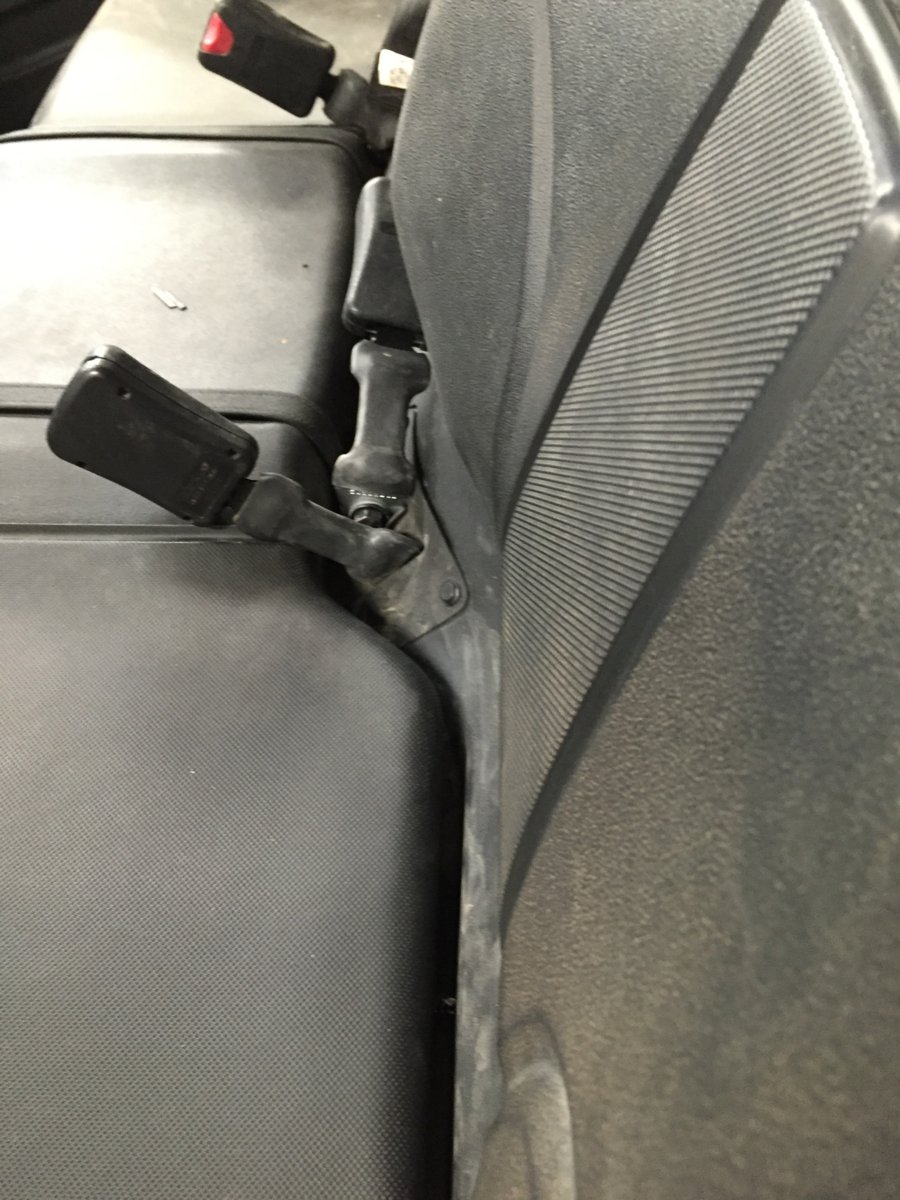
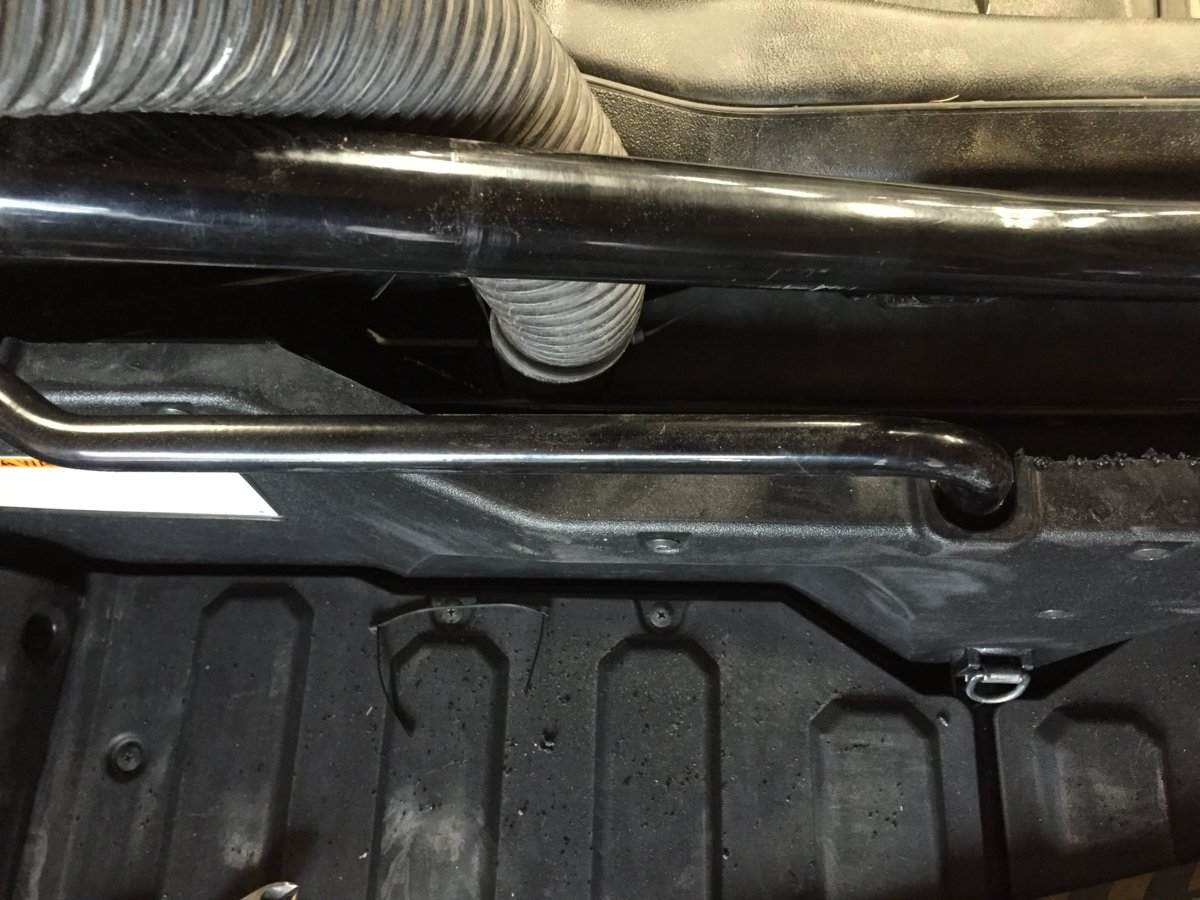
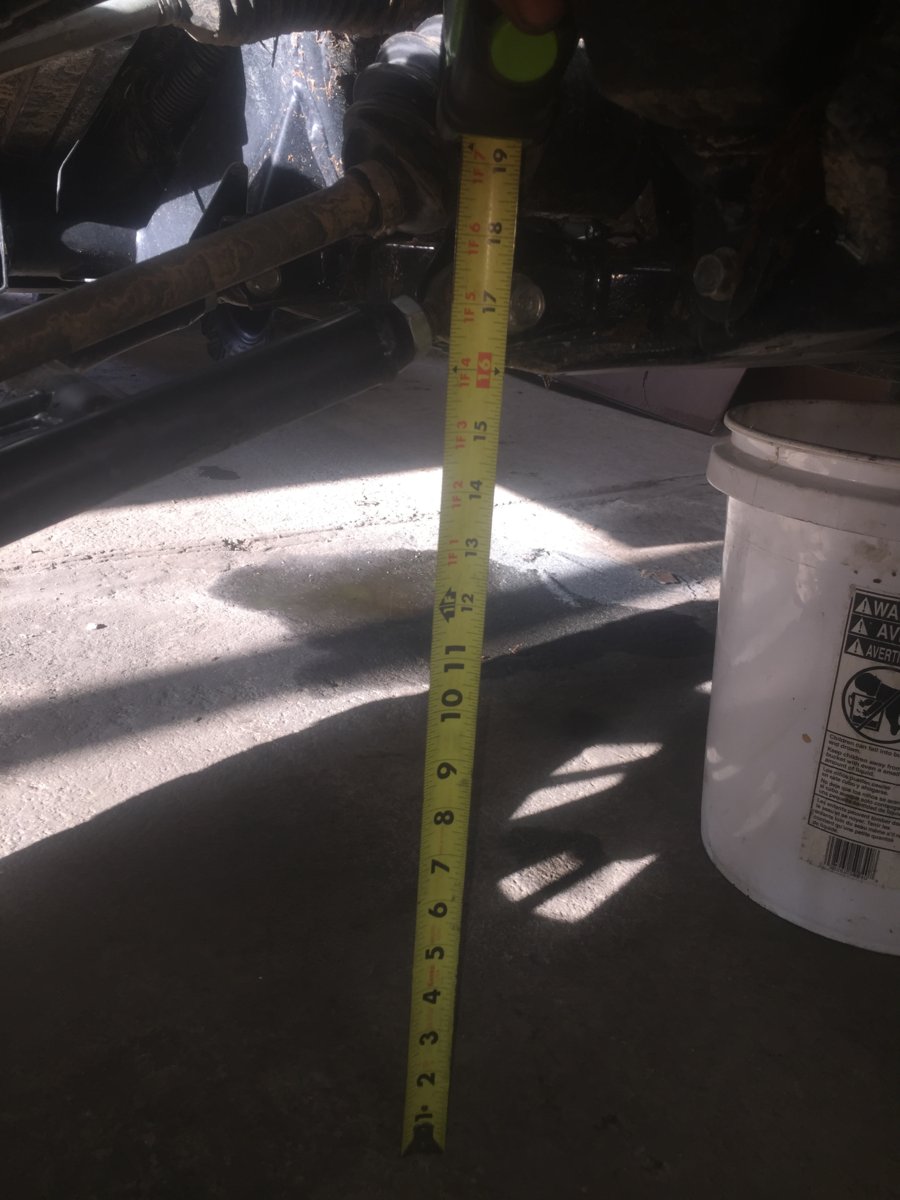
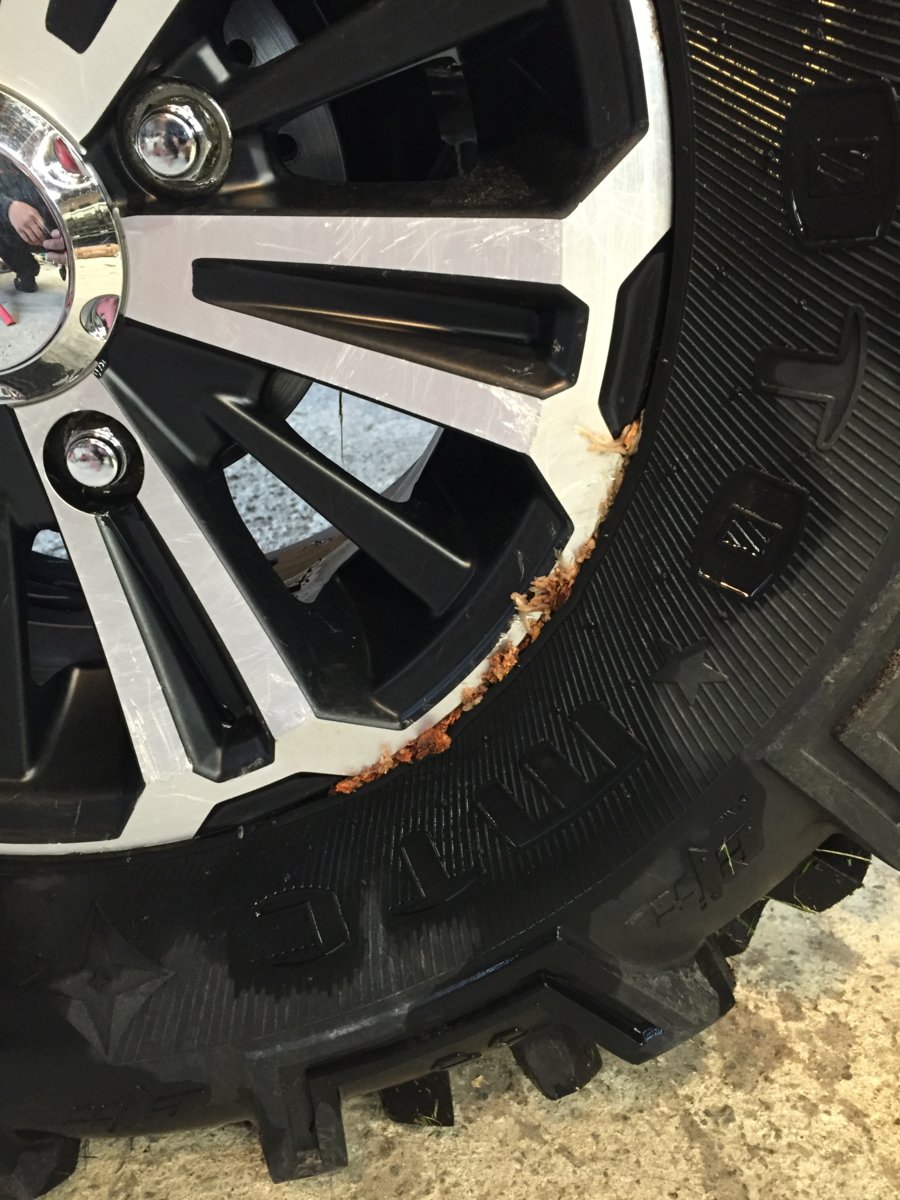
Clearance after spacers
- AK_Centurion
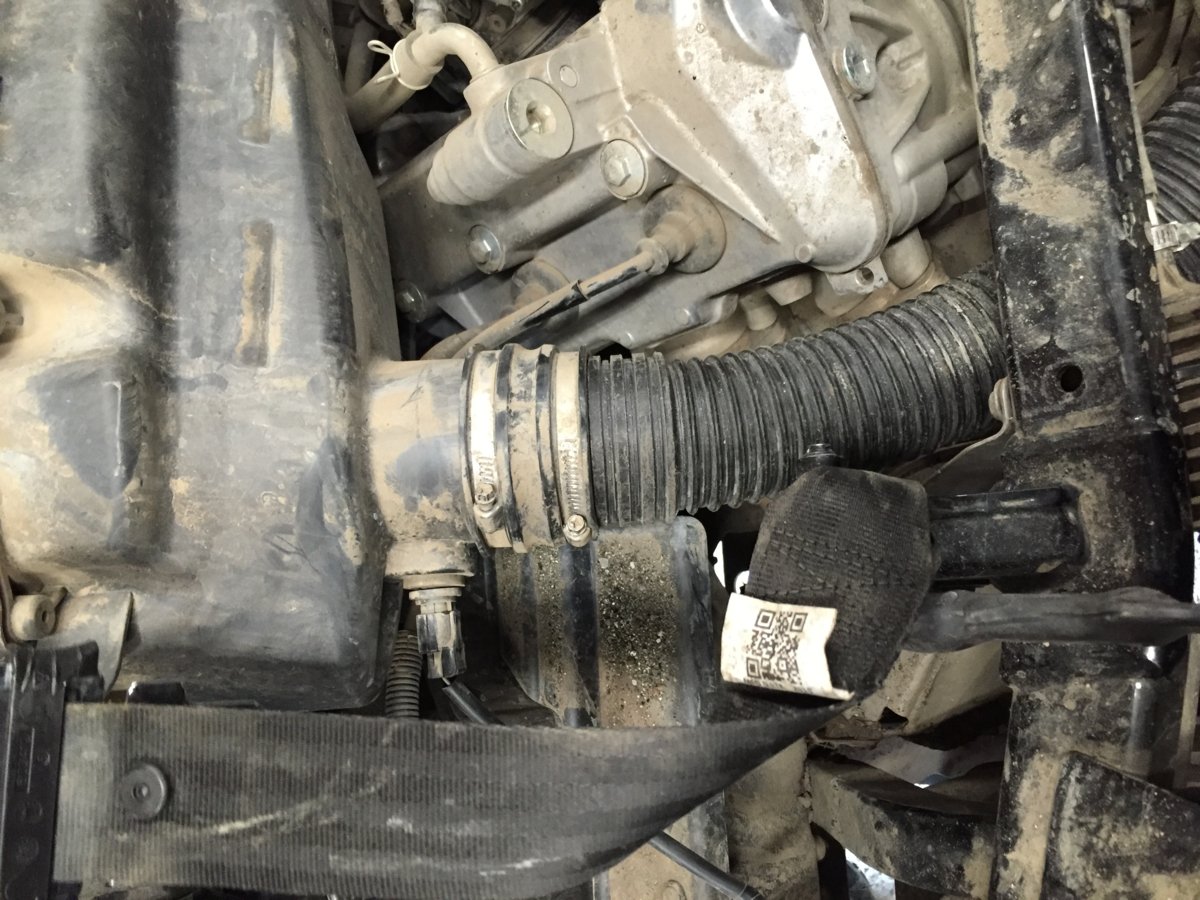
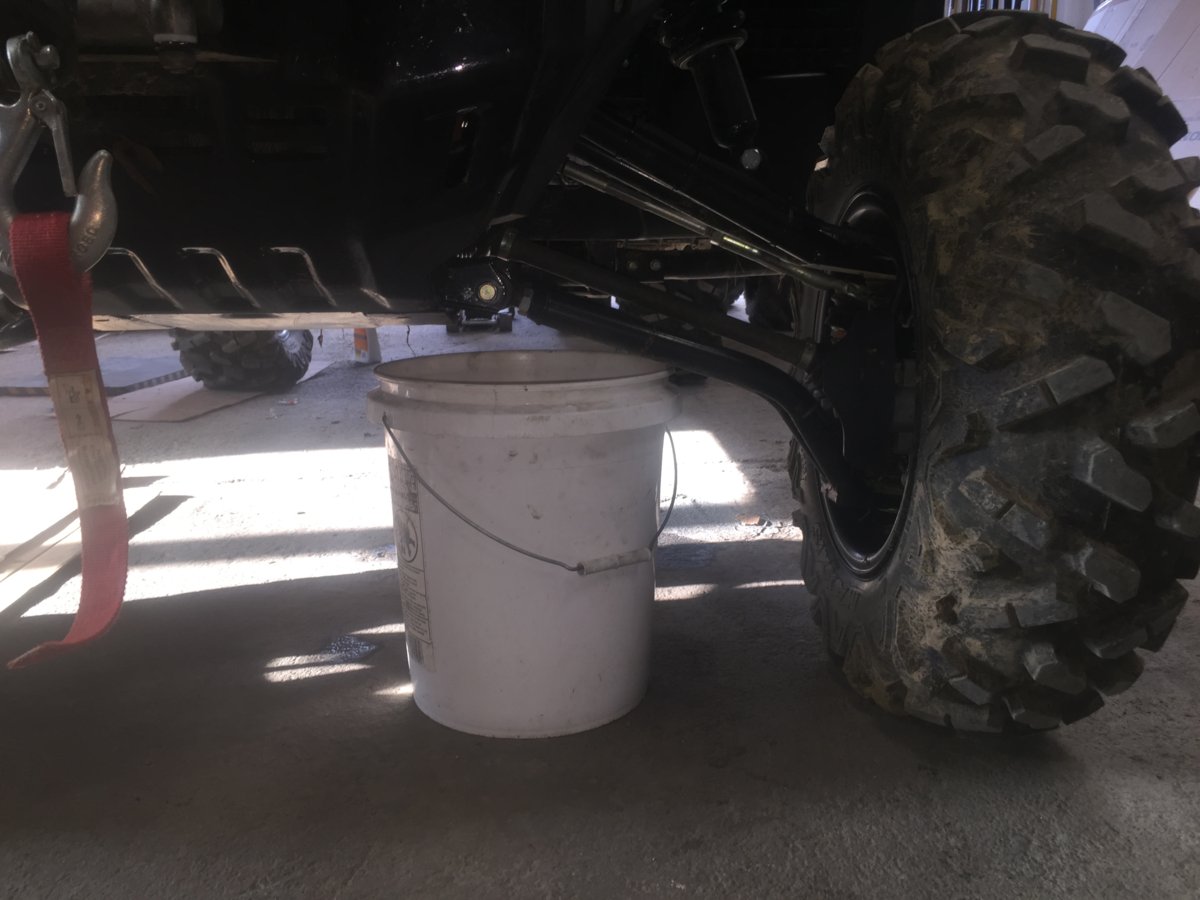
Clearance after spacer
- AK_Centurion
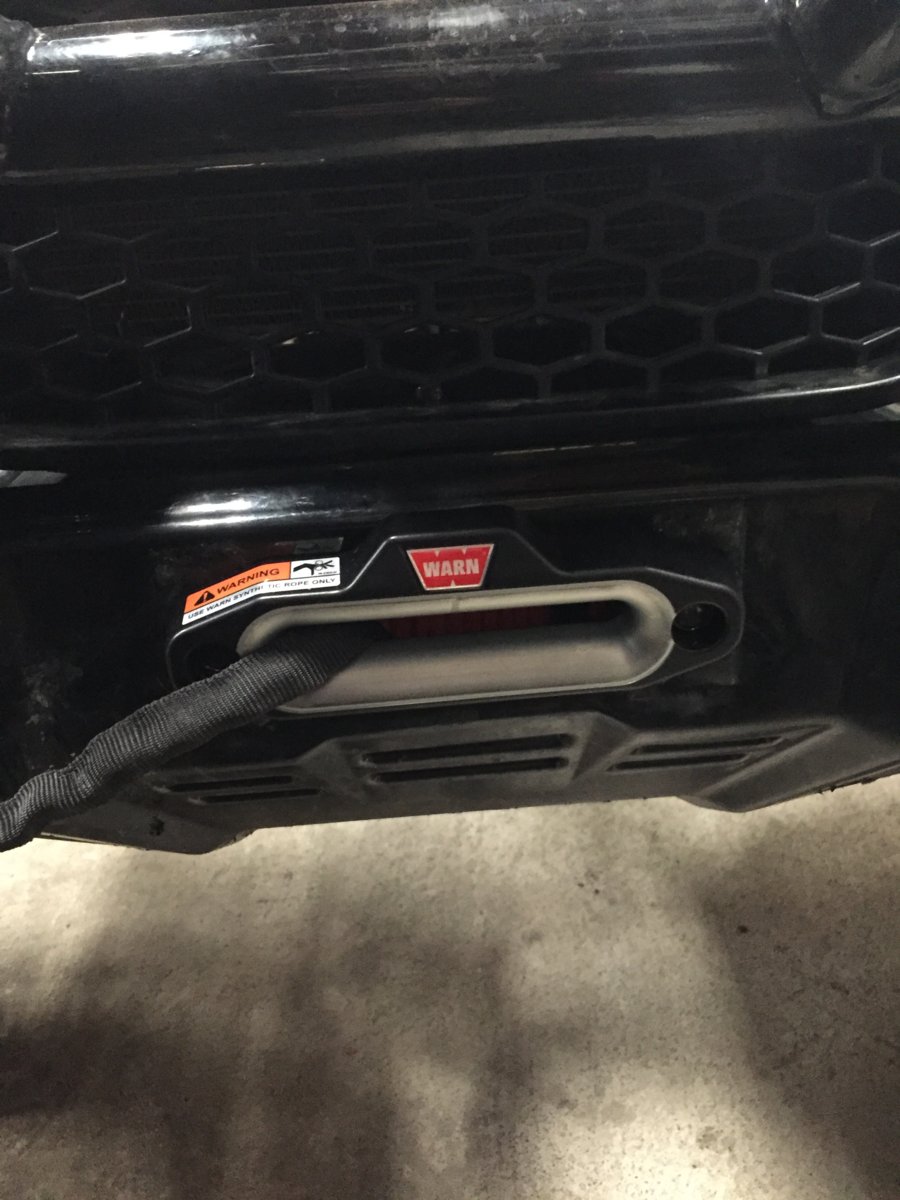
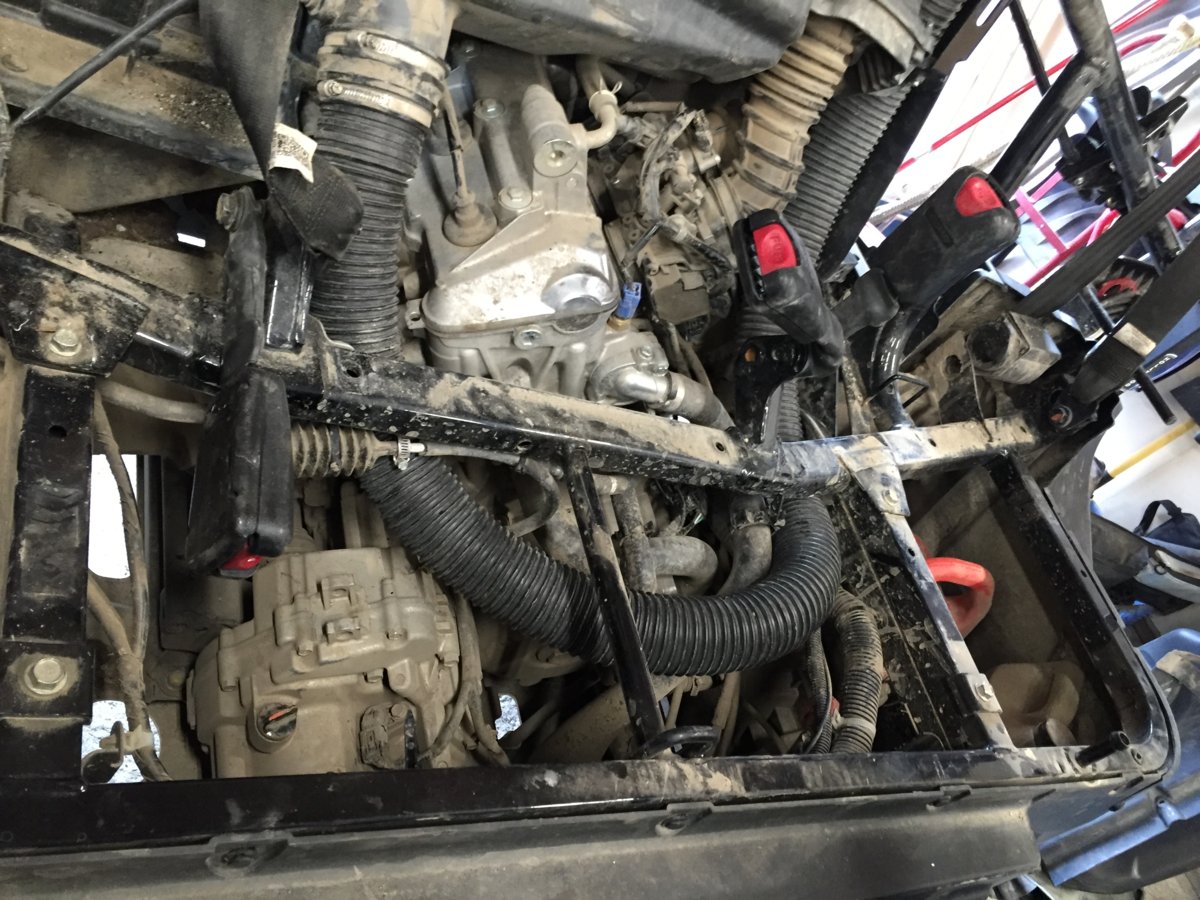
CATVOS arms and spacers
- AK_Centurion
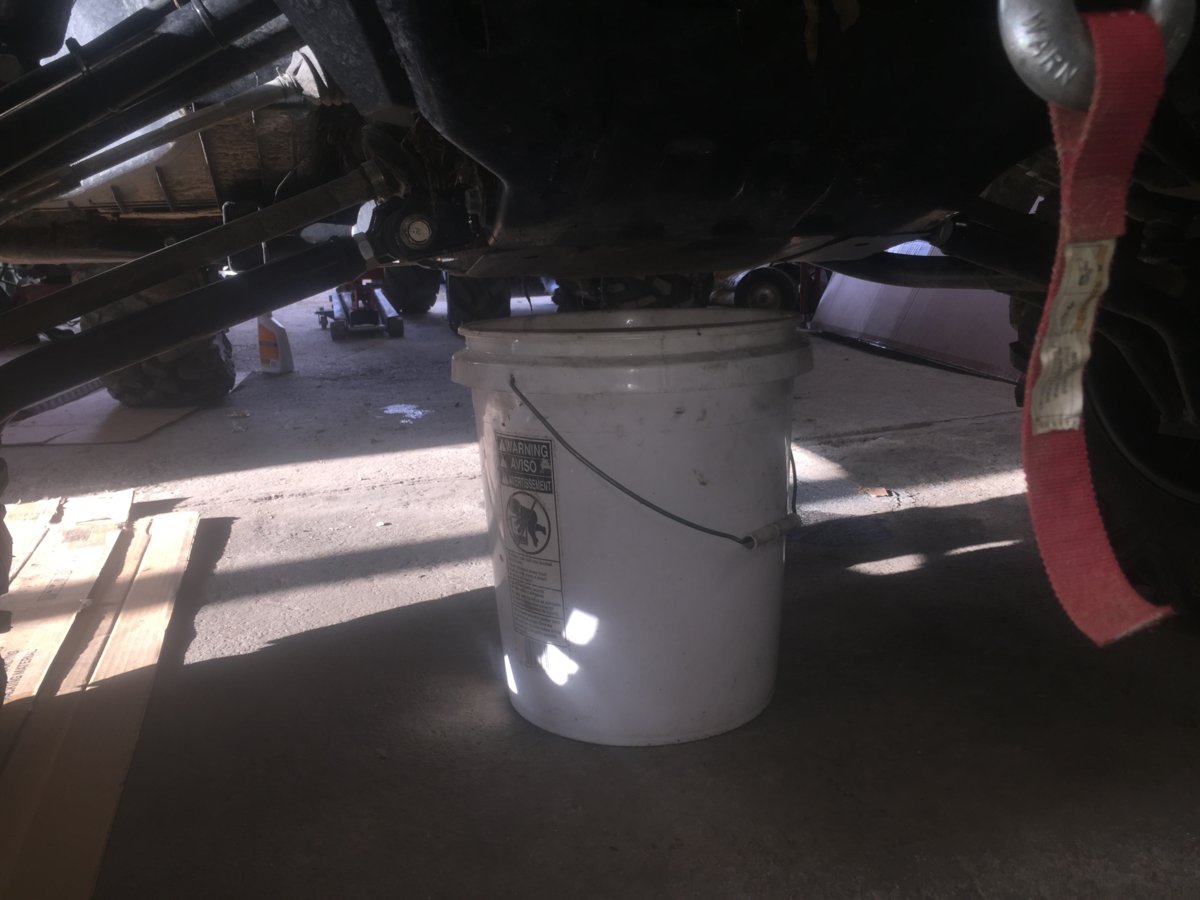
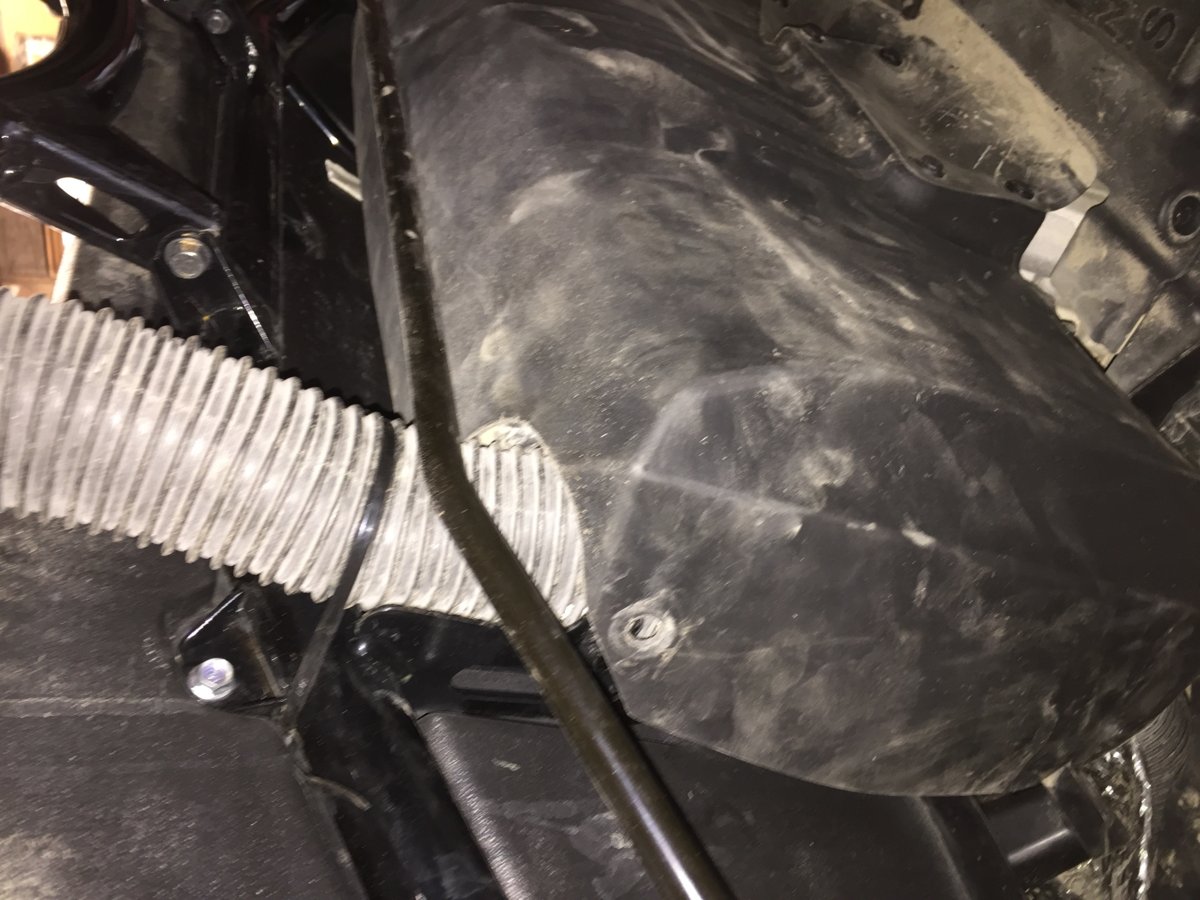
CATVOS arms and spacer
- AK_Centurion
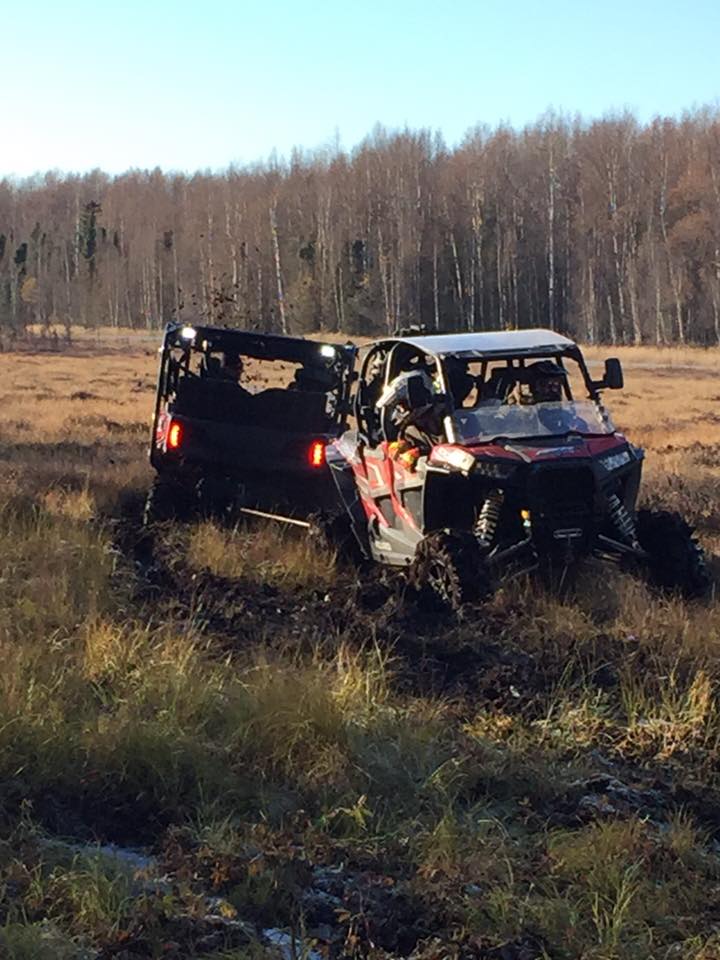

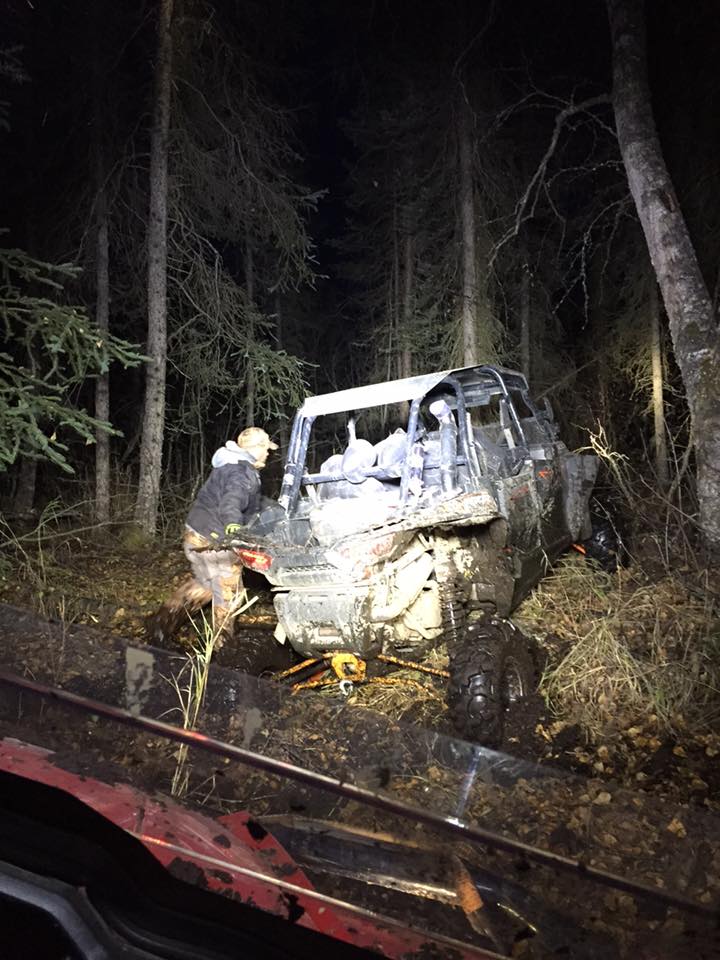
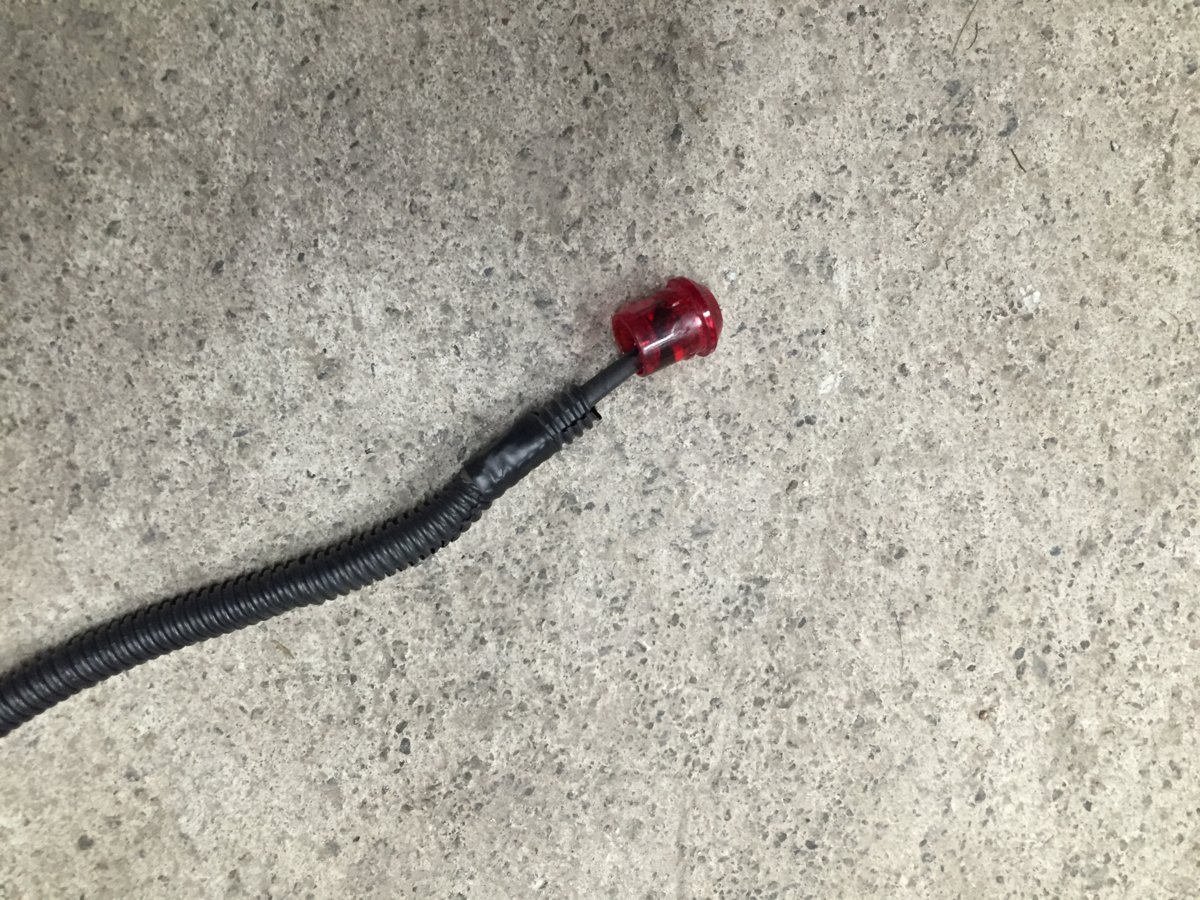
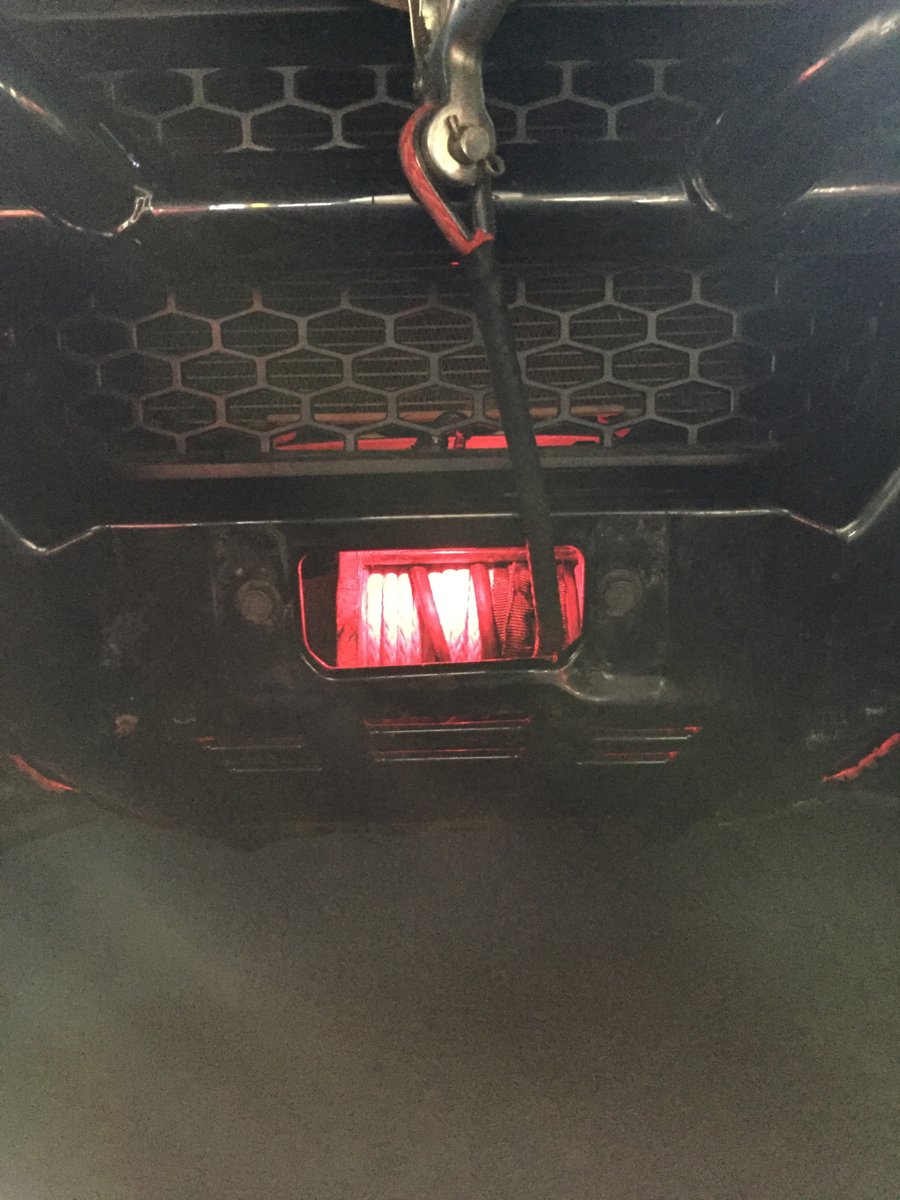

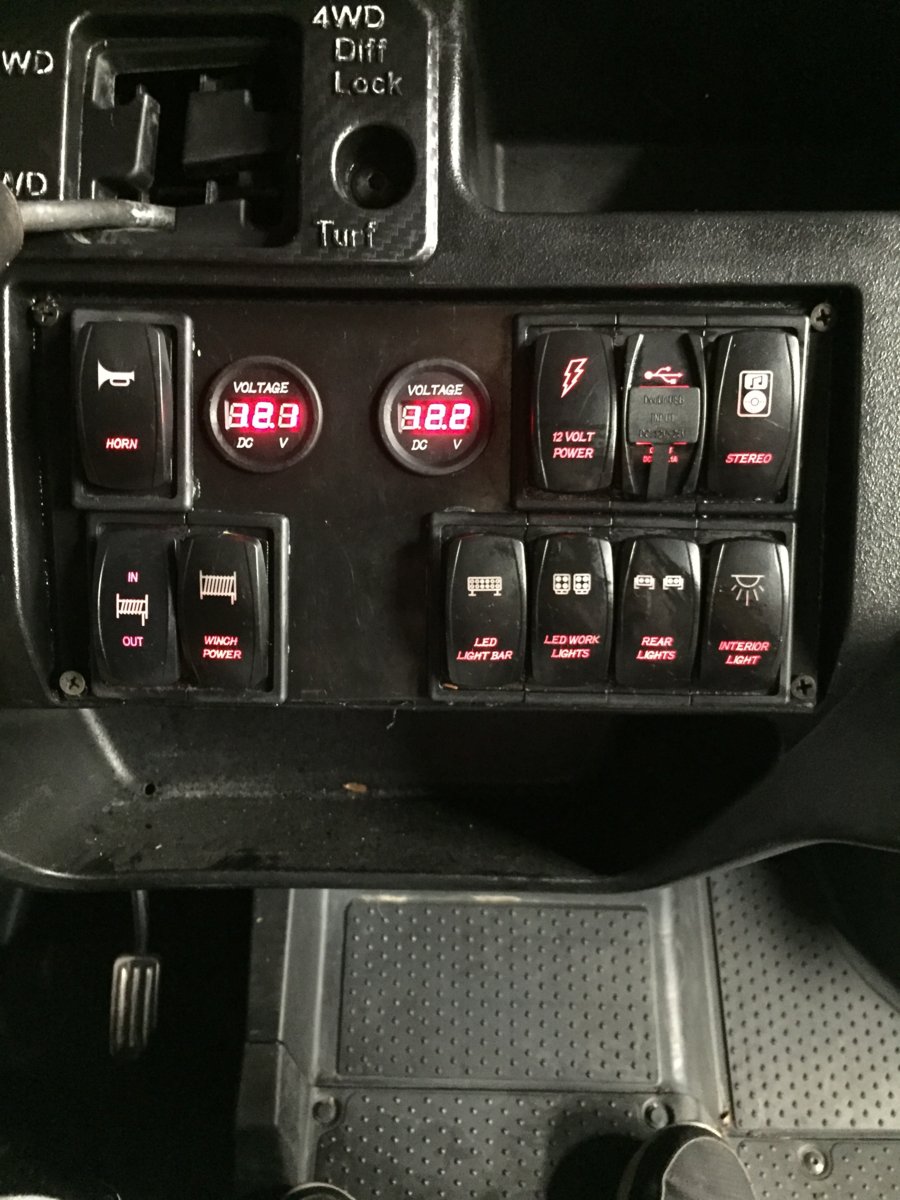
Josh, the guy that broke 3 axles was disappointed. The wife and I still had a great time. She had enough fun, that I'm allowed to spend even more on the Pioneer. It was a long night and tough ride, but everyone was still smiling when we got back!I really like the idea of the lit up winch that's great! Holy crap what an ordeal though I'm sorry to hear about your rig.
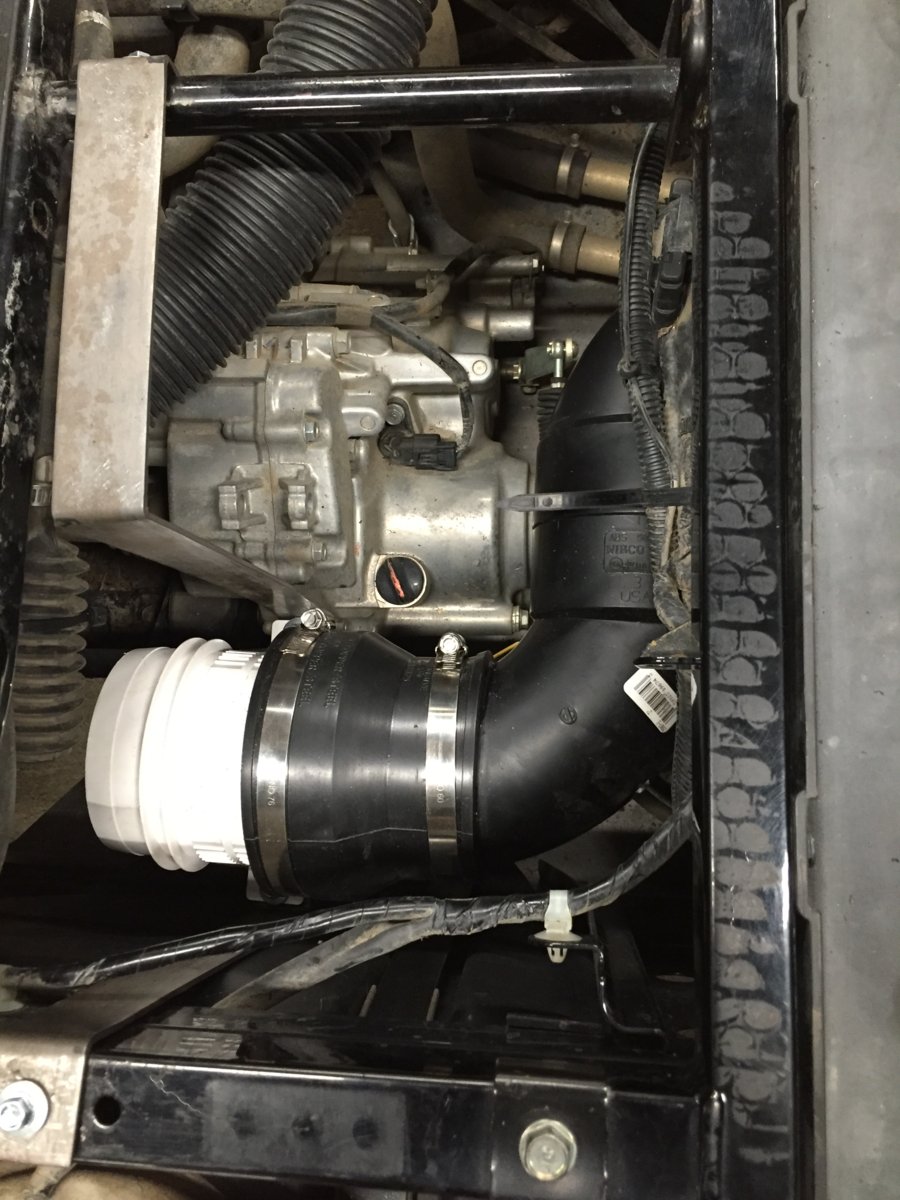
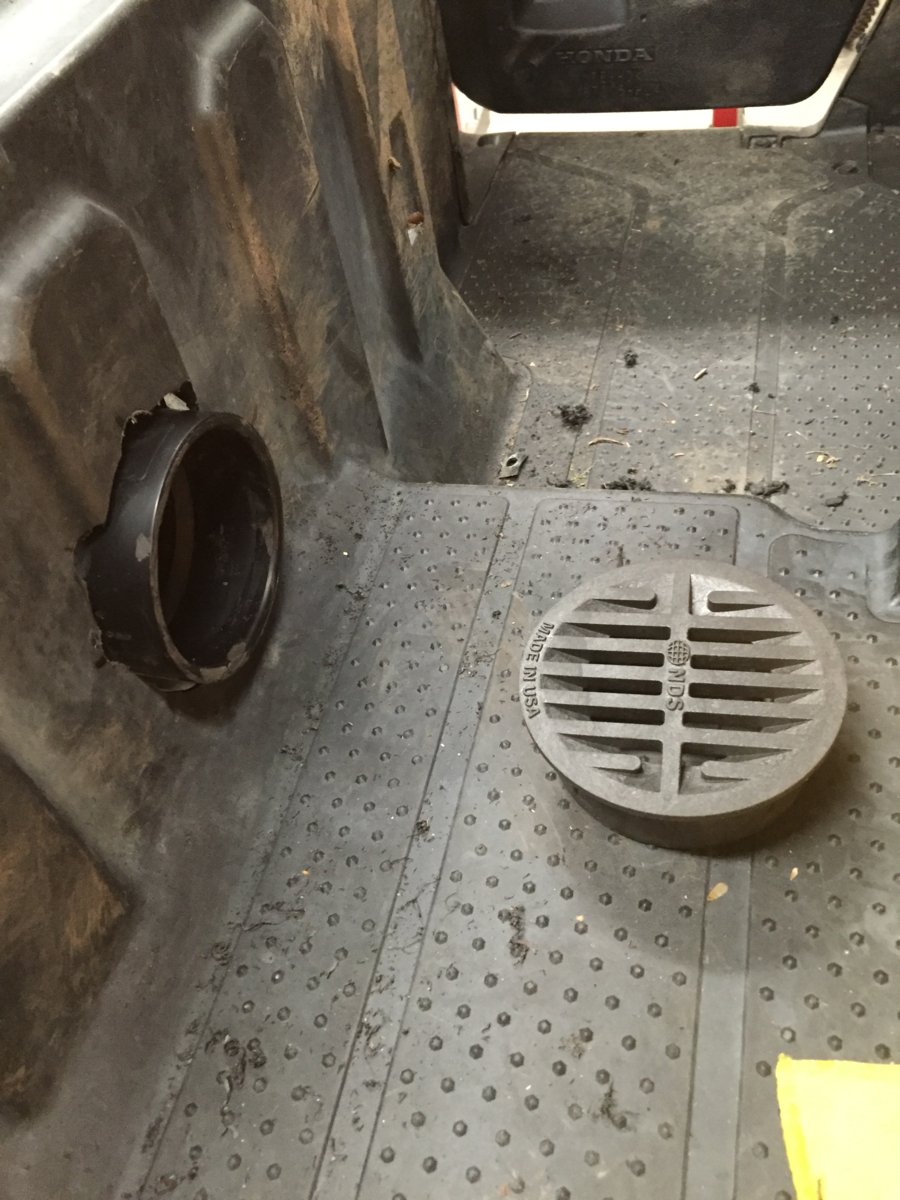
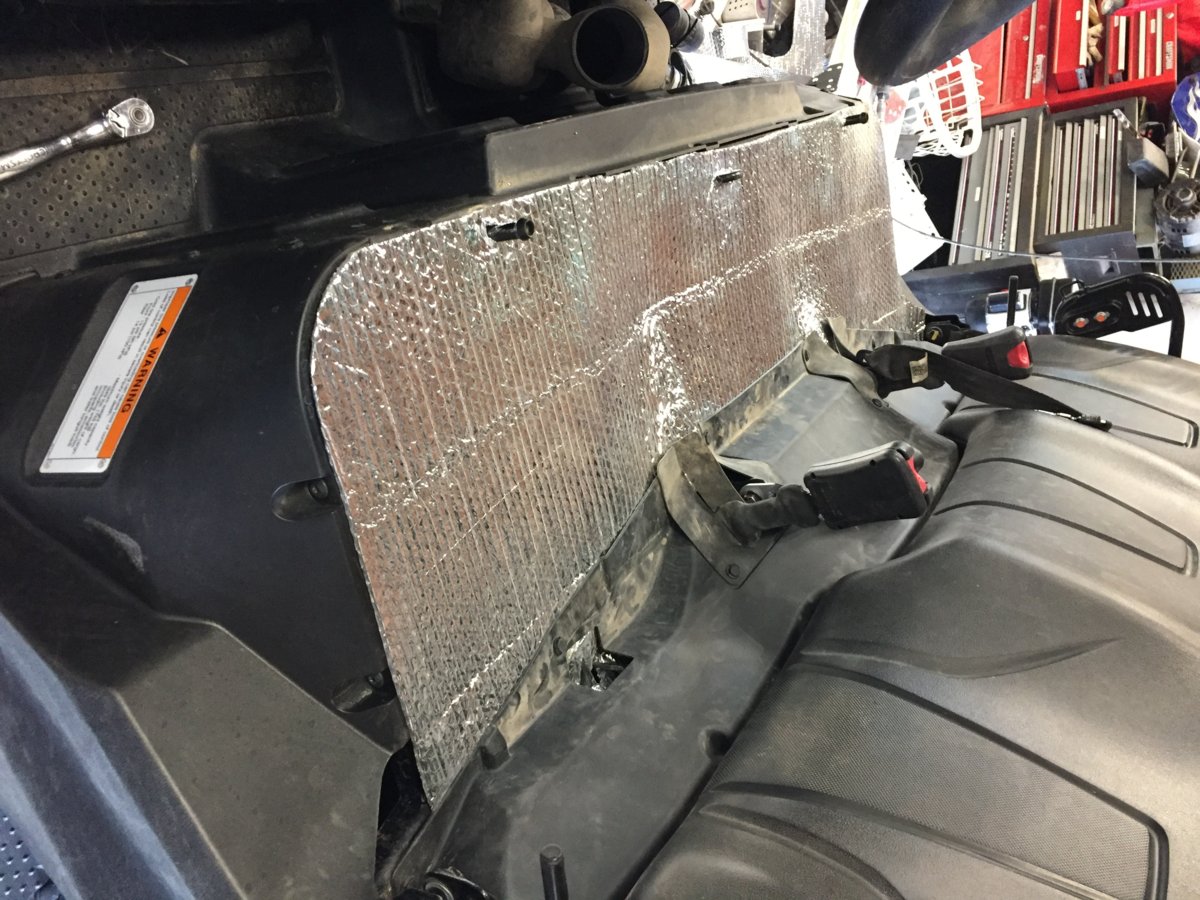
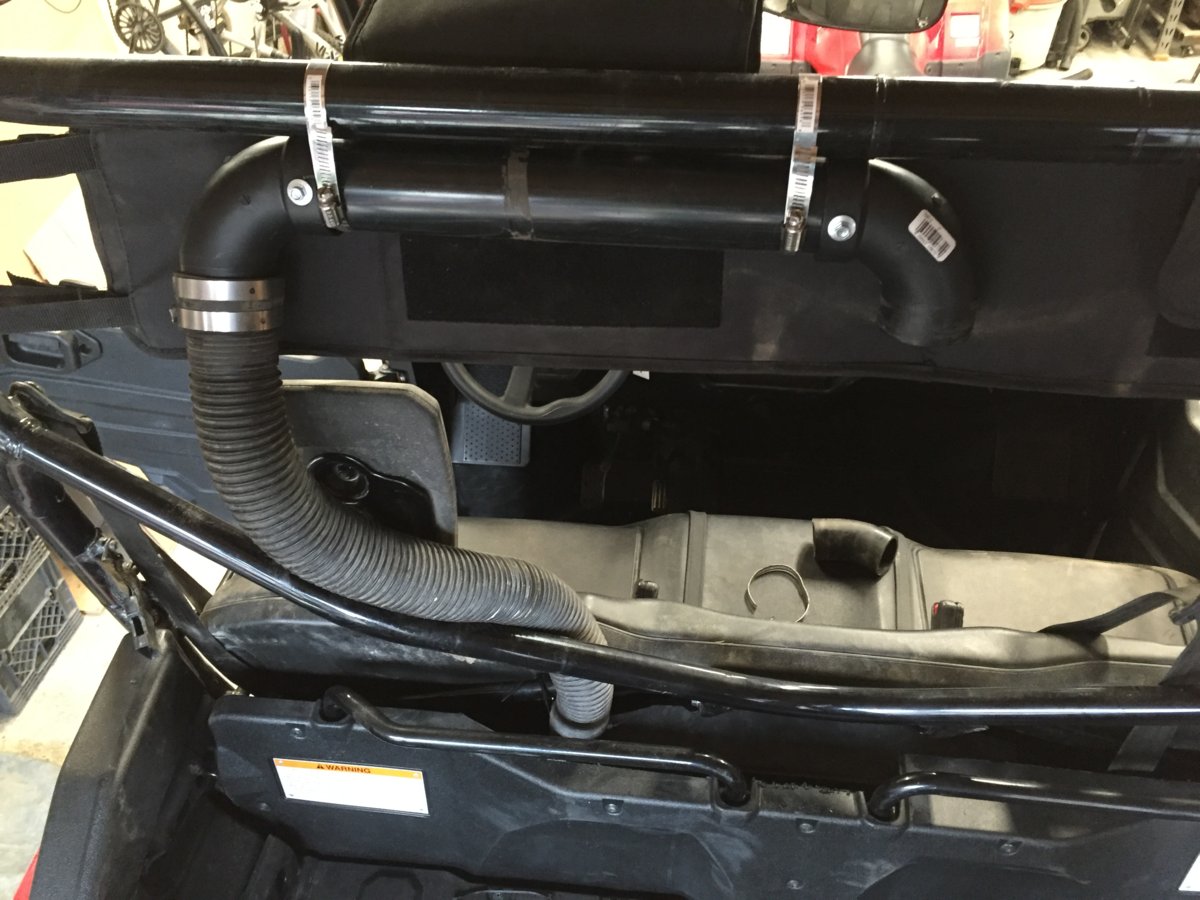
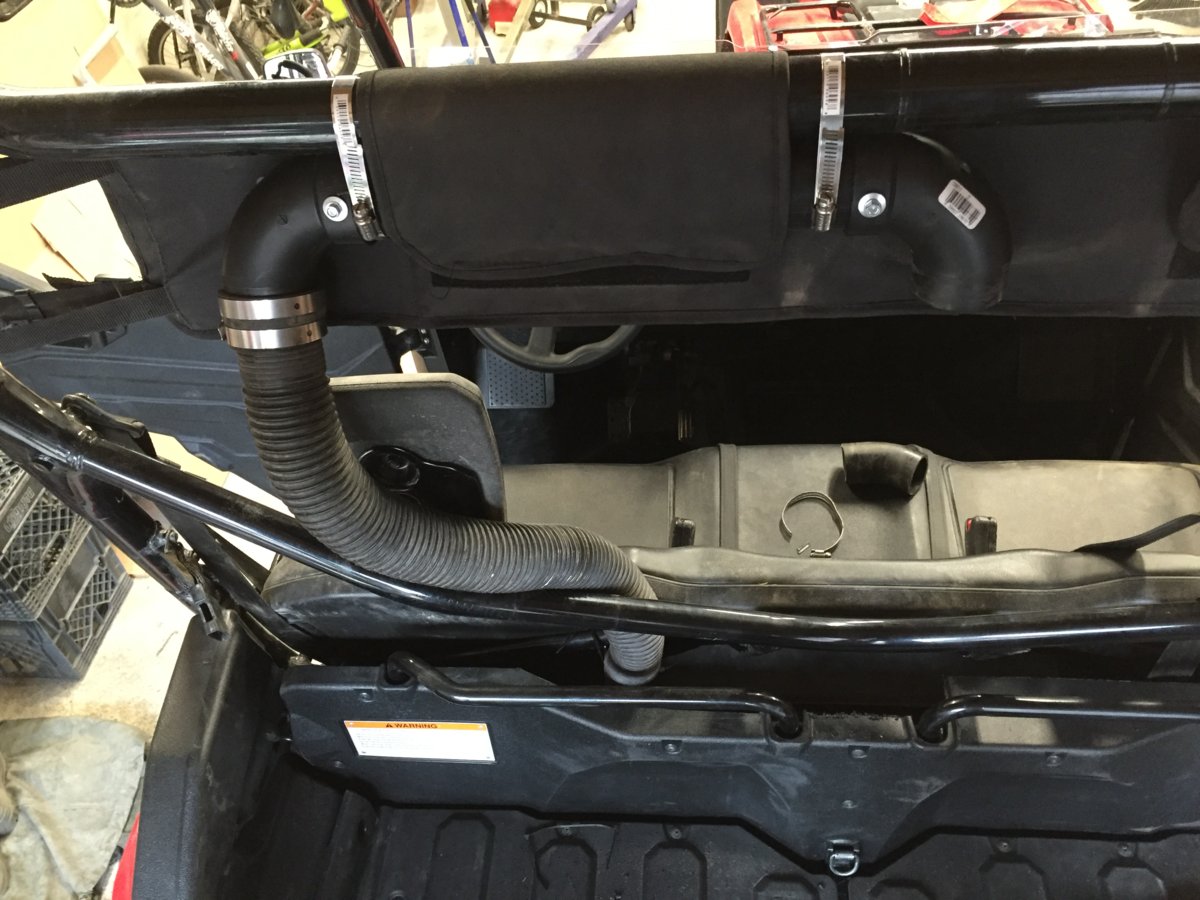
Should have a good chance to test the output tomorrow. Forecast calling for a high of 36 degrees. Still think I'll have to build a shroud or move the blower closer to the center. Won't have any reliable review for moisture. I only have the wind deflector, nothing else. I did notice a good amount of heat come through the access panel whenever the fans kicks in. Might looking into a way to harness the heat when we need it or deflect it toward the wheel well to keep from steaming you out in the summer.That's the path I've been wanting to go it's nice to hear good results so far. I was obviously wondering about output but also how it works with moisture in the cab. Thanks for posting this
Sent from my iPhone using Tapatalk
if I do just the spring spacers will I have to worry about anything like that?Been awhile since I updated this. A few people were wondering how the rear spring spacers were working. Well, they work great! A little stiffer ride all around, but I still feel comfortable on high speed runs. I am able to go faster on some sections because the fronts don't bottoms out anymore.
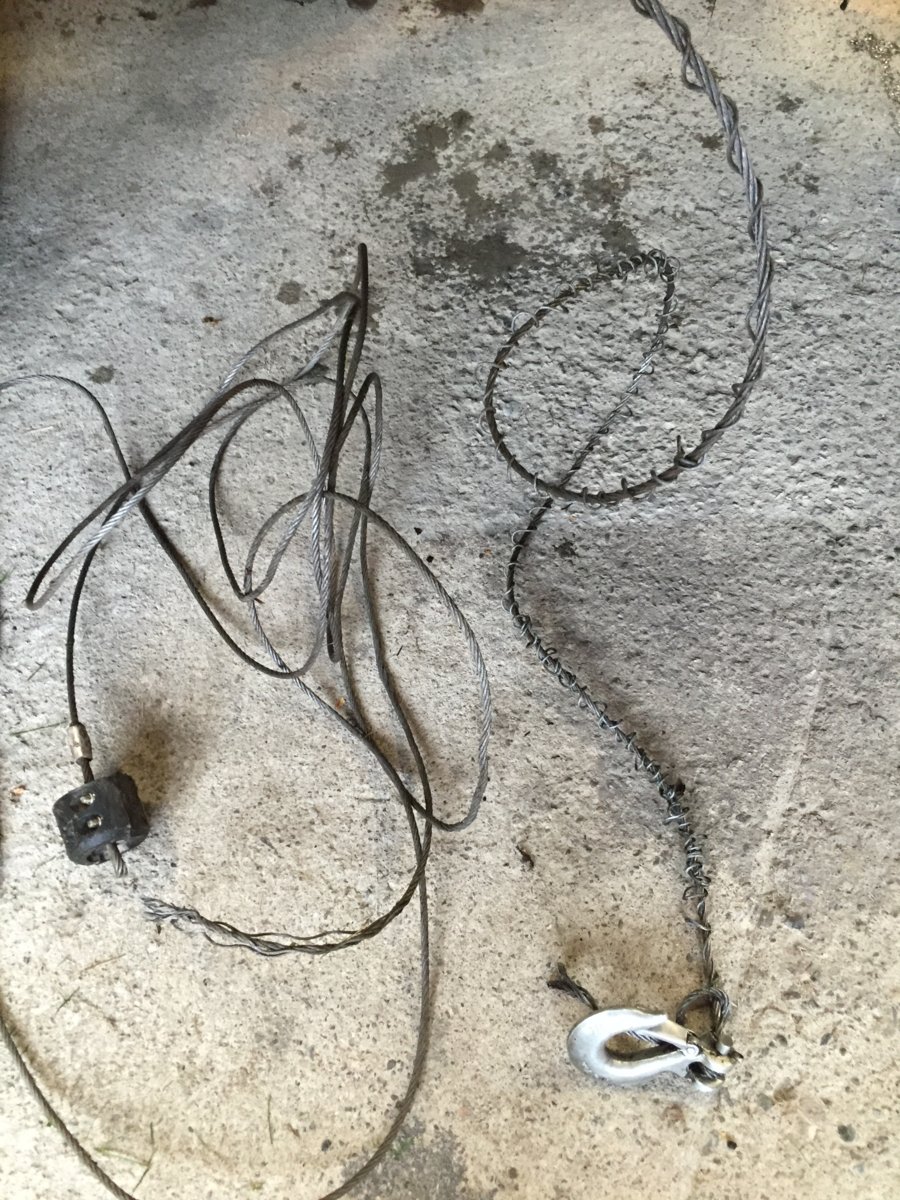
The combination of a CATVOS lift and spring spacers on the fronts have cost me 3 front axles so far. Hopefully some steering stops will solve that problem. Another call to CATVOS and they have some stops being shipped to me.