Basically set the distance between the black and grey tips on the sharpies the same as the lip around the box.
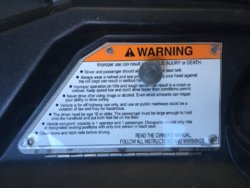
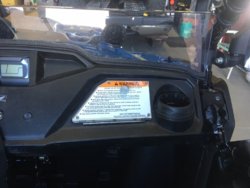
Then run the black tip up in and around the pattern on the dash where the box should go. (Around the outside of the warning label area). It's easy lines to follow, the dash around the warning label is etched / molded.
The grey line becomes the "cut here" line.
Works like a scribe.
*** But re-MEASURE for yourself BEFORE you cut anything. 6.5" is the widest line you should cut across the bottom. Mine was exactly 6.5.
If 2 sharpies are too wide, sub the black sharpie for a common pencil to shorten that rim length up.
Remember you can always cut a little more, but never add it back.
I wanted to showcase how well Choogin designed the box to fit the layout of the dash. Excellent.
Thank you so much Jshell for the detailed instructions!


