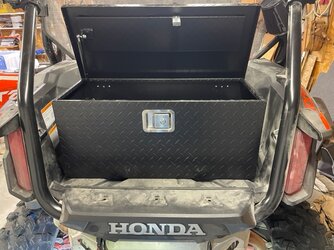
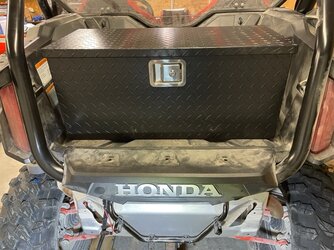
I liked the idea of the Tractor supply toolbox, but I felt I wanted a locking metal toolbox. After searching, I found that Hornet Outdoors, made the perfect size (for me anyhow) aluminum box. The model number is R-3031-B, with dimensions of, Length 31" Width 14" Height 13.5". It mounted so simple, using 4 corner brackets, and some bolts. I like the way it worked out, because the D rings are not used to fasten the box, so you can still use it for strapping down items.
I might suggest adding a thin pad or weather stripping under the box to give it a rattle free fit. I don't think my install will rattle, but having a little something under it won't hurt.
What I used on the project:
Hornet Outdoors toolbox - Amazon link
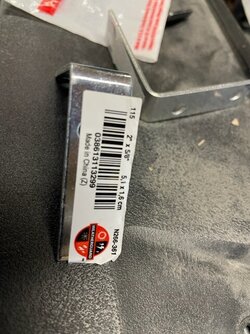
4 - 2" x 5/8" corner brackets
4 - 6mm x 25mm bolts
4 - 1/4" x 1" bolts with nylon lock nuts
half dozen or so 1/4" washers for spacing
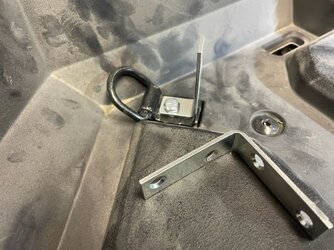
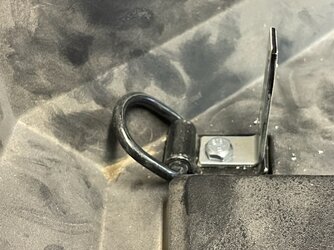
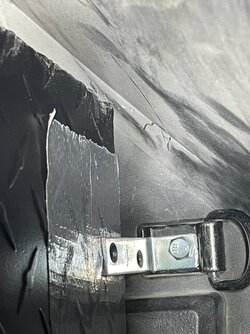
1. On the front tie down "D" rings, remove it and reverse the ring to the outside. Cut the first corner bracket to fit down in the "seat" of the D ring bracket. It will fit down into the seat using the hole in the corner bracket. I rounded out the bracket hole to 9/64. It gave me a little "wiggle room". Use the 6mm bolt to hold the bracket loosely in place.
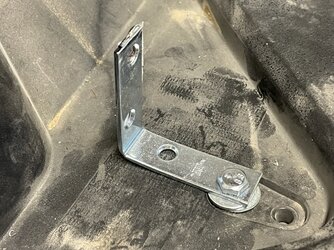
2. For the rear brackets, remove the allen head bolt. Use the outside hole (drill out to 9/64") on the corner bracket. Use a couple 1/4" washers under the bracket to fill the indent in the floor. Use a 6mm bolt to loosely secure the corner bracket.
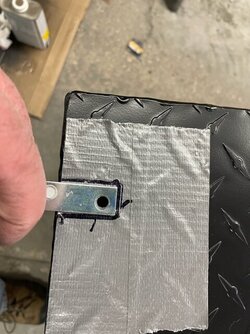
3. Tape the side of the toolbox to allow for marking. Set the box into the box to look at the fit. The top of each of the brackets need to be bent in about 1/4". Remove the box and adjust the brackets.
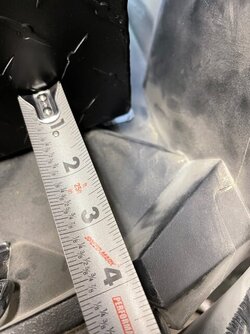
4. Fit the box with enough room in the front of the box to allow room to get the air cleaner lid, to be removed and put back in, for adding oil. I had a measurement at the back corners of the box of 3 3/4", and I should have allowed another 1/4 to 1/2". It's a little snug in the front to get the cleaner cover back on. Note: you will have to remove the toolbox to remove the air cleaner.
5. Once you are comfortable with the fit, mark each of the brackets. There is not much room, so a small felt tip pen will be the best. Remove the box and drill the holes in the box.
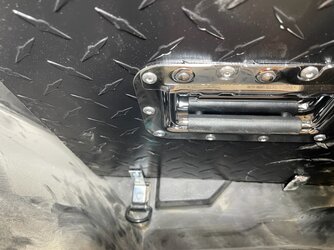
6. Tighten the bolts on the brackets to the floor, put the box back in and fasten the box using the 1/4" bolts and lock nuts.
Pics below follow the install steps.
All I have left is adding some weather strip to the lid.


Last edited:

