

Cuoutdoors
Executive Member
Lifetime Member
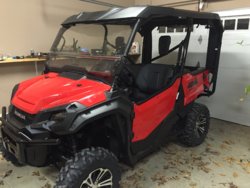
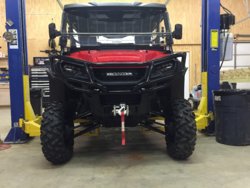
I bought that same radio and antenna. I'll get to test it out this week in Canada.I thought I’d share some info I got from @nbomar about how to connect the Baofeng radio to the wetsounds stereo system.
This will allow you to use the radio as normal to talk to someone but it will interrupt your music and play the comms through the sound bar. I absolutely love it, I used for the Takeover all week and it was flawless. Volume is adjustable so I can hear comms at 50mph full throttle. Doesn’t matter if the radio is blaring or not.
The handheld radio is still mobile as it can be unplugged and taken with you if needed when you exit the vehicle. It’s still a weaker hand held and not a 25w unit but they aren’t bad and the extended antenna helps a lot.
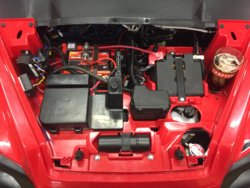
You’ll need a BT receiver. There are cheaper but I didn’t want to mess with this again plus I wanted seamless connection to my WS sound bar.
View attachment 134266
This is the interrupter that Bomar told me about. There may be other options but I didn’t bother researching. This one works well.
View attachment 134267
The Baofeng radio has a 2.5mm out so I bought an adapter. Note this one is a 4 pole, not sure if it needed all 4 but I didn’t want to waste time. Same price as the 3 pole. I should also not that I wanted a flexible adapter and not the rigid version that would stick out 2”.
View attachment 134268
This is the above mentioned antenna. I keep it in the glove box, not sure yet if I’ll leave it on or use it when needed.
View attachment 134269
Just for reference here is the radio I purchased and spare battery. Not sure yet how good it’s going to be. It’s supposed to be a notch up from the GT-3P.
View attachment 134270
View attachment 134271
Sent from my SM-G960U using Tapatalk


