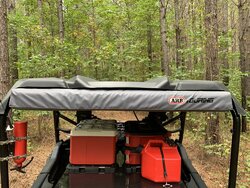
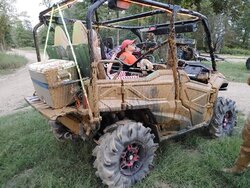
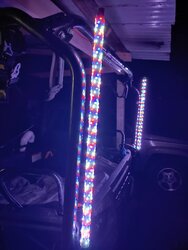
I've made a few versions starting with basic solid flashing colors on CB Antennas then WS2811 led's that chase patterns in blocks of 3 lights. These are WS2812B Eco led strips and all that has gone into them. I've never done a build thread before for something i've put together so cut me some slack.
Here is how I did it, others might have a different or better idea on it but i'm very happy with the outcome.
*WARNING* These are 5v LED Whips. They can not be ran without the 12v to 5v converter. If you don't want to run 5v then you can use 12v WS2811 LED strips that are addressed in blocks of 3 instead of individually like these are.
Parts List (with links)
(1) 10ft 1/2" PVC pipe
(2) 5" 3/8 Carriage Bolts (a regular 3/8 bolt works but I had these in my shop already)
(25) Pack of 3/8 nuts
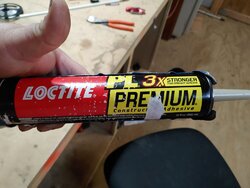
Tube of construction adhesive
1" Clear Heat Shrink
(2) 5m WS2812B Eco LED Strips
12v to 5v 10 Amp Step Down Transformer *not needed if using 12v WS2811 Strips*
120 Pattern Bluetooth Controller or 366 Pattern Controller *I've tried both and they do well. I prefer the Bluetooth personally but it is not waterproof*
Roll Cage Clamps
Waterproof Connectors
Power Connectors
I started with cutting 2 pieces of the PVC at around 36" because i didn't know where the strip would end, overall finished length is about 32" with 29" of that being the light portion.
I ran 2 nuts to the top of the bolt and set the bottom 2 leaving enough room to fit in the roll bar mount
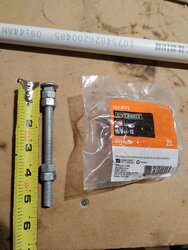
The nuts are a tight fit and the carriage head isn't needed. I probably could have just as easily used a regular bolt but had these handy.
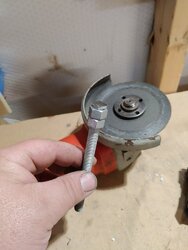
Rounded the edges of the top 2 nuts so they would fit in the pipe easier
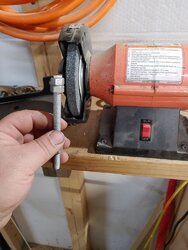
Hammered it home
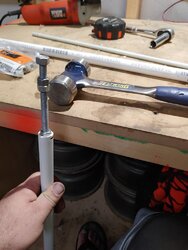
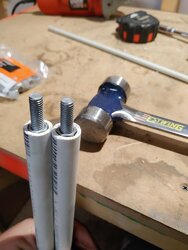
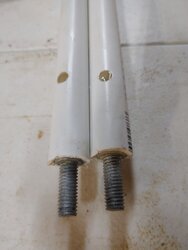
I drilled a hole in each between the nuts and filled the void with the adhesive. Not sure if it was needed but i don't plan on having to rebuild these anytime soon.
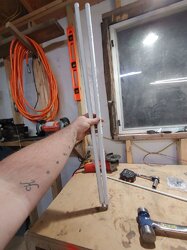
I cut off the provided plug from the strip and added the waterproof plug, you can just as easily use what's there and cover it with tape, that's up to you.
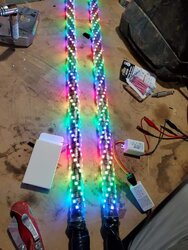
It takes some time and practice but simply start up a few inches from the bottom to account for the wring to not be in a bind and start wrapping.
Might just be my OCD but i made sure i wrapped the 2nd in the opposite direction so they were a mirror image of each other.
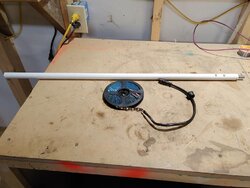
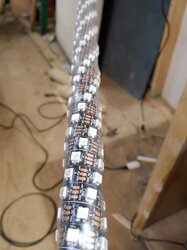
I prefer to tape the wire down then wrap and add a little tape at the top to hold the strip in place while I put the heat shrink on.
1" heat shrink is tight on the IP30 non waterproof strip so if you get the ip65 waterproof version i'd suggest 1.5" heat shrink or a good 3:1 1.75 to 2"
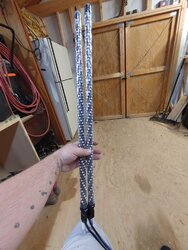
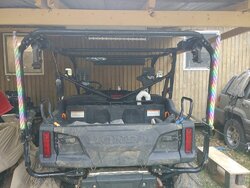
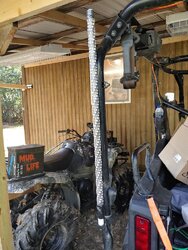
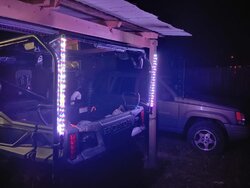
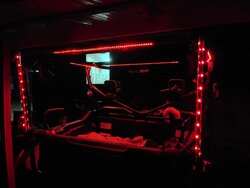
I mounted these directly behind the cage and just below the top line to help protect them from branches
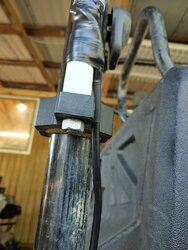
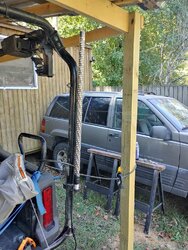
I hit the bottom with a little black spray paint before the final install.
You can seal the top however you wish, i used the top caps off a few old CB antennas i have used for previous whip versions and some clear silicone.
Here is how I did it, others might have a different or better idea on it but i'm very happy with the outcome.
*WARNING* These are 5v LED Whips. They can not be ran without the 12v to 5v converter. If you don't want to run 5v then you can use 12v WS2811 LED strips that are addressed in blocks of 3 instead of individually like these are.
Parts List (with links)
(1) 10ft 1/2" PVC pipe
(2) 5" 3/8 Carriage Bolts (a regular 3/8 bolt works but I had these in my shop already)
(25) Pack of 3/8 nuts
Tube of construction adhesive
1" Clear Heat Shrink
(2) 5m WS2812B Eco LED Strips
12v to 5v 10 Amp Step Down Transformer *not needed if using 12v WS2811 Strips*
120 Pattern Bluetooth Controller or 366 Pattern Controller *I've tried both and they do well. I prefer the Bluetooth personally but it is not waterproof*
Roll Cage Clamps
Waterproof Connectors
Power Connectors
I started with cutting 2 pieces of the PVC at around 36" because i didn't know where the strip would end, overall finished length is about 32" with 29" of that being the light portion.
I ran 2 nuts to the top of the bolt and set the bottom 2 leaving enough room to fit in the roll bar mount

The nuts are a tight fit and the carriage head isn't needed. I probably could have just as easily used a regular bolt but had these handy.

Rounded the edges of the top 2 nuts so they would fit in the pipe easier

Hammered it home


I drilled a hole in each between the nuts and filled the void with the adhesive. Not sure if it was needed but i don't plan on having to rebuild these anytime soon.


I cut off the provided plug from the strip and added the waterproof plug, you can just as easily use what's there and cover it with tape, that's up to you.
It takes some time and practice but simply start up a few inches from the bottom to account for the wring to not be in a bind and start wrapping.
Might just be my OCD but i made sure i wrapped the 2nd in the opposite direction so they were a mirror image of each other.


I prefer to tape the wire down then wrap and add a little tape at the top to hold the strip in place while I put the heat shrink on.
1" heat shrink is tight on the IP30 non waterproof strip so if you get the ip65 waterproof version i'd suggest 1.5" heat shrink or a good 3:1 1.75 to 2"


I mounted these directly behind the cage and just below the top line to help protect them from branches


I hit the bottom with a little black spray paint before the final install.
You can seal the top however you wish, i used the top caps off a few old CB antennas i have used for previous whip versions and some clear silicone.


Last edited:


