rocmar
Where Eagles & Angels....Dare to Fly...
Lifetime Member
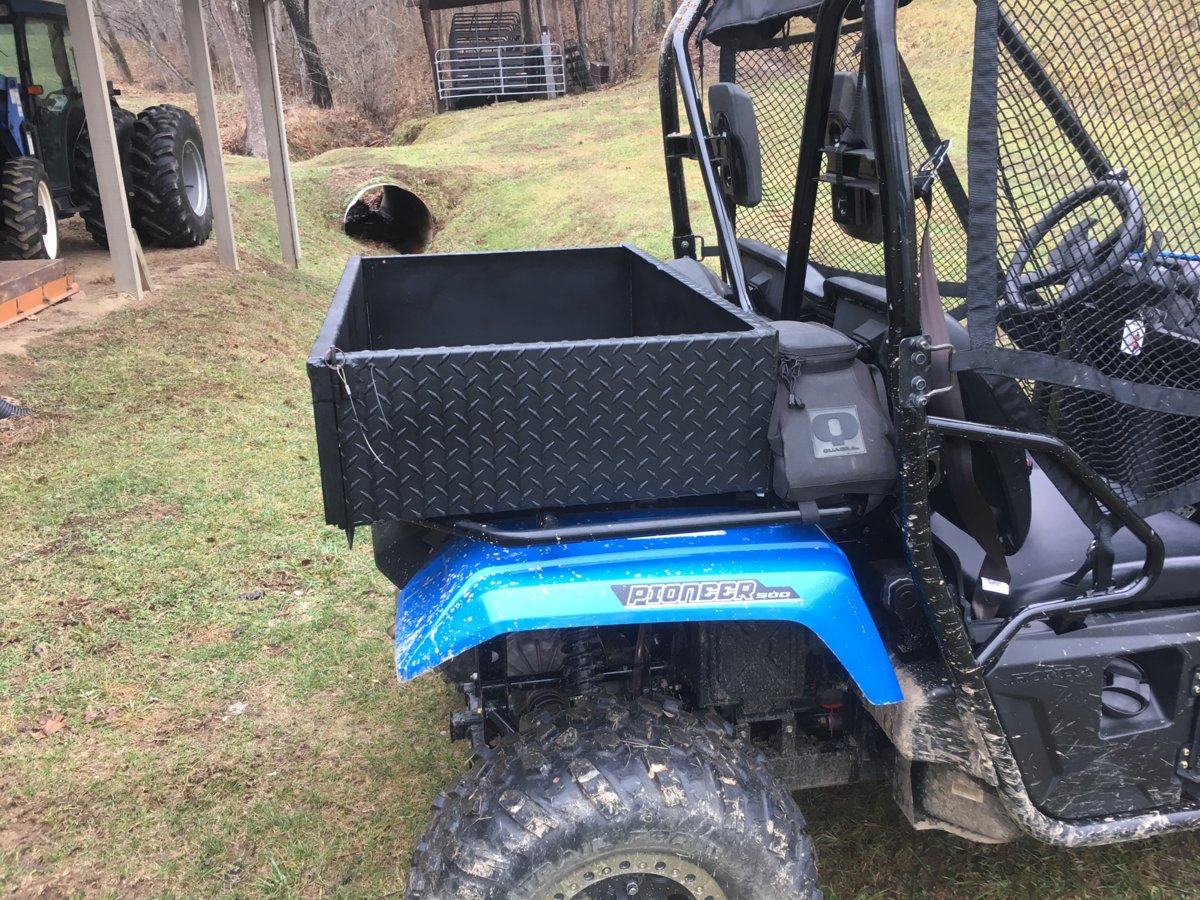
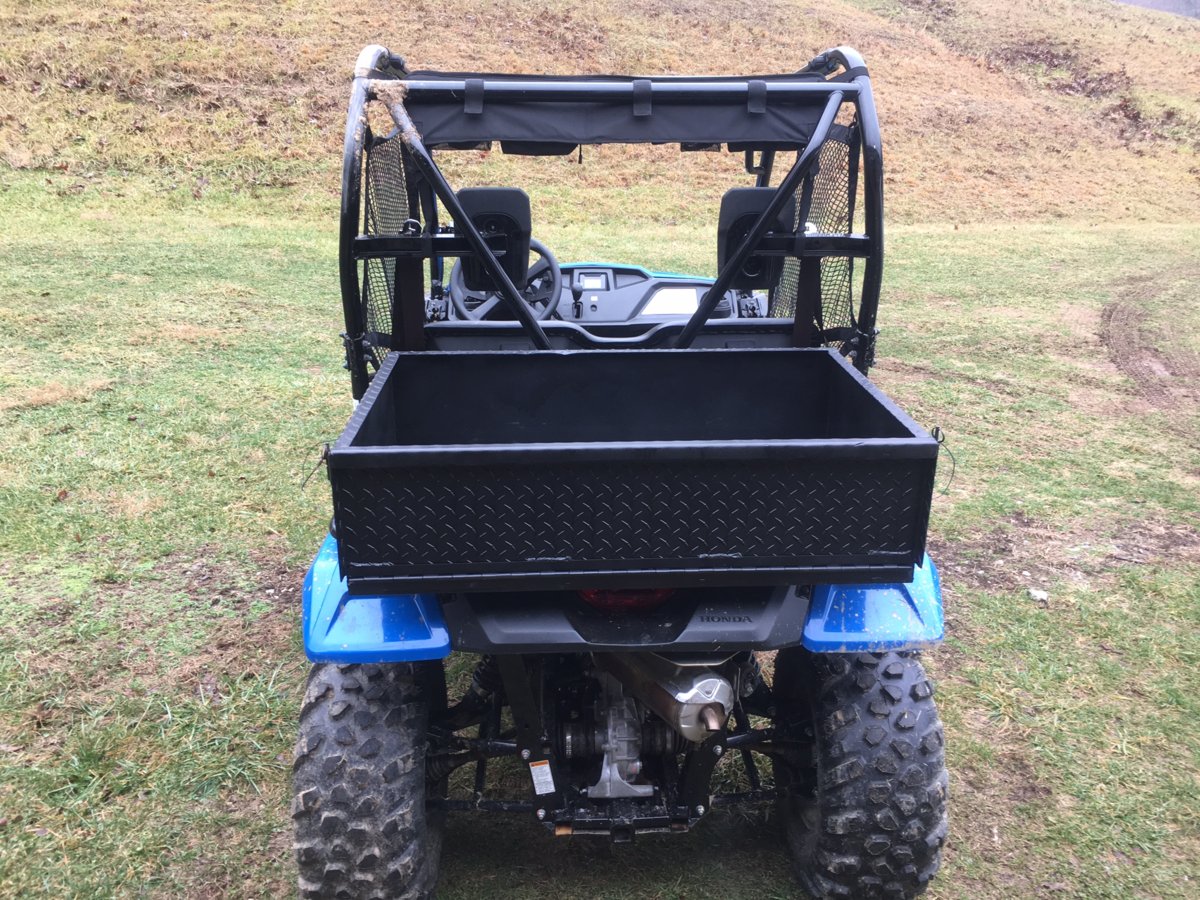
I know ive kinda slacked on my aluminum bed build lately, but im gonna try and get a few more steps towards the end goal. I got a cooler to match the p5 color scheme and it will tell me where i need to add ribs at on the underneath side of the bed. I built an aluminum border to surround the cooler. You can see in the pics that there is gaps between it and the bed floor. Once i add ribs on the underside it will straighten the floor out. Then i will weld the border in place to the bed floor and put eye bolts and turnbuckles to keep the cooler secured in place. Also, most importantly, the cooler can easily be dug into from the drivers seat while on the trail for a frosty beverage. Haha. Heres a few pics. I'll do more tomorrow and update this again. Hope you like.
View attachment 28259 View attachment 28260
Don't forget some drain
holes bro....
looks good