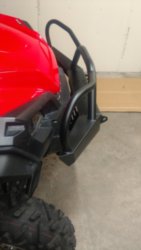
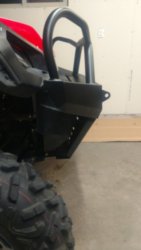
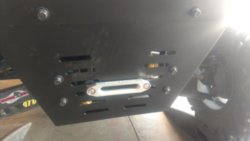
P1000 Todd's Mod thread

ToddACimer

ToddACimer

Pioneer 1005-2
Lifetime Member
Oct 7, 2016
3,549
14,538
113
Oshkosh, Wi
Ownership

  1. 1000-5
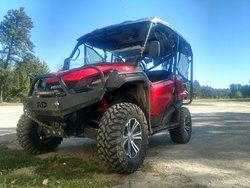
Alright guys, it's been 13 months and I've never tracked my modifications in 1 thread so I'm going to try to lay out my build over the last year. As most of you know I bought this machine as a future family hauler as we all grow. I'm married and I have 2 boys who are now 1 and 3. This should provide us several years of off road adventure and this first year proved that.

So let's get started!

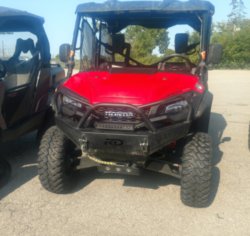
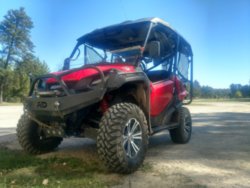
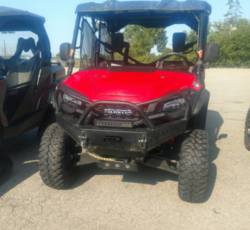
Sitting at the dealer. The unit I choose was a 2016 Deluxe. 3 were in stock at the time but I liked the factory Honda roof and the side view mirrors looked like a good idea at the time
IMG 20161007 164230109


Coming Home. At the time of purchase I had a 8x12 deck over trailer which quickly proved to be less than ideal but we've since upgraded

IMG 20161008 103554304 HDR


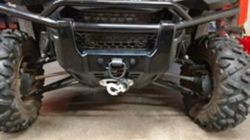
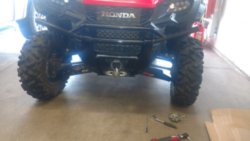
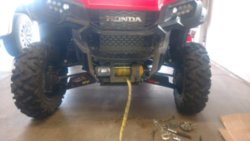
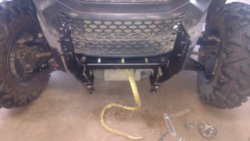
The first upgrade was the winch. I chose a 4500lb Superwinch. I also upgraded to a synthetic cable with a hawse fairlead. I chose the KFI mount because it mounts to the frame at both lower bumper mounts and at the front differential. I do not really like the EMP mount with the cheesy u-bolts or that it is bolted to the bumper rather than the frame

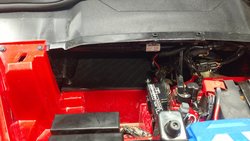
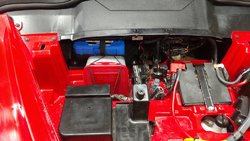
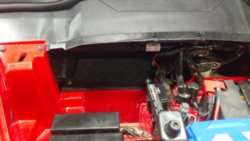
Here's the electrical under the hood. I wanted everything tucked under the hood and off to the side so I didn't loose any storage space or a future second battery location. Both the positive and negative cables to the battery were cut significantly shorter than the original kit cables.
IMG 20161112 200357509

Here's the winch cables routed down the left side of the radiator and under the shroud.
IMG 20161112 200034457


Here's the winch mounted on the KFI mount and the winch cables cut to length at the winch
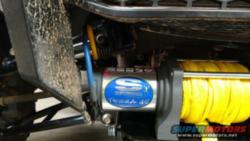
Img 20161112 200021638 jpg

Since the winch kit I bought came with steel cable and I switched to synthetic, I had a temporary roller fairlead installed until I bought a hawse. I didn't actually use the winch with the roller. I also didn't like the steep angle of the cable to the winch fairlead cut out in the bumper
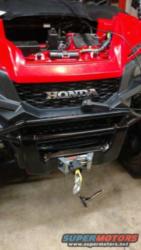
26952
Again, steep angle up above the top of the drum just to get to the fairlead cut out
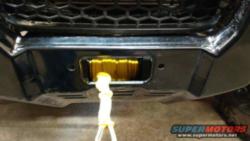
26953
Here's my thought of where the winch cable should have come out.
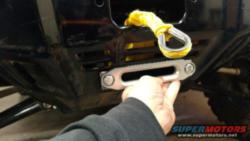
26954
In order to route the cable through this location a few holes were needed in the stock front bumper
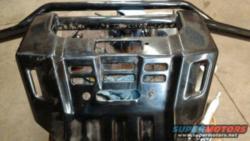
26955
Here's the fairlead and the adaptor bracket I fabricated placed on the bumper
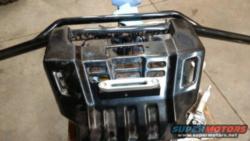
26956
Here's the bumper mounted back up with the hawse in place
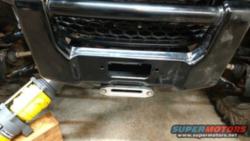
26957
In order to do this mod, you will need the stock Terra45 mount inorder to attach the fairlead and bumper back to the frame. I alsu used the Terra45 bolt holes to transfer punch the hole pattern onto the back side of the bumper
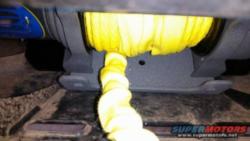
26958
Here's the cable routed through the cut out and quick edge installed around the cut out
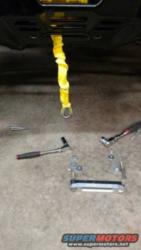
26959
Here's the fairlead bolted in place. I tightened up all the bumper bolts before installing the fairlead. I then tightened the bolts on the back side of winch mount. Lastly I tightened the jam nuts. This allows the bolts to put the bumper in compression and to make the structure more rigid
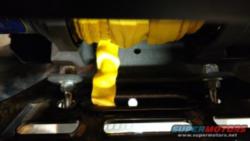
26960
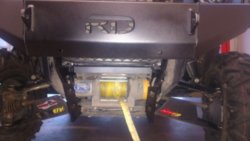
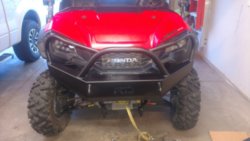
The final product, a straight line pull off the winch drum and a solid fairlead mount
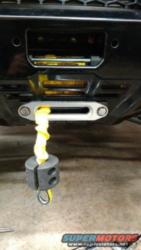
26961
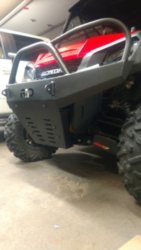
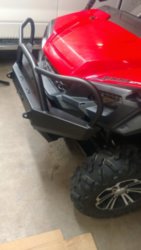
Here's a side profile shot of the bumper after installation
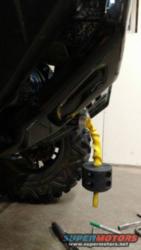
26962
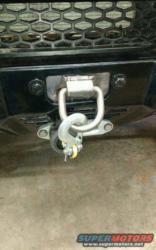
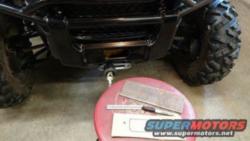
With my winch fairlead relocated, my next task was adding a tow point for recovery and hooking my winch cable when using a snatch block. I made a 1/4" plate to mount behind the stock fairlead hole with a 12k weld on D-ring. End result turned out pretty good with spray on bedliner.

A little bit of cardboard aided design (CAD?) for hole layout and initial dimensions
36923
Here's the hook plate with the 12k D-ring welded on
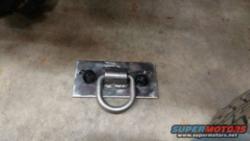
36924
Parts ready for fit up. Bolt and washer, 3/16" spacer to allow the tow point to sit flush behind the fairlead cutout, washer and lock nut on the back side
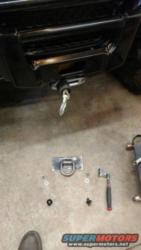
36925
Mounted up and winch hooked
36926
Painted with Rustoleum bedliner


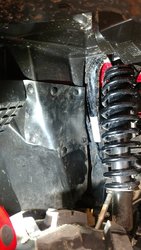
Excuse the extra images... they'll be used later and I can't make them go away
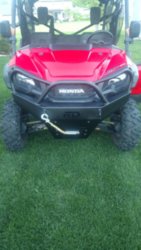
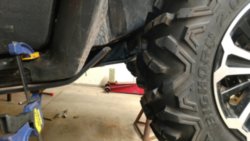
IMG 20161219 115834426 IMG 20161219 114156754 IMG 20170101 155605110 IMG 20170101 173308018 IMG 20170101 183619448 19510604 10100733074404877 1113417597066964198 n 19656994 10100733074389907 5533749559282733423 n 36927 58653
 
Last edited:
ToddACimer

ToddACimer

Pioneer 1005-2
Lifetime Member
Oct 7, 2016
3,549
14,538
113
Oshkosh, Wi
Ownership

  1. 1000-5
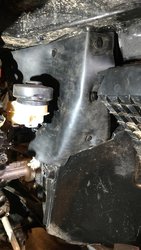
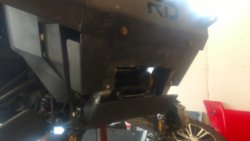
Shortly after the winch install, I added inner fender covers on both sides of the front inner fenders. The intention here was to reduce splash off the front fenders going up the firewall.
58702
58654

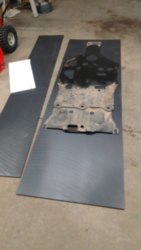
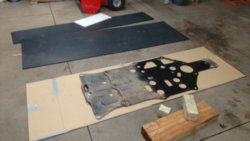
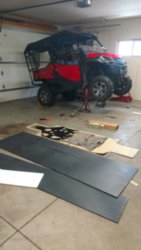
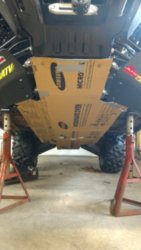
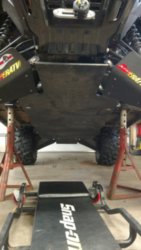
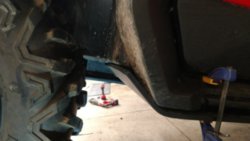
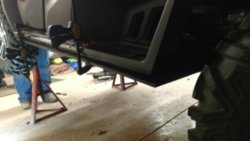
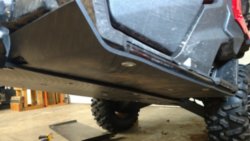
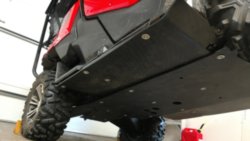
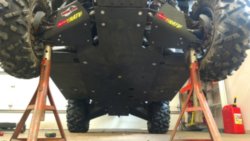
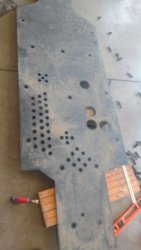
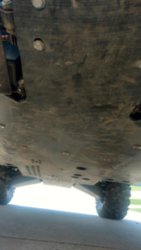
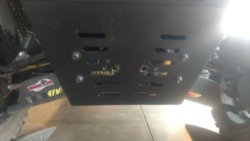
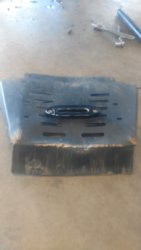
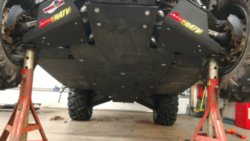
My next big project was a full belly skid plate. I chose UHMW as the primary material for it's slick surface characteristics, formability, machinability and resilient material properties. I'd been looking at aftermarket skid plates and decided the prices were a bit higher than I really wanted to pay especially for something I could probably build myself. I took some preliminary measurements and ordered a 4x8' sheet of 3/8" UHMW. I had the supplier cut the sheet into 2 pieces, 30x96" and 16x96"

Here's the raw material with the stock skid plate

29936
I used a cardboard sheet to trial fit the center belly piece
29937
29938

I ended up with a 14" wide skid plate section under both diffs

29939

29940
Cutting and flaring the front fender cut out for a little foot well protection
29941
Trial fit again
29942
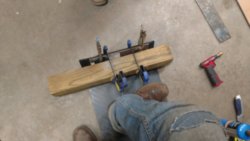
Custom UHMW bending jig, I heated 1 side until it looked wet, then started bending and then heated the otherside until it was easy to bend. After cooling it takes shape.

29943
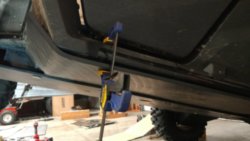
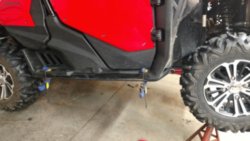
Fitting the drivers side footwell plate. With the center piece being 1" wider than the frame the center plate protects the inboard edge of the outer wing. Nutserts will be added to the factory rock sliders to complete the install.
29944
29945
29946
Second attempt to find an easy way to bend this stuff. Note the added notch in the front section of the rock slider mount
29947
Trial fit on the passenger side
29949

Front edge on the right side
29950
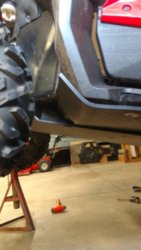
Rear Edge and rock slider guard. The 16" material width was perfect for getting past the rockslider to offer a bit of protection from the side.
29951
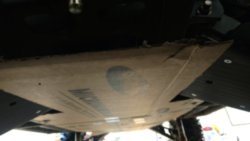
Full flat belly shot
29948


Sorry about these extra images again
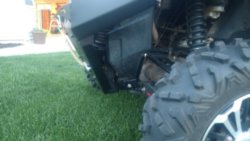
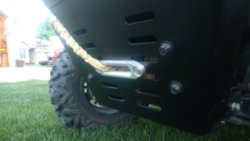
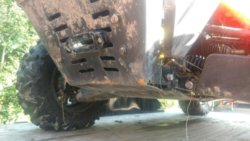
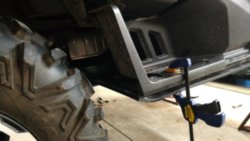
51129 15055023213731013379124 IMG 20170915 140624476 15055023483642127464744 IMG 20170911 155313575 01 IMG 20170913 162248942 HDR IMG 20170913 162253157 IMG 20170821 111334395 IMG 20170821 121602395 IMG 20170821 121945806 IMG 20170821 130257616 IMG 20170821 130307323 IMG 20170821 130317898
 
Last edited:
ToddACimer

ToddACimer

Pioneer 1005-2
Lifetime Member
Oct 7, 2016
3,549
14,538
113
Oshkosh, Wi
Ownership

  1. 1000-5
20 image limit on these posts so continuing where we left off...

I used M6 nutsert and M6 bolts with stock Honda Washers for all mounting provisions. Here are the nutserts installed and side panels bolted up.
29976
29977
Full belly shot

29979
One thing to note is the cutout on each side for the front rock rail mount. Inorder to fit tight to the firewall without a compound bend there needed to be a clearance slot
29978

After a few rides with the skid plates, I decided I needed some vent holes in the skid plate to get some additional cooling to the exhaust and to make cleaning a bit easier

Here's what I started with
40994
I laid out the location of the stock vent holes from the Honda factory plastic skid plate but decided I didn't want holes that big.
40995
40996
I also added 2 holes per side in the foot well guards and another fastener to flatten the sides out.

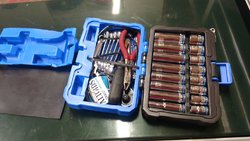
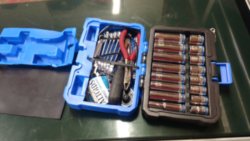
With a bit of UHMW left I was able to make a tool box holder under the dash. Here's a bit of the tools stuck in the tool box and I have an additional box with a snatch block and straps
58655
This is the storage shelf bolted in place
58656

Here are the 2 storage boxes in place
58657

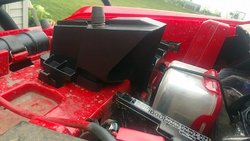
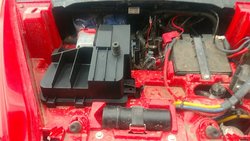
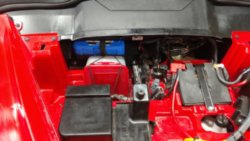
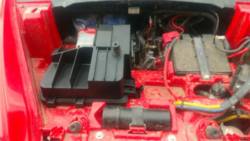
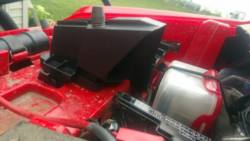
As long as we're under the hood, I'll cover the air intake cover. In 2017 Honda revised the air intake from the photo above to a new cover which now pulls air from the back of the under hood area rather than above the radiator. These new parts are around $16 and are part numbers 61130-HL4-F00 and 61140-HL4-F00. The new cover reduces the amount of splashed water sucked into the intake but it won't allow you to go in deeper water.
58659
58658


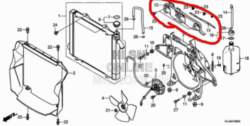
As most of you know now, the 2017 LE added a deflector behind the radiator. The parts are #12 19071-HL4-F00 PLATE, AIR GUIDE and #13 19072-HL4-F00 RUBBER, AIR GUIDE. This has helped reduce some of the hot air from the radiator going through the dash.
50047

At my dealer this was around $12 in parts. They will have to look up the 2017 LE as it has them installed from the factory. It's possible all late 2017 models have them but I have only seen the LE. Here it is on the LE
50048

Here's how the install went. Remove the whole under hood
50049
New parts. I skipped the Honda fasteners and drilled the holes out for a 5/16 push pin
50050

Test fit. I used the left (driver's side) most hole as a reference point to the 2017 frame drawing
50051

Drilling holes, a total pain
50052

Deflector installed
50053

IMG 20170826 122006468 IMG 20170826 124858417 HDR IMG 20170923 141408947 IMG 20170930 111350194 HDR IMG 20171117 163434109
 
Last edited:
ToddACimer

ToddACimer

Pioneer 1005-2
Lifetime Member
Oct 7, 2016
3,549
14,538
113
Oshkosh, Wi
Ownership

  1. 1000-5
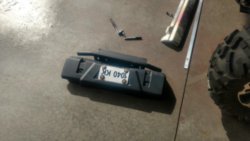
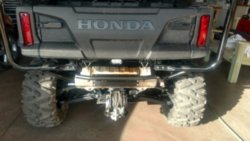
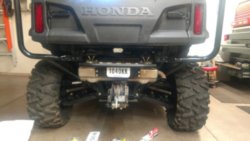
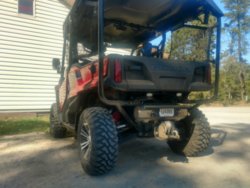
Here's an oddball I made after a bit of an issue with the rear muffler cover. On my 3rd ride out, the stock muffler guard, mounting bushings and license plate melted. The muffler guard melted to the muffler on both the top and bottom edge. I decided I wanted something other than plastic hanging off the muffler. I really didn't want to have the muffler fully exposed but I also didn't see the need for a full muffler cover. My main concern here is keeping my boys from touching the obviously hot muffler.

I came across this front license plate mount on Amazon and the price seemed pretty good for something out of the way and not planning for impact.
Amazon.com: Liteway License Plate Holder and Light Bar Mount Aluminum Bull Bar Style Front Bumper Number Plate Frame for Daytime Running Light Offroad LED Light Bar, Suitable for Most Vehicles, Black: Automotive

Here's the old cover with heat warpage and a melted license plate, it actually melted to the muffler sheild across the top edge
42626

The new and old parts
42627

New parts mocked up
42628
I don't have a photo but there's a 1" tall and 1/8" thick strip of aluminum behind the heatsheild to support the top bolts in the plate mount. It's 23" long and you can see the ends inside the heat sheild below.
42632

New plate mounted
42629

Bed tilted
42630
42631

I'm not planning to bash this off trees but it should keep the boys off the muffler and with the air gap between the heat shield and plate mount as well as the plate and the mount nothing should melt.

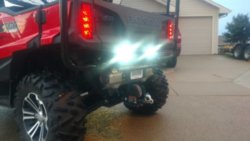
My next big thing was actually being able to see in the dark while backing up. A pair of Quadboss 3.5" LED's has done the trick. For anybody looking to do this, it's easy with the reverse light harness from the p700. The harness is 08Z02-HL3-A00 from Honda. It hooks up to the green connector under the rear passenger floor on the backside of the engine. As wired the light comes on whenever the Pioneer is in reverse and the key is on.
39003
39002
Lights installed
57645

50899

21462858 10100785761993527 8807147835891625899 n IMG 20170628 165429705 HDR IMG 20171022 161058902 IMG 20171022 161122359 IMG 20171022 161141423 IMG 20170731 184417807 IMG 20170919 170729597 HDR
 
Last edited:
ToddACimer

ToddACimer

Pioneer 1005-2
Lifetime Member
Oct 7, 2016
3,549
14,538
113
Oshkosh, Wi
Ownership

  1. 1000-5
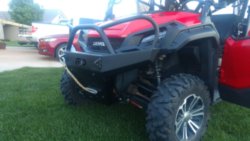
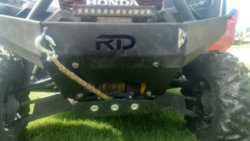
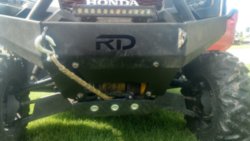
In May 2017, I won a Resonate Design Bumper on the Honda Pioneer 1000 Riders Facebook page. Here's a pic of my old set up. Stock bumper, tow point and Superwinch Terra 45 on a KFI mount.

43734
Bumper removed
43751
Mounts in place
43736
Bumper in place,. Word of warning leave the bolts in everything loose or you're going to struggle with the tight tolerance of the bolt holes
43750
43738
43753
43744
43739
43740
43743

I wasn't a fan of the top mount winch. I think the winch is way too high relative to the mounts and it's exposed to the elements. So as you noticed I left the KFI mount in place

Laying out the fairlead
43746
43752
Drilled for the fairlead profile
43742
Fairlead in place
43747
Final product
43735
43737
43741
Straight pull off the drum
43745
 
Last edited:
  • Like
Reactions: pct and elkguide
ToddACimer

ToddACimer

Pioneer 1005-2
Lifetime Member
Oct 7, 2016
3,549
14,538
113
Oshkosh, Wi
Ownership

  1. 1000-5
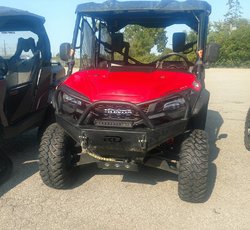
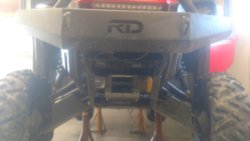
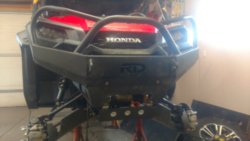
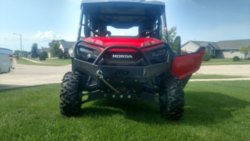
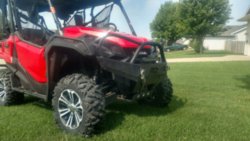
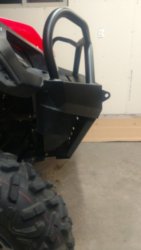
Overall I liked the fit of the bumper compared to the body and the winch is in the right place in my opinion with the least stress on the frame. I quickly found that the approach angle was less than ideal. On my first weekend trip out with the bumper the approach angle killed me and the bumper got pretty beat up.

51120
51121

I figured it was as good a time as any to cut the bumper and improve the approach angle as well as beef up the leading edge.

Here's the RD mounts with a KFI winch bracket
51123

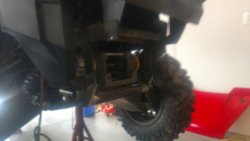
Lower mounts tube gusseted with 1/8" wall 1.5" tube. Front bumper support cut off as well
51122

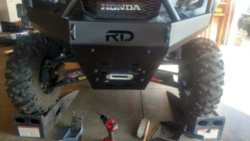
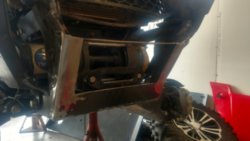
Front bumper support replaced and front skid installed
51124

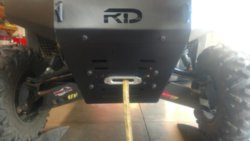
Front bash plate cut for winch access and bumper lowered 1.5". I also moved the bumper towards the grill .5". UHMW skid mocked up

51125
51126

Bedlinered and bolted up
51127
51128

58660
New approach angle
51130
Old approach angle
51131

Overall I'm happy to have more access to the winch and the mount should take a pounding
 
Last edited:
ToddACimer

ToddACimer

Pioneer 1005-2
Lifetime Member
Oct 7, 2016
3,549
14,538
113
Oshkosh, Wi
Ownership

  1. 1000-5
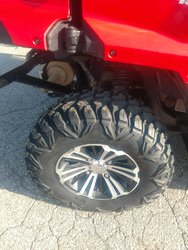
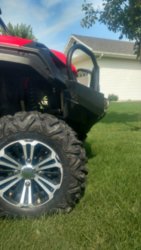
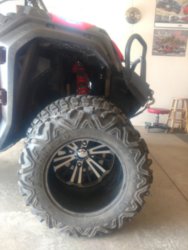
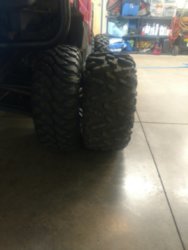
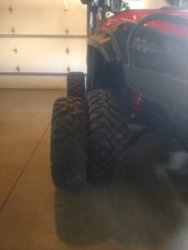
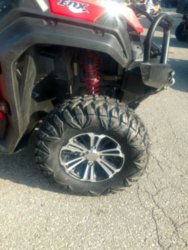
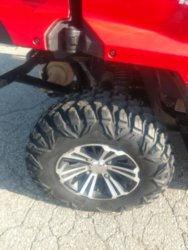
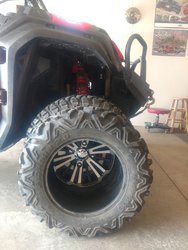
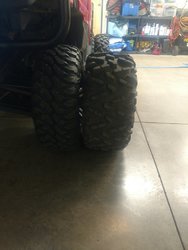
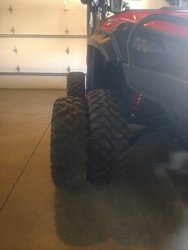
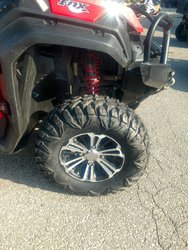
My next big upgrade was tires and shocks. I ended up with 28x10x14 Quadboss QBT846 tires on all 4 corners. They sit about 1" taller than stock and about the same width as the stock rear tires
58661
58662
58663
58664
58665
58666

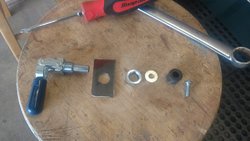
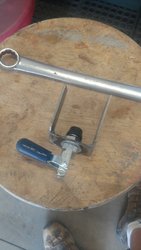
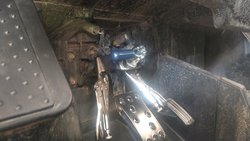
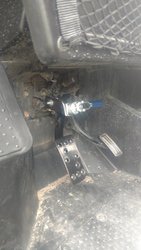
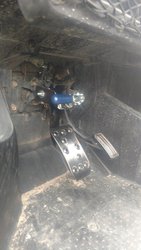
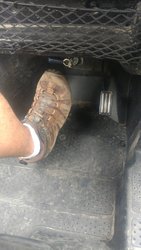
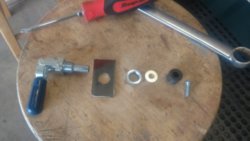
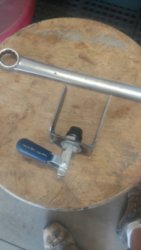
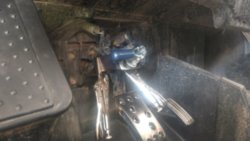
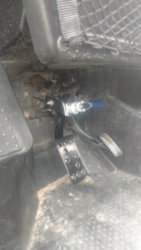
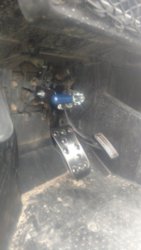
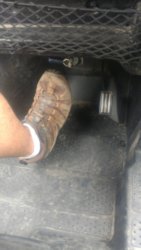
This brings me to one of my favorite mods. The parking brake. I "pioneered" the manual parking brake idea on the Pioneer 1000. I made a small bracket that attaches to the brake pedal pivot mount and allows a through hole toggle to clamp against the brake pedal to apply all 4 brakes. This is a mechanical means of apply brake force to each tire without modification to the stock brake system. For me this have proven to be great for winching, grade holding and parking on my trailer.

Here's a break down of the parts
58667
Here are the parts assembled
58668
Clamped in place for some trials
58669

Bolted in place and applied
58670
Bolted in place and released
58671
Foot clearance for reference
58672

Thread edited to include animated gif of the brake working.

Vid 20170821 151353796 00
 
Last edited:
  • Like
Reactions: JTW and elkguide
ToddACimer

ToddACimer

Pioneer 1005-2
Lifetime Member
Oct 7, 2016
3,549
14,538
113
Oshkosh, Wi
Ownership

  1. 1000-5
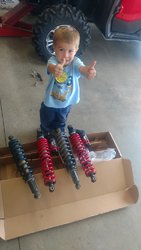
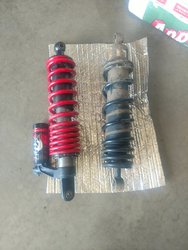
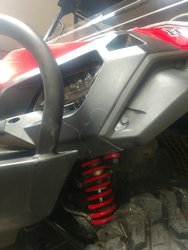
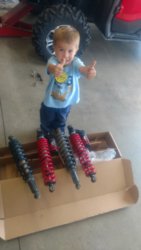
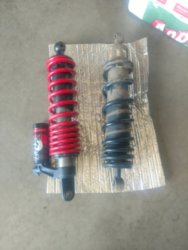
Around the same time as my tire upgrade, I added all 4 Fox shocks. These have vastly improved the ride and handling. I started with the front shocks and found the rear end chattered even more than it had with the stock front shocks. This was kind of a bummer but I almost expected it. Overall, I think the load leveling rear shocks are sprung too stiff for lightly loaded machines like mine with basically just passengers on board.

Front Shocks
58673

58674
58676
58677
Rear Shocks
58675

As these mods have piled up, I've made a few electrical upgrades but here's where I'm at right now.

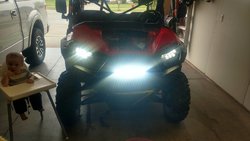
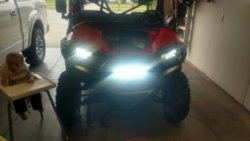
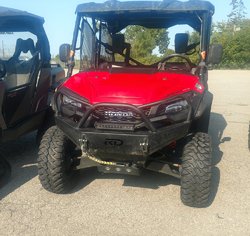
Up front we have a 12" Rough Country single row LED light bar
58678
58679

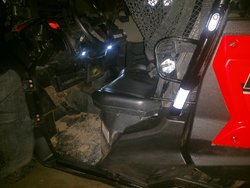
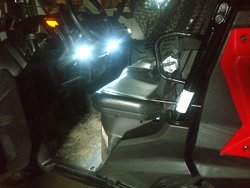
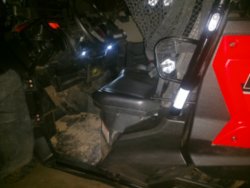
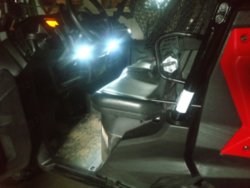
Interior lights were added because I feel like I can never see anything in the cab in the dark. I didn't want wires running to the roof so under dash lights were a compromise. They work pretty well but aren't perfect. You can also see the 2017 under dash accessory panel in the next few photos
58680
58681
58682

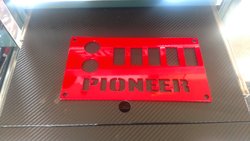
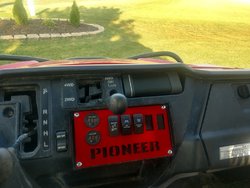
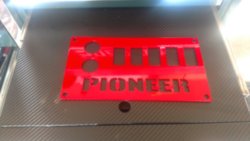
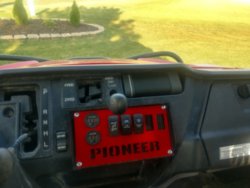
These lights are controlled with switches on a C-Fab Fabrication dash panel which also has a winch control switch and a volt meter. I've also found my blue tooth radio fits pretty well in the dash.

58683
58684
 
Last edited:
  • Like
Reactions: GPR1500SC
E

elkguide

Well-Known Member
Lifetime Member
Supporting Member
Mar 14, 2017
3,377
7,963
113
Vermont
Ownership

  1. 1000-3
AMAZING.

Wish that I lived closer to bring mine over for you to "play" with!
 
  • Like
Reactions: ToddACimer
ToddACimer

ToddACimer

Pioneer 1005-2
Lifetime Member
Oct 7, 2016
3,549
14,538
113
Oshkosh, Wi
Ownership

  1. 1000-5
AMAZING.

Wish that I lived closer to bring mine over for you to "play" with!

Thanks! I'd be more than happy to do the work (for a price). I've really enjoyed working on the Pioneer and building a capable machine for trail riding with my family. I'm actually looking at buying a second Pioneer at an insurance auction to buildup for my brother. Most of my mods have been simple and cost effective but most importantly they work.
 
joeymt33

joeymt33

i4WD=imitated 4WD
Moderator
Lifetime Member
Supporting Member
Club Contributor
Mar 17, 2015
11,092
39,079
113
Guntersville, AL
Ownership

  1. 1000-3

  2. 1000-5
I like the color switch plate. It may be time for me to update mine and go from plastic to metal and have it powder coated. It looks good and I may copy one day when I’m not so busy.
 
  • Like
Reactions: ToddACimer
ToddACimer

ToddACimer

Pioneer 1005-2
Lifetime Member
Oct 7, 2016
3,549
14,538
113
Oshkosh, Wi
Ownership

  1. 1000-5
I like the color switch plate. It may be time for me to update mine and go from plastic to metal and have it powder coated. It looks good and I may copy one day when I’m not so busy.

I got my switch panel from C-Fab Fabrication.
 
  • Like
Reactions: joeymt33
ToddACimer

ToddACimer

Pioneer 1005-2
Lifetime Member
Oct 7, 2016
3,549
14,538
113
Oshkosh, Wi
Ownership

  1. 1000-5
Alright, so I missed a few things in the posts above.

I've also added a 2017 seat with a softer cushion and my own under seat heat shield to supplement the Honda seat heat improvement.
1512246668535649413942


I've also added heat shield material under the rear passenger feet. These fixes seem to make everyone a bit more comfortable
IMG 20170917 162700618 HDR


I've also added door pivot bushings from RB3 off-road
IMG 20171122 151942726


In addition to the stiffer bushings in the rear doors I have added a second door bumper stop. This really helps reduce rattles

15122470559891437194839
 
ToddACimer

ToddACimer

Pioneer 1005-2
Lifetime Member
Oct 7, 2016
3,549
14,538
113
Oshkosh, Wi
Ownership

  1. 1000-5
So I did a bit of crude A-B comparison work on with and with out a sway bar cross articulation.

With
IMG 20171202 144707512 HDR


Without
58334


The machine feels a bit more stability without it, the right rear was really light with it and fairly planted with it.

So in the end I found these spare parts just forward of the rear diff.
58365


I also added .200" of rear shock preload for a total of 1.35" on the rear shock as measured from the underside of the upper shock mount to the top of the preload adjustment net parallel to the shock body. This is basically the height of the threaded body above the preload nut.
 
ToddACimer

ToddACimer

Pioneer 1005-2
Lifetime Member
Oct 7, 2016
3,549
14,538
113
Oshkosh, Wi
Ownership

  1. 1000-5
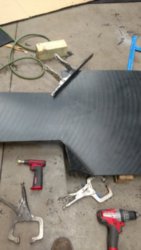
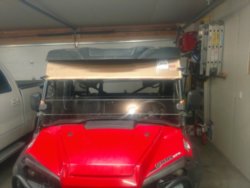
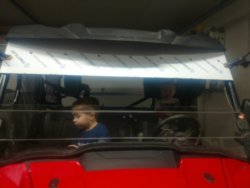
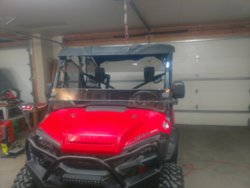
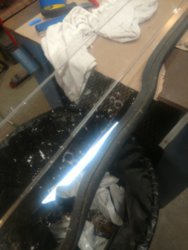
Call me crazy but I want a little more wind protection for ice riding but I don't want a full windshield or a cab. To me the next best thing is a tinted cab visor.


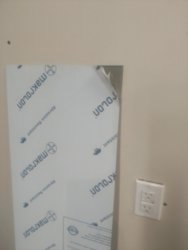
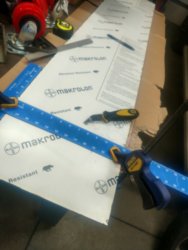
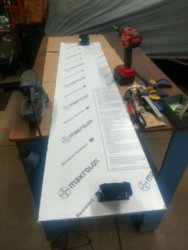
My Makrolon AR came today. The tint is exactly what I was hoping for. 62x12x 1/4"

Raw material
Img 20171220 182358891 jpg

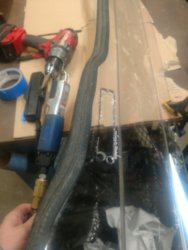
Layout work with cardboard
Img 20171220 181947353 jpg

Material getting cut down to 54.25" wide
Img 20171220 184004350 hdr jpg

Material test fit. Visor will have 2 bolt on clamps across the top and 2 clamps on the side. Parts are still on order.

Img 20171220 190200314 jpg
 
Smitty335

Smitty335

Well-Known Member
Lifetime Member
Supporting Member
Oct 3, 2016
35,368
208,011
113
NWA Arkansas
Ownership

  1. 1000-3

  2. 1000-5
Call me crazy but I want a little more wind protection for ice riding but I don't want a full windshield or a cab. To me the next best thing is a tinted cab visor.


My Makrolon AR came today. The tint is exactly what I was hoping for. 62x12x 1/4"

Raw material
View attachment 60156

Layout work with cardboard
View attachment 60157

Material getting cut down to 54.25" wide
View attachment 60158

Material test fit. Visor will have 2 bolt on clamps across the top and 2 clamps on the side. Parts are still on order.

View attachment 60159
I really like the visor, I'm always reaching for the sun visor, that's not there. Want to see the clamps you will be using .
 
ToddACimer

ToddACimer

Pioneer 1005-2
Lifetime Member
Oct 7, 2016
3,549
14,538
113
Oshkosh, Wi
Ownership

  1. 1000-5
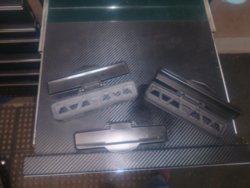
The clamps across the top will be these


UTV Adjustable 1.5" to 1.75" Roll Bar Clamp for Lights, Windshields, Roofs, Etc https://www.amazon.com/dp/B015YCR7QI/?tag=sxsweb24-20

They use a single bolt. They are a tighter fit than the Honda clamps and a bit of a pain to use but they will work.

The side clamps will either be these similar to my SuperATV windshield. I'm not a huge fan of the velcro

Universal UTV Windshield Clamps Velcro Clamps for UTV RZR Rhino Commander Maverick John Deere Gator Quick Connect Mounting(Pack of 2) https://www.amazon.com/dp/B01GNVXD3U/?tag=sxsweb24-20


Or these from Arctic Cat which don't have velcro and are supposed to ratchet into place and lock onto the roll bar tube

CLAMPS, SPEEDRATCHET
 
ToddACimer

ToddACimer

Pioneer 1005-2
Lifetime Member
Oct 7, 2016
3,549
14,538
113
Oshkosh, Wi
Ownership

  1. 1000-5
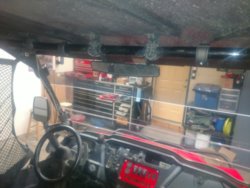
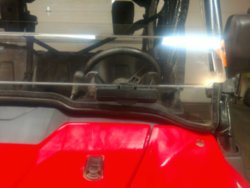
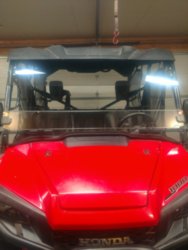
Here's an update on my windshield visor. I ended up with 2 Arctic Cat clamps (sides) and 2 Amazon clamps top. The AC clamps ratchet which allows the windshield to slide in from the side, clip the AC clamps and then install the top clamps.

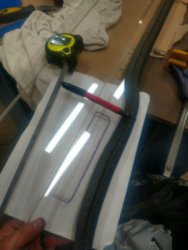
Marking the mount holes for the Arctic Cat clamps. It's easy to be nervous working with clear plastic but it drills really easy once you're through the hard coat.
Img 20171222 170431154 hdr jpg

All mounted up
Img 20171222 180350006 jpg

Img 20171222 180328802 jpg
 
  • Like
Reactions: Landman
ToddACimer

ToddACimer

Pioneer 1005-2
Lifetime Member
Oct 7, 2016
3,549
14,538
113
Oshkosh, Wi
Ownership

  1. 1000-5
My next project after the upper windshield visor was adding vents to my lower windshield. The lower is a SuperATV half windshield. It's flimsy, it fits poorly but let's be serious if it's over 50 degrees outside it blocks too much wind. The vents are Arctic Cat vents from the HDX windshield. The vents are part number 1541-142. They have a flip door to block air and a rubber vent that fits will on the 1/4" thick material.


Vents as purchased
Img 20171222 183541806 jpg

Laying out the hole based on tracing a new AC windshield
Img 20171222 195252753 hdr jpg

Corner holes drilled with a unibit
Img 20171222 195634741 jpg

Cut with an air saw
Img 20171222 185411677 jpg

Driver vent installed and on the machine
Img 20171222 193415483 jpg

Driver and passenger vents installed
Img 20171222 203617668 jpg
 
Last edited:
ToddACimer

ToddACimer

Pioneer 1005-2
Lifetime Member
Oct 7, 2016
3,549
14,538
113
Oshkosh, Wi
Ownership

  1. 1000-5
Well the summer was a little hard on the Pioneer. I've been holding out on replacing the left outer CV boot til I had a new pair of a-arms. They all got damaged back in July.

Upper arm bent from bottoming the stock shocks. "New" arm for reference to flat
IMG 20171231 141213248


The outer CV was torn at the inner clamp. Pretty sure it was an installation error but it didn't leak til about 600 miles. Looks like the clamp pinched the boot
IMG 20171231 141237241


New boots from Rocky Mountain both had NTN part numbers. I'll have to try to find them.

IMG 20171231 152410168

IMG 20171231 152417478


A-arms and boots replaced
IMG 20171231 174033231
 

About us

  • Our community has been around for many years and pride ourselves on offering unbiased, critical discussion among people of all different backgrounds. We are working every day to make sure our community is one of the best.

User Menu

Buy us a beer!

  • Lots of time and money has gone into making sure the community is running the best software, best designs, and all the other bells and whistles. Care to buy us a beer? We'd really appreciate it!

    Beer Fund!

    Club Membership!