What did you do to/with your Talon today?

A

a94cobra

Member
Dec 28, 2021
44
95
18
TX
Ownership

  1. Talon X LV
I bought this one. Car Ignition Switch 12V RFID Engine Start Push Button Keyless Entry Starter Kit | eBay Pretty cheap. It comes with two transponders(like a key fob). You put one near the sensor and it beeps. Then you can start it. After you kill it. It waits 15 seconds then beeps again. After that it's locked without using the key fob again.

I just like being different.

I think you might even be able to use other transponders with it also. Like program a set of car keys. Not sure yet. I just got it installed and working.
 
Last edited:
  • Like
Reactions: 906UP
PapaC

PapaC

Well-Known Member
Dec 12, 2021
55
334
53
W. Wa
Ownership

  1. Talon X
I put this on-

74A6B5F5 6003 4F28 A0BD FA572ABBA6D9
00BC0153 F5D5 4F54 B68D 3BD9B0B200AE
 
Moab_Marty

Moab_Marty

Member
Jul 12, 2019
30
35
18
Moab + Western CO
Ownership

  1. Talon R
I bought this one. Pretty cheap. It comes with two transponders(like a key fob). You put one near the sensor and it beeps. Then you can start it. After you kill it. It waits 15 seconds then beeps again. After that it's locked without using the key fob again
Thanks for the answer, however I did not see what product "this one" refers to.
 
  • Like
Reactions: Gohonda2
PapaC

PapaC

Well-Known Member
Dec 12, 2021
55
334
53
W. Wa
Ownership

  1. Talon X
That's a good looking light bar and the curve is 'just right'. Link?

Choose the 30” curved in the drop down menu. When I first mounted it on the roof it was a little shaky, so I went to the hardware store and bought some rubber plugs, drilled a 1/4” hole through, sanded a curve in the fat end, wedged them between the rops, and roof, then used a self tapping stainless bolt to snug it all up. Came out nice and solid. Pics -

D3F8835B 7819 47C3 94A8 C5CBB98046F9
F6F71FF4 F91A 4953 A375 DEFF402F7C6D
 
  • Like
Reactions: Smitty335 and CID
100Acre

100Acre

Samsquinch the Terrible Magic Bean Manipulator
Lifetime Member
Club Contributor
Apr 25, 2017
17,333
103,125
113
Idaho
Ownership

  1. 1000-5
Got some fingernail clippers and trimmed them…
 
  • Haha
Reactions: toddvdh and CID
CID

CID

Well-Known Member
Lifetime Member
Supporting Member
Oct 27, 2019
4,998
22,293
113
SE Denver-ish
Ownership

  1. Talon R
When I bought the Talon, I had the stealership install a Warn winch. This made me realize that I really should have a second battery to run the thing. It took longer than I'd hoped but I'm happy with the end result.

Having only seen a suggestion that it shouldn't be right behind the radiator and would fit behind the plastic firewall, I didn't have much to go on.

First up, the battery tray itself. I couldn't hold all 4 pieces square, so I made a 3/4" plywood jig. About welding - all welds shrink and they do it in all 3 planes, allow for that when you're building things or you'll have a lot of welded projects that aren't the size you wanted. It surprised me how hard I had to beat the jig to get it out of the tray.
1660618569285


Not knowing where I was going, I knew that I'd have to put the battery in place several times during the prototyping. Being retired, I felt a cardboard mock-up would be easier to work with, boy howdie, was I right.
1660618712842


Because batteries don't like vibration, I made the tray big enough to allow room for a double layer of inner tube. Trimmed to size later.
1660618812373


Front edge wraps around the frame tube -
1660618890478


Rear threaded rod hangars are welded into the angle - I used 5/16" rod.
1660618977815


One of the last trial fits. My 2021 had a Live Valve bracket welded in where the lower right corner of the battery tray is, it got the preferential Sawzall treatment (the 2020 didn't have that bracket). The large wiring harness in the lower right corner was on top of the round frame rail and had to be moved under it, that necessitated learning how to release the 3 plugs that live behind the RF shock (the tabs on all 3 need to be pried outward).
1660619035840


This is the Live Valve bracket I had to remove. Photo thx to JumptChaneAZ.
1685588527818


The harness at left/center that has to be moved under the frame rail -
1660620874833


Further out for a better idea of 'where' -
1660619103155


Pre paint -
1660619223841


The paint isn't that bad, the metal is (and lighting) -
1660619306846


Finally :oops: ready for the battery -
1660619428659


Thanks to @Talon19DC for the alum angle idea, I wasn't sure where I was going to put the isolator.
1660619552564


And the tests, key on, engine off shows both batteries at standing voltage.
1660619663866


Right after start-up, isolator isolating, starting battery is getting priority.
1660619723503


Once the isolator sees the starting battery is fully charged, it adds the aux battery to the charging circuit. The connection happens quickly, only a few seconds.
1660619862866


Isolator energized, batteries connected -
1660623099562


I used this battery because @PaulF recommended it awhile back -
1660662913728
 
Last edited:
906UP

906UP

Well-Known Member
Lifetime Member
Supporting Member
Club Contributor
Jul 6, 2017
12,939
120,423
113
da Yoop
Ownership

  1. 1000-3

  2. Talon X
When I bought the Talon, I had the stealership install a Warn winch. This made me realize that I really should have a second battery to run the thing. It took longer than I'd hoped but I'm happy with the end result.

Having only seen a suggestion that it shouldn't be right behind the radiator and would fit behind the plastic firewall, I didn't have much to go on.

First up, the battery tray itself. I couldn't hold all 4 pieces square, so I made a 3/4" plywood jig. About welding - all welds shrink and they do it in all 3 planes, allow for that when you're building things or you'll have a lot of welded projects that aren't the size you wanted. It surprised me how hard I had to beat the jig to get it out of the tray.
View attachment 349103

Not knowing where I was going, I knew that I'd have to put the battery in place several times during the prototyping. Being retired, I felt a cardboard mock-up would be easier to work with, boy howdie, was I right.
View attachment 349104

Because batteries don't like vibration, I made the tray big enough to allow room for a double layer of inner tube. Trimmed to size later.
View attachment 349105

Front edge wraps around the frame tube -
View attachment 349106

Rear threaded rod hangars are welded into the angle -
View attachment 349107

One of the last trial fits. My 2021 had a Live Valve bracket welded in where the lower right corner of the battery tray is, it got the preferential Sawzall treatment (the 2020 didn't have that bracket). The large wiring harness in the lower right corner was on top of the round frame rail and had to be moved under it, that necessitated learning how to release the 3 plugs that live behind the RF shock (the tabs on all 3 need to be pried outward).
View attachment 349108

The harness at left/center has to be moved under the frame rail -
View attachment 349118

Further out for a better idea of 'where' -
View attachment 349109

Pre paint -
View attachment 349110

The paint isn't that bad, the metal is (and lighting) -
View attachment 349111

Finally :oops: ready for the battery -
View attachment 349112

Thanks to @Talon19DC for the alum angle idea, I wasn't sure where I was going to put the isolator.
View attachment 349114

And the tests, key on, engine off shows both batteries at standing voltage.
View attachment 349115

Right after start-up, isolator isolating, starting battery is getting priority.
View attachment 349116

Once the isolator sees the starting battery is fully charged, it adds the aux battery to the charging circuit.
View attachment 349117

Isolator energized, batteries connected -
View attachment 349119
Excellent work, I looked at putting mine there as well but then found a good deal on the Honda wiper kit so that space was taken
 
  • Like
  • Wow
Reactions: CID and Smittyp
scottkooch

scottkooch

Active Member
Lifetime Member
Supporting Member
Apr 26, 2021
64
222
33
SO MN
Ownership

  1. Talon X4 LV
When I bought the Talon, I had the stealership install a Warn winch. This made me realize that I really should have a second battery to run the thing. It took longer than I'd hoped but I'm happy with the end result.

Having only seen a suggestion that it shouldn't be right behind the radiator and would fit behind the plastic firewall, I didn't have much to go on.

First up, the battery tray itself. I couldn't hold all 4 pieces square, so I made a 3/4" plywood jig. About welding - all welds shrink and they do it in all 3 planes, allow for that when you're building things or you'll have a lot of welded projects that aren't the size you wanted. It surprised me how hard I had to beat the jig to get it out of the tray.
View attachment 349103

Not knowing where I was going, I knew that I'd have to put the battery in place several times during the prototyping. Being retired, I felt a cardboard mock-up would be easier to work with, boy howdie, was I right.
View attachment 349104

Because batteries don't like vibration, I made the tray big enough to allow room for a double layer of inner tube. Trimmed to size later.
View attachment 349105

Front edge wraps around the frame tube -
View attachment 349106

Rear threaded rod hangars are welded into the angle -
View attachment 349107

One of the last trial fits. My 2021 had a Live Valve bracket welded in where the lower right corner of the battery tray is, it got the preferential Sawzall treatment (the 2020 didn't have that bracket). The large wiring harness in the lower right corner was on top of the round frame rail and had to be moved under it, that necessitated learning how to release the 3 plugs that live behind the RF shock (the tabs on all 3 need to be pried outward).
View attachment 349108

The harness at left/center has to be moved under the frame rail -
View attachment 349118

Further out for a better idea of 'where' -
View attachment 349109

Pre paint -
View attachment 349110

The paint isn't that bad, the metal is (and lighting) -
View attachment 349111

Finally :oops: ready for the battery -
View attachment 349112

Thanks to @Talon19DC for the alum angle idea, I wasn't sure where I was going to put the isolator.
View attachment 349114

And the tests, key on, engine off shows both batteries at standing voltage.
View attachment 349115

Right after start-up, isolator isolating, starting battery is getting priority.
View attachment 349116

Once the isolator sees the starting battery is fully charged, it adds the aux battery to the charging circuit.
View attachment 349117

Isolator energized, batteries connected -
View attachment 349119
Looks good CID. If I find that having my 2nd battery behind the radiator shortens the battery life, I my have to follow your lead and fab up something similar.
 
  • Like
Reactions: CID and Smittyp
CID

CID

Well-Known Member
Lifetime Member
Supporting Member
Oct 27, 2019
4,998
22,293
113
SE Denver-ish
Ownership

  1. Talon R
Excellent work, I looked at putting mine there as well but then found a good deal on the Honda wiper kit so that space was taken
Well, that'll suck if I ever choose to add a wiper. Good point for those following along. 👍
 
CID

CID

Well-Known Member
Lifetime Member
Supporting Member
Oct 27, 2019
4,998
22,293
113
SE Denver-ish
Ownership

  1. Talon R
My Talon finds a way to loosen the two battery terminal bolts, not much, but some. I had to tighten them again today, no trouble indicator, just preventative maintenance. They're only 6 mm so don't go ape on them thinking you'll only have to tighten them once.
 
  • Like
Reactions: Smittyp
CID

CID

Well-Known Member
Lifetime Member
Supporting Member
Oct 27, 2019
4,998
22,293
113
SE Denver-ish
Ownership

  1. Talon R
I don't like posting bad pictures but I hit 8000 miles today. I took 3 pics and all of them suck. :(
I Hd7pDnB XL


I was here when it happened. 😍 That's Red Cone straight ahead descending down to Webster Pass.
I FjvSgHx XL
 
Last edited:
F

Firedad

Active Member
Jul 24, 2021
46
103
33
Reno, NV
Ownership

  1. Talon X4
Working on full enclosure, still need to do lower doors tomorrow. Lost my side mirrors and ability to add cubes on the A pillar. Need suggestions for both.

81DB93EE 89FA 4C17 9BC6 2BBA6CB2BAC5 36EC976E A1B2 4669 91BE 89762CD0624E
 
  • Like
Reactions: CID and Smittyp
CID

CID

Well-Known Member
Lifetime Member
Supporting Member
Oct 27, 2019
4,998
22,293
113
SE Denver-ish
Ownership

  1. Talon R
Harbor Fright Ammo Can - this has been done but all I've seen is where, not how.

So, here's how I did it. For the purists, all fasteners are SAE because that's what I've accumulated over a lifetime, so sue me. :p

I started with locating the box where it's going to sit, checking for clearance issues. Thanks to @PaulF for mentioning that the upper trailing arm swings in at full droop, something I hadn't allowed for. So I jacked it all the way up and measured again.

Paul posted his details here, including watching for clearances -

I found that 8" outside the motor mount frame rail put it where it would clear everything. So I started with cutting the two 1" angle iron pieces to length, they aren't the same. Then I fitted them to the ammo can. Since I want to store a 100' x 3/8" winch line in it, I decided to use carriage head bolts because the heads are 'softer' to a nylon rope. In order to keep them from spinning when tightening the nylocks, I squared the holes in both the ammo can and angle iron. It was a lot easier in the sheetmetal box than the 1/8" angle (duh :rolleyes:). I've done this for several projects over the years and have the proper sized square file.

Once the angle iron was cut, drilled and squared, I bolted it to the bottom of the ammo can, measured and cut the joining strap and welded it in (crooked :oops:) but close enough. Measured 6 times and it still moved. :(
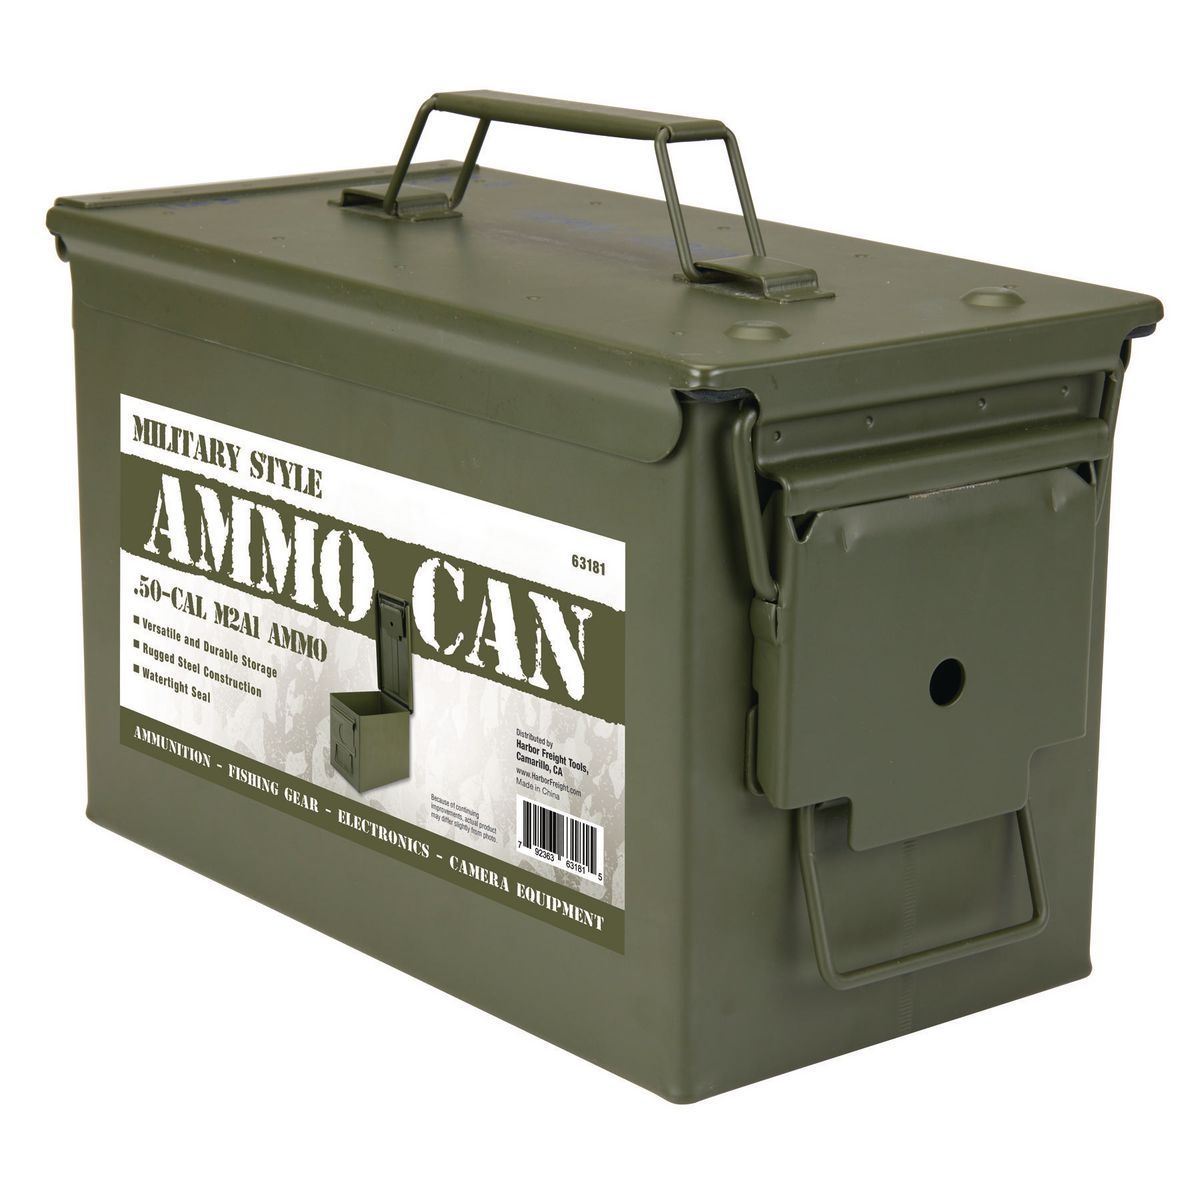
The ammo can -

Step one thru 60. I don't normally grind welds but needed a flat surface, soooooo ....
1662244638511


All the parts, pretty simple -
1662244792616


This hole was a b!tch because of the skid plate gusset on the left, even my angle drill couldn't get a straight shot at it. I used a 3/32" pilot drill (short, so better attack angle) and then a 1/4" which stayed true to the pilot hole. I picked this location by attaching the small pre drilled angle bracket to the rear angle, putting it in place (marked earlier) and using that as my template to draw the hole exactly where I wanted it, up and down, front to back.
1662245085845


I intended to drill that hole straight through the frame rail and use a long bolt with a nut on the inside but because I couldn't get a straight shot at it decided to try this. In hindsight, a whole lot depended on this idea working, I didn't have a backup plan. I welded a 3/8" x 1" strap on the head of a 1/4" bolt (yes, SAE 😊) betting it would keep the bolt from spinning while I tightened the outside nylock - there's absolutely no access to the bolt head inside the frame rail (hindsight - unless you drop the skid plate). Test fit to see if I made it long enough, barely. I welded the strap flush with the far side of the bolt head and should have put it half way across.
1662245428302


Here you can see I could have moved the strap 1/2 the diameter of the bolt head to the left, not flush to the right. The next leap of faith, how do I fish that bolt into the frame with only a sliver of access (hindsight - drop the skid plate).
1662253150014


After moving the string to the very end threads, I started by trying to gently tug it into the hole and pull it into place with a magnet, no workie. So I gave it a couple of light, quick tugs, like jigging and damned if it didn't jump right into the hole. I was shocked I tell ya. :oops: That's a 1/4" bolt in a 1/4" hole, I don't drill clearance holes. The black, making it look larger is the black paint on a q-tip that I stuck in there to inhibit rust.
1662246008336


Next lesson, don't do this -
1662246193866


before putting this bolt in. And it won't fit unless you take the nut out of the way, so all the way off. It was a perfect opportunity to drop my carefully fished bolt back into the frame but I didn't. :)
1662246296876


After putting the box in and out a few times, it marked the high point (center) of the outer frame rail and that's where I put the 1" tie strap between the two angle end pieces. 6-11/16". This is also where I measured 8" to the outside of the ammo can. Because the motor mount is in the way, the hole above the tape measure couldn't be in the center of the frame rail but there's room for a nut underneath and that's all that matters. The frame rail is arched right there, so I was able to get a wrench underneath to hold the nylock nut. That's not the case at the other end (just out of the bottom of the photo).
1662246880618


Trial fit and overview. I decided that I'd rather use two hose clamps than sheet metal screws into the thin frame tube. And they'd have to be flush/countersunk, harder for me to get properly tight anyway. You can see my square holes for the carriage head bolts here. I mentioned the two angle iron ends were different lengths - the front one spans the frame tube but the rear one just catches the edge since it didn't get a bolt down thru it. The corner on that one had to be clearanced to fit under the motor mount.
1662247031225


Ready for the ammo can. I hammered the two hose clamps flat to better fit the bottom of the box.
1662247305295


The R-clip was Paul's idea, I added the wingnut and luckily, got the small hole drilled in exactly the right spot for a tight fit. You can see that the angle isn't tight to the box, I used washers at all 4 corners between the box and angles so I wouldn't distort the box when tightening. You can see a little of the box's original OD Green peeking thru, not compatible with my red on white Talon.
1662247444796


Other dimensions - 1-7/8" center to center -
1662247732136


3-7/16" front of frame rail to center -
1662248572258


Contents - barely fit but I was able to force in an old towel to help protect from abrasion.
1662247898259


There might be room for one soft tie with the towel, I'll see after it settles in.
1662251599277


And the only time it will ever be clean - :(
1662250892623
 
Last edited:

About us

  • Our community has been around for many years and pride ourselves on offering unbiased, critical discussion among people of all different backgrounds. We are working every day to make sure our community is one of the best.

User Menu

Buy us a beer!

  • Lots of time and money has gone into making sure the community is running the best software, best designs, and all the other bells and whistles. Care to buy us a beer? We'd really appreciate it!

    Beer Fund!

    Club Membership!