P1000 Sub-Transmission Service

P1K5Dave

P1K5Dave

Well-Known Member
Lifetime Member
Club Contributor
Jul 11, 2020
2,157
8,069
113
Petoskey, MI
Ownership

  1. 1000-5
Thought I would add here that Honda has redesigned a few subtrans parts for the Pioneer and @HondaTech says:

I wouldn't put any sub trans together without these new parts.

Shaft 24210-HL4-010
Star 24331-HL4-010
You can read more about these updated parts here

 
Plowboy1466

Plowboy1466

Well-Known Member
Lifetime Member
Feb 11, 2018
289
1,437
93
Ashland, Ohio
Ownership

  1. 1000-3
Thought I would add here that Honda has redesigned a few subtrans parts for the Pioneer and @HondaTech says:


You can read more about these updated parts here

Good job keeping up on it P1K5Dave!!!
 
M

mshaken13

New Member
Jan 25, 2022
7
14
3
west Virginia
Ownership

  1. 1000-5
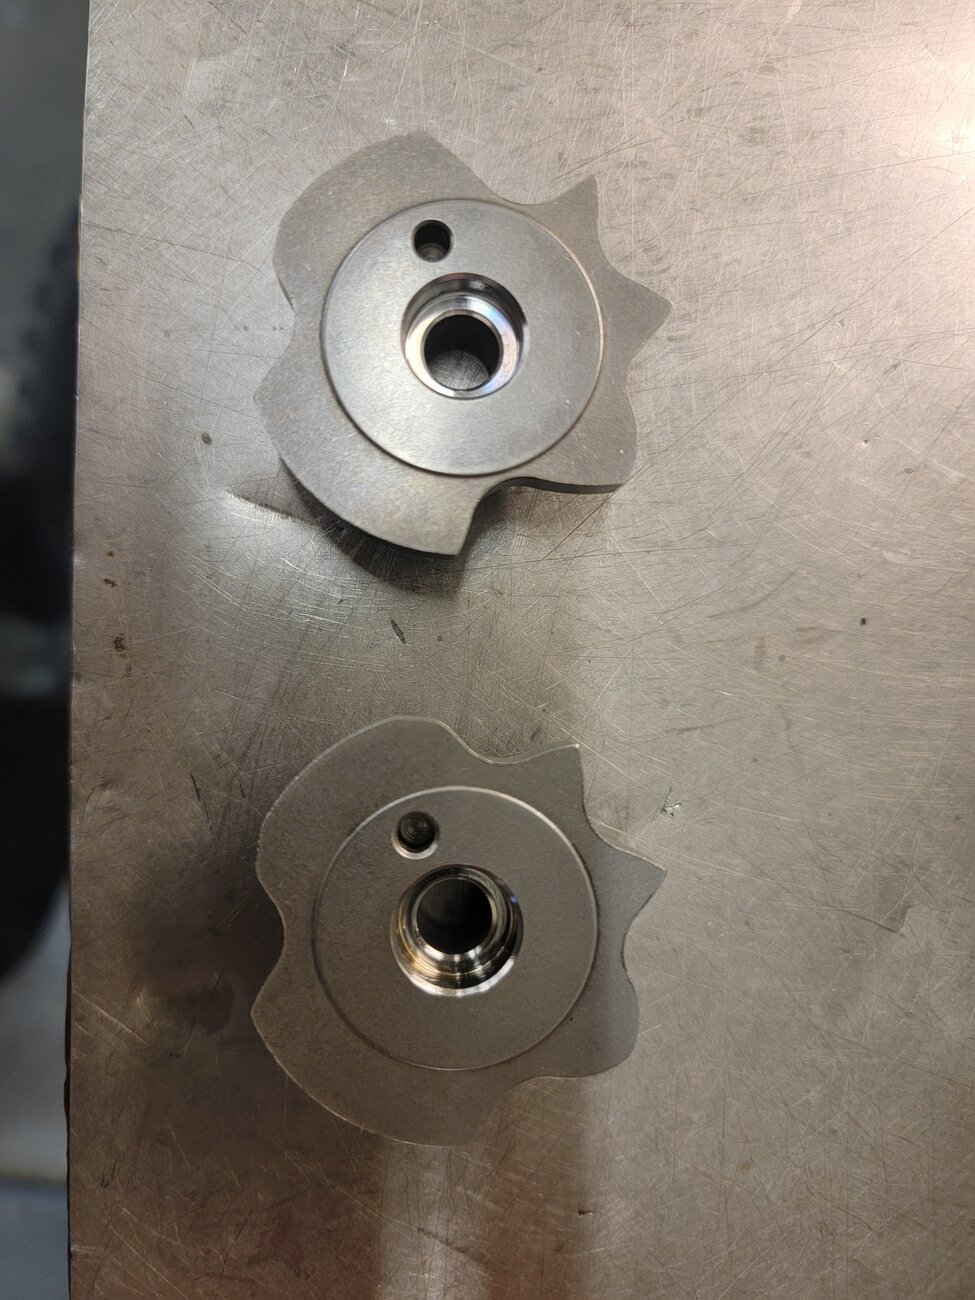
I replaced my reverse and low gears in the sub-transmission this week. It was my first time going through the sub-trans, but I learned a lot that is useful to pass on to anyone getting into this.

The first part of this is a guide to removing the sub-trans. You may need to get into it for various reasons, whether replacing your reverse gears, upgrading to Talon reverse gears, replacing your low gear, etc. Whatever you're doing, you'll need new gaskets ready for replacement:

21206-HL4-003GASKET, SUB-TRANSMISSION CASE
21205-HL4-003GASKET, SUB-TRANSMISSION COVER

The manual also wants you to have on hand some liquid sealant for re-assembly. They specify TB1207B by Threebond or equivalent. (Manual page 12-7, PDF 377)

Also, have a look at your output seals before you order parts. I had oil around my rear output seal, so I ordered and replaced that one. It's not a bad idea to just go ahead and replace both while you're in there, if you choose.

We'll follow the service manual, but I will attempt to fill in some gaps in the manual, and to let you know what steps are necessary and some that can be skipped.

One of the difficulties of working with the service manual is putting together the order of operations, as it has you jump all around the pages. The first thing I did was to break out all of the steps in order, and I'll list the corresponding manual page (and it's PDF page number, in case you're viewing the manual electronically.)

We'll start with the steps to remove the sub-trans. Later, I'll share what I can regarding the internals and reverse gear replacement.

StepDescriptionPDF pageManual pageComments
1​
Remove front seat cushion
82​
2-4
2​
Remove rear side cover (gas tank panel)
87​
2-9skipped
3​
Remove front seat back
83​
2-5
4​
Remove rear center cover (between seat cushion and seat back)
86​
2-8
5​
Remove heat shielding (comfort kit)
6​
Remove front doors
96​
2-18skipped
7​
Remove front side covers (flares)
91​
2-13skipped
8​
Remove floor panel
92​
2-14skipped
9​
Remove Air Cleaner Cover
104​
2-26skipped
10​
Remove Snorkel Duct A
239​
7-17loosened frame mount only
11​
Remove front bumper
93​
2-15May be optional?
12​
Remove skid plate
109​
2-31
13​
Sub Trans
375​
12-5
14​
Drain oil
150​
3-16
15​
Disconnect vent line
375​
12-5
16​
Remove pinch bolt and shift arm
375​
12-5
17​
Remove bolts and stay
375​
12-5
18​
Front Differential
375​
12-5
19​
Disconnect lock switch
375​
12-5skipped
20​
Disconnect front VS sensor
375​
12-5skipped
21​
Support front gear case
375​
12-5
22​
Remove brackets and bolts
375​
12-5
23​
Move front diff forward fully
376​
12-6
24​
Disconnect front drive shaft from sub trans
376​
12-6
25​
Remove spring and o-ring
376​
12-6
26​
On the front of the Sub-Trans
376​
12-6
27​
Disconnect vs sensor plug
376​
12-6
28​
Release wire clip
376​
12-6
29​
release water pump breather hose
376​
12-6
30​
Remove bolts, sub-trans position switch, and o-ring
376​
12-6
31​
Down below - Remove 3 bolts
376​
12-6
32​
Remove 2 bolts
377​
12-7
33​
Remove 2 acorn nuts and washers
377​
12-7
34​
REMOVE SUB-TRANS ASSEMBLY
377​
12-7
35​
Remove dowel pins, gasket, and damper
377​
12-7
did you do it on a lift or jack it up
 
  • Like
Reactions: Lady01
nevadajim

nevadajim

New Member
May 30, 2017
26
23
3
Smith Valley, NV
Ownership

  1. 1000-3
All that's left is to put it all back together.

My day went surprisingly well until it came to putting the front diff back into its position. Maybe I was getting tired, maybe my luck had run out, but the best advice I can give you for putting the front diff back in is to not tighten anything, not even a little bit, until all three long bolts and both brackets are in place. It gave me a really hard time getting all of the hardware in, even with nuts on finger tight.

Oh, and then getting the seat back on again. I swear that thing shrunk 1/4" due to the change in temperature between when I took it off and when I put it back on. That's the only explanation I have for it. The five bolts wouldn't line up to save my ass. But that's another story...

Other than that, this guide is a wrap. If I remember anything I'm missing, I'll come back and make edits. It has been five days between doing the work and writing this up, so it's possible I could be off somewhere. Anyone who has experience with this, that wants to add more detail or fix anything I may have messed up, please share and I will update the guide!

Thanks to all of the members that have put up guides to help me through things. I hope my contribution pays a little back.
P1K5Dave, This issue just started on my 2016 P100-3. I'm very grateful for your very detailed posts. Now I have to study it and order the parts! Nevadajim
 
Adam490

Adam490

HFA Grand High Wizard
Lifetime Member
Supporting Member
Apr 7, 2019
7,661
56,497
113
Covington, LA
Ownership

  1. 1000-5

  2. Talon R LV
P1K5Dave, This issue just started on my 2016 P100-3. I'm very grateful for your very detailed posts. Now I have to study it and order the parts! Nevadajim
Make sure you get the updated parts and replace them while you're in there (link below to Dave's post)

Post in thread 'Sub-Transmission Service' P1000 - Sub-Transmission Service
 
Plowboy1466

Plowboy1466

Well-Known Member
Lifetime Member
Feb 11, 2018
289
1,437
93
Ashland, Ohio
Ownership

  1. 1000-3
Dave, Best place to purchase the manual needed for this work?? Thanks, NevadaJim
I ordered a reprinted service manual on ebay. It's kinda janky but it works. There are also service manual downloads (pdf) available on this sight. Just punch it into the search bar. Good luck!!!
 
  • Like
Reactions: Lady01
nevadajim

nevadajim

New Member
May 30, 2017
26
23
3
Smith Valley, NV
Ownership

  1. 1000-3
Dave, I have a 2016 P-1000-3. I looked up the new part # for the 'Star' 24331-HL4-010 and it is not shown for my 2016-P-1000-3. The new shaft is listed (24210-HL4-010). So, will the new star part fit my 2016 trans? Thanks, Jim
 
  • Like
Reactions: Lady01
P1K5Dave

P1K5Dave

Well-Known Member
Lifetime Member
Club Contributor
Jul 11, 2020
2,157
8,069
113
Petoskey, MI
Ownership

  1. 1000-5
Yeah, that should be good to go. It'll get you better oil flow for cold weather shifts, apparently. More info in the thread I linked

Thread 'New Sub Trans Shift Star P1K/Talon' New Sub Trans Shift Star P1K/Talon
 
  • Like
Reactions: Lady01
nevadajim

nevadajim

New Member
May 30, 2017
26
23
3
Smith Valley, NV
Ownership

  1. 1000-3
Yeah, that should be good to go. It'll get you better oil flow for cold weather shifts, apparently. More info in the thread I linked

Thread 'New Sub Trans Shift Star P1K/Talon' New Sub Trans Shift Star P1K/Talon
Dave, Thanks for the confirmation on the 'star' part! I'm waiting on the delivery of the service manual before I start the tear down. This issue may be due to my running tracks in snow conditions. I use the SxS as our private chairlift. Three of us go up the mt., two snowboard down, then we switch off. This is near Bridgeport, CA. Best to you. Jim
 
  • Like
Reactions: Lady01
J

johnsatv1

New Member
Jul 28, 2021
2
2
3
Kirbyville TX
Ownership

  1. Other Brand
this is a great right up!!! fixing to do this exact repair on a 21 PK1000, how long did this project take you?
 

About us

  • Our community has been around for many years and pride ourselves on offering unbiased, critical discussion among people of all different backgrounds. We are working every day to make sure our community is one of the best.

User Menu

Buy us a beer!

  • Lots of time and money has gone into making sure the community is running the best software, best designs, and all the other bells and whistles. Care to buy us a beer? We'd really appreciate it!

    Beer Fund!

    Club Membership!