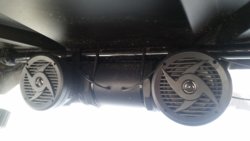
Pretty sure he has the same ones as me. 3" attwood units from Amazon. Less than 34 bucks for both of them. They work too.
They are both Attwood. And like you said, relatively cheap.
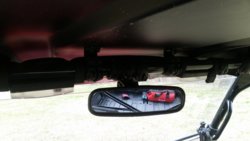
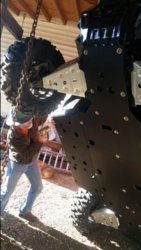
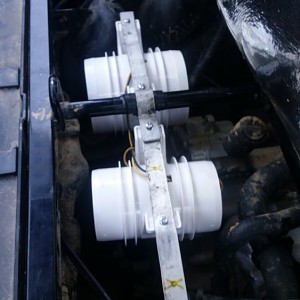
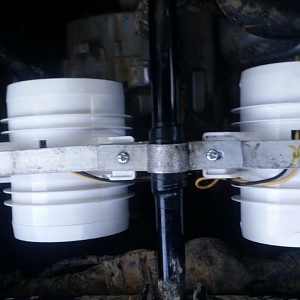
I got a 3" that is h2o resistant, and a 4" that is "quiet"... I wasn't sure how much blowing it would take, so I installed both. So far, no issues with either.
I never ran them separately, so I don't know if the "quiet" one is actually any quieter.
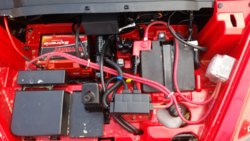
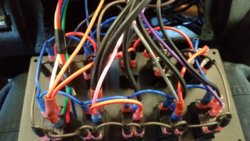
The water resistant one was built the same as the other one except it had some heat shrink over the back of the motor where the wires come out. They're both pretty well protected underneath the seat, so I don't expect to have any issues with either one.