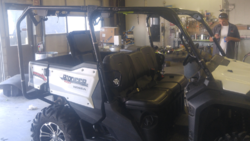
Back in June I posted hcrr1 build that included the 4in. Chop. Sorry for taking so long for detailed chop. It took a Saturday and part of Sunday to complete.
Contrary to some thinking you have to add length in the top bars at 4in. You do not. And the factory too will go right back on with no modifications. I also have steps on cutting and using honda flip out windshield.
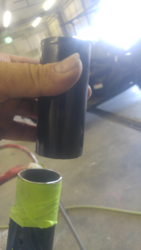
I started at front and move to back. Cut six 4 in. Peices out. Sleeved each section with a 4 in. Sleeve.
#1View attachment 21879 View attachment 21880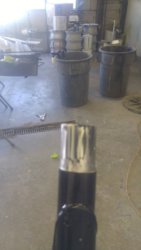
For the passenger front mark cage cage 2.5 in. Above. Bung weld. Then Mark off 4in. I used a billet roll bar clamp to scribe straight line all the way around both marks to get straight line. Cut 4in. Section out.
Use a 4in. Sleeve marh 2in. Center slide sleeve 2in. In. slide two bars back together.
For the drivers side I cut the 4in. Out around middle of windshield bar. Do the same for cutting and sleeving. Slide pieces together.
Reinstal front bars lightly tighten so they the bungs aren't tight.
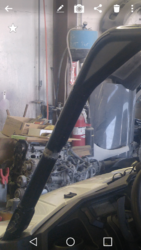
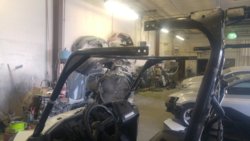
#2
Remove center main loop.
You have to cut and grind welds off to remove the cross bar headrest. It has to be repostioned. Then clean up weld smooth.
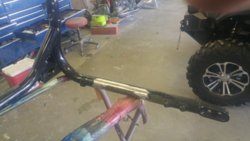
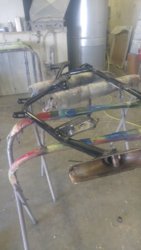
Mark both sides 3 in. Obove the top weld on nutsert on inside of cage on both sides. Mark off 4 in. Cut 4in. Out. Sleeve ,put back altogether. Also the weld on net nut braket above the cross bar you remove must be removed. And repositioned if you use nets. Another note the middle cage is thicker steel. The front is the thinnest. The back section is in between. You might have to cut the sleeve down the middle if you don't have the exact size.
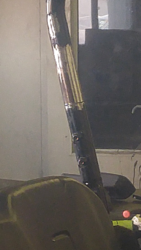
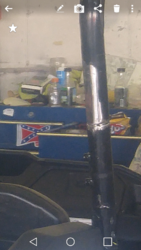
Put center section back in bolt lightly together
Now put cross bar back in takes a little muscle and a couple pry bars. Put 12mm boost back in lightly.
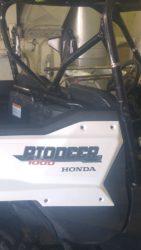
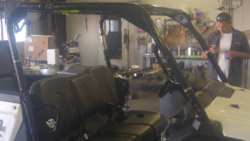
#3
Now for the rear section.
Mark the left and right upright bars around the bottom of tailite. Remove rear section. I took the center out for easier handling.
Cut 4in. Out of each side from your marks upward. Sleeve. put back together.
Now bolt everything together start tightening everything down tight do your aligning as you tighten. A little muscle at the rear at bottom I used a drift pin. To align hole up for bolts.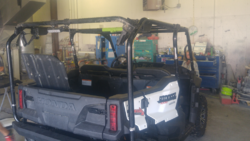
Once everything is tightened and line up to your satisfaction. Tack weld then weld splices. Grind welds. I used a 1/2 in. Belt sander to finish welds off smooth. Little sanding to feather powdercoat out metal etch primer. Pant some gloss blackout. I'll have it powdercoated later.
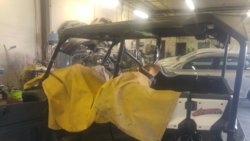
Use welding blankets if you have them. They don't burn and keeps things from getting melted.
Next you can install roof. Just clamp it back on.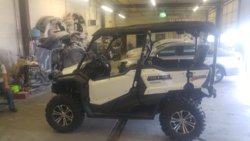
So I hope this was detailed enough. Was flying blind on this when I decided to do this at 11am on a Saturday morning loaded it up took it to shop. Took accessories off around 2pm. Started marking and cutting. At 11pm was painting cage. Sunday put back together took it home.
All in all everything went well. The only part that took a little muscle to line bolts to was the lower rear. But their is no bending or binding anything. With the sleeves it's a very strong mod. Sorry took so long to write up not enough hours in a day. Hope this helps.
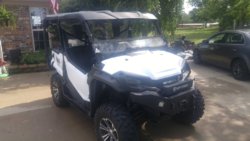
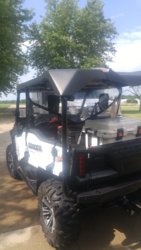
I will post the windshield cutting and steps in the near future I need to get some better pics. But the winsheild is fully functional. Post it in a couple weeks.
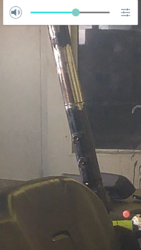
Contrary to some thinking you have to add length in the top bars at 4in. You do not. And the factory too will go right back on with no modifications. I also have steps on cutting and using honda flip out windshield.
I started at front and move to back. Cut six 4 in. Peices out. Sleeved each section with a 4 in. Sleeve.
#1View attachment 21879 View attachment 21880

For the passenger front mark cage cage 2.5 in. Above. Bung weld. Then Mark off 4in. I used a billet roll bar clamp to scribe straight line all the way around both marks to get straight line. Cut 4in. Section out.
Use a 4in. Sleeve marh 2in. Center slide sleeve 2in. In. slide two bars back together.
For the drivers side I cut the 4in. Out around middle of windshield bar. Do the same for cutting and sleeving. Slide pieces together.
Reinstal front bars lightly tighten so they the bungs aren't tight.


#2
Remove center main loop.
You have to cut and grind welds off to remove the cross bar headrest. It has to be repostioned. Then clean up weld smooth.


Mark both sides 3 in. Obove the top weld on nutsert on inside of cage on both sides. Mark off 4 in. Cut 4in. Out. Sleeve ,put back altogether. Also the weld on net nut braket above the cross bar you remove must be removed. And repositioned if you use nets. Another note the middle cage is thicker steel. The front is the thinnest. The back section is in between. You might have to cut the sleeve down the middle if you don't have the exact size.


Put center section back in bolt lightly together
Now put cross bar back in takes a little muscle and a couple pry bars. Put 12mm boost back in lightly.


#3
Now for the rear section.
Mark the left and right upright bars around the bottom of tailite. Remove rear section. I took the center out for easier handling.
Cut 4in. Out of each side from your marks upward. Sleeve. put back together.
Now bolt everything together start tightening everything down tight do your aligning as you tighten. A little muscle at the rear at bottom I used a drift pin. To align hole up for bolts.

Once everything is tightened and line up to your satisfaction. Tack weld then weld splices. Grind welds. I used a 1/2 in. Belt sander to finish welds off smooth. Little sanding to feather powdercoat out metal etch primer. Pant some gloss blackout. I'll have it powdercoated later.

Use welding blankets if you have them. They don't burn and keeps things from getting melted.
Next you can install roof. Just clamp it back on.

So I hope this was detailed enough. Was flying blind on this when I decided to do this at 11am on a Saturday morning loaded it up took it to shop. Took accessories off around 2pm. Started marking and cutting. At 11pm was painting cage. Sunday put back together took it home.
All in all everything went well. The only part that took a little muscle to line bolts to was the lower rear. But their is no bending or binding anything. With the sleeves it's a very strong mod. Sorry took so long to write up not enough hours in a day. Hope this helps.


I will post the windshield cutting and steps in the near future I need to get some better pics. But the winsheild is fully functional. Post it in a couple weeks.

Last edited by a moderator:


