


Eltobgi
Well-Known Member
Lifetime Member
Supporting Member
Club Contributor
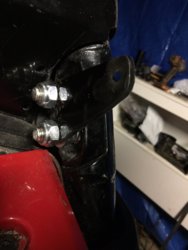
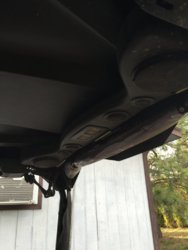
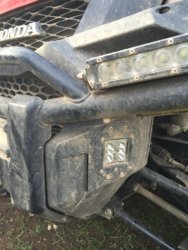
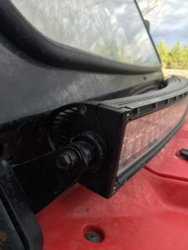
So...when you say box we are discussing your custom SSV Speaker box, and to access the amp you would remove the Subwoofer? If this is correct this is a great idea! the only other question i would have is have you ever had any problems with the amp kicking out due to overheating? I understand with the port there would be airflow, but i am curious about the tremendous amount of heat from the engine which you can feel through the seat.I don't have a photo of the amp mount but I simply drilled holes in the bottom of the box used small stainless bolts and mounted through rubber orings to stop vibration and to waterproof the holes.works like a champ and waterproofs your amp. We had this same basic setup in the 700 however without the port and we went through seat level water with tunes loud as hell(speaker sounds a little funny with water covering it though) this setup can handle about 2 1/2 feet of water within the plug and totally submerged with. Everything is totally waterproof and pressure washer proof beyond belief. I don't like doing things twice. Fiberglass is the way to go here however wood that's very well protected will work to. This hits so much harder then those roof mount units and it's never in your way