OK had a big ole box sitting against the door happened to be the Strong Made BG-55W Winch Series front bumper. First thing I notices was how heavy the main center piece was, no winch will tweak it will easily shear the bolts off first either going into the winch or the OEM bumper mount location where the four long 8mm bolts mount the top of the front bumper.
Quickly realized keeping my winch low on the KFI mount in the OEM position like I intended was a no go as the strong made main bracket bolt into the holes where the fairlead was and covered up 75% of the hole. So had to take that apart first. and put it back to stock before mounting anything.
So here we go all you need to mount the bumper is a 1/2" wrench and socket, that's it. Only takes 20 minutes not including adding a winch.
First put the main bracket in place slip the 2 U bolts around the OEM bumper tube and up through the main bracket, then use the 2 stainless 5/15 bolts going into the lower bracket holes through the OEM fairlead holes.
Hardware included:
View attachment 9344
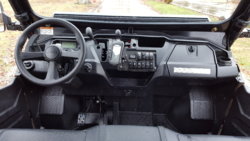
OEM clean start /
View attachment 9345
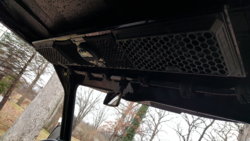
Attaching main bracket loose / All tightened up
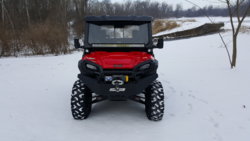
View attachment 9346 View attachment 9347 View attachment 9348
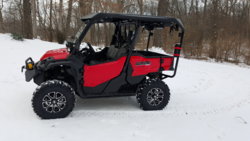
Bumper on without winch
View attachment 9349 View attachment 9350
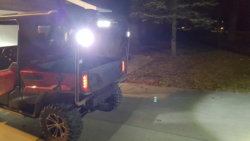
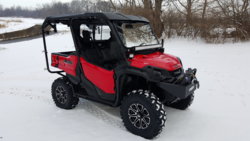
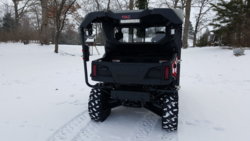
Winch mounted, uh oh its snowing gotta play
 View attachment 9351 View attachment 9355 View attachment 9357
Back in the shed for now...
View attachment 9352 View attachment 9358
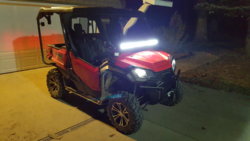
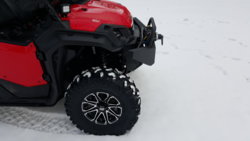
Overall I like the bumper and how it looks, it does mount right over the top of the OEM bumper, and is quick to install.
PROS:
Allows you to mount the winch up high in an easy to reach location, out of most mud hole situations much better than OEM.
Provides additional protection of the radiator and front headlight / plastic if bush whacking sapling is your thing this can be used to trail blaze.
Easy Install
Heavy Duty
CONS:
Eliminates the ability to use OEM winch location
Bolts over the OEM bumper instead of to the frame direct - for a bumper that can hold a 5K winch I expect that.
Heavy - 50-52 pounds
Adds 4" to the overall length if you are counting inches in a toy hauler or trailer.
Final Thoughts
I bought it because of how impressed I was with the bumper they made for the P500, it will certainly be able to take a beating but would have preferred its own main section mounted to the frame top and bottom without relying on the strength of OEM bumper to hold the winch pulling from above the top mounting holes by 6". I do like the style, it matches the lines of the front end nicely and am not disappointed in it for looks or strength. Its a keeper and will stay unless I rip my OEM bumper off using the winch from the top location. Time will tell
View attachment 9353 View attachment 9354 View attachment 9356