Now that I am going on longer rides frequently got tired of the OEM setbelts rubbing on my neck / collar bone area and wanted something more comfortable.
Since I am completely happy with the BEARD 4 point restraints with automotive latch that I have in my P500, I added a pair to the front of my P1K5D. Keeping the center seat belt for car or booster seats for now.
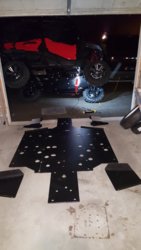
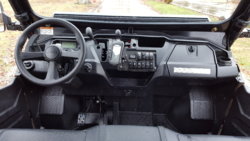
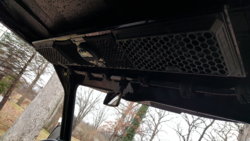
Installation was very easy, on drivers side behind padded headrest is a hole already between the two mounting bolts. There I used a single 3/8" x 1.25" bolt to secure the upper harness mounts together to backside of headrest mount. On both sides used the OEM location and bolts for the bottom harness mounts. The passengers side top is a little different but simple drilled a 3/8" hole in the same place as on drivers side and used a 2.5" long 3/8" bolt due to the size and shape of the OEM metal headrest bracket.
These padded harnesses are VERY comfortable as well as keeping you put on rough terrain making the ride even more enjoyable. In case of rolling the machine these will keep you in place even if you end up on your roof.
View attachment 20450
View attachment 20451