


JACKAL
Ancient Honda fanboi
Moderator
Lifetime Member
Supporting Member
Club Contributor
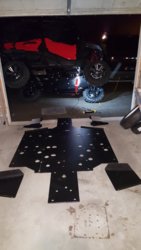
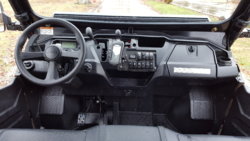
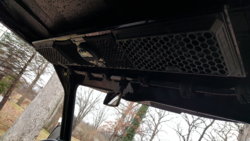
Haven't posted any updates in a while currently addressing in cab heat. Insulation installed the right way under the plastic and double layer between seat belts next to head and header pipes along with 4" bilge fan. Removal of seat back and plastic cover between seat bottom and back. Insulation BEFORE it heats up the plastic next to the occupants.


Will post as insulation is installed. Why is it so hot normally because only 2" gap and 1/8" of plastic separate engine from occupants.
Will post as insulation is installed. Why is it so hot normally because only 2" gap and 1/8" of plastic separate engine from occupants.
